
Vrooom Vrooom?
Well not quite yet. While on the march towards first start there’s still quite a few little things that need to be knocked out. My plan had been for first start to be last Sunday the 13th of April, but since it was going to snow I decided instead to focus on all the little things that still needed attention.
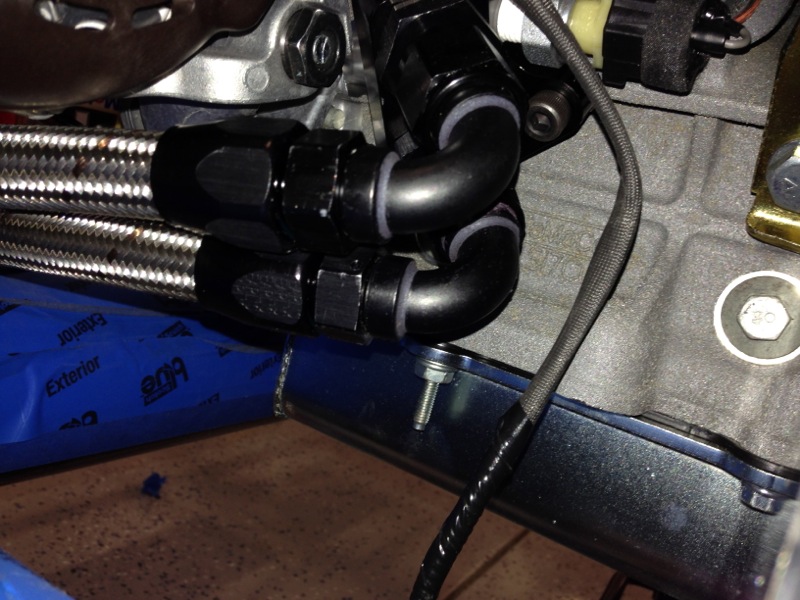
Last time we talked about brackets and since I know how much everyone enjoyed that let’s pick up where we left off. With the brackets in place and holding everything it was time to start running the oil and coolant lines. The pic below shows where the two lines come off the oil filter adapter and run towards the front of the car. You can also just see the oil pressure sensor in the top of the image. This is the one the engine ECU monitors. I have another one that provides input to the oil pressure gauge.
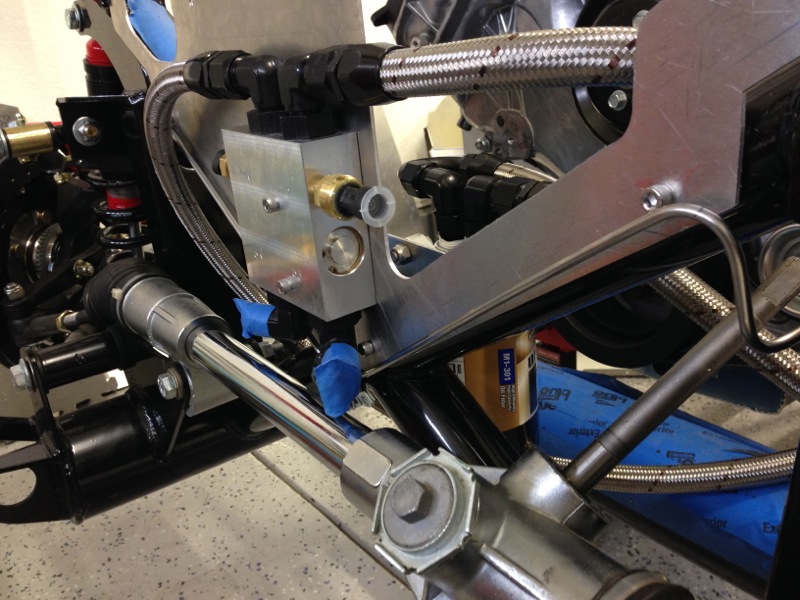
In this next pic you can see the first line run to the remote oil filter. This is the return line from the filter back to the engine.
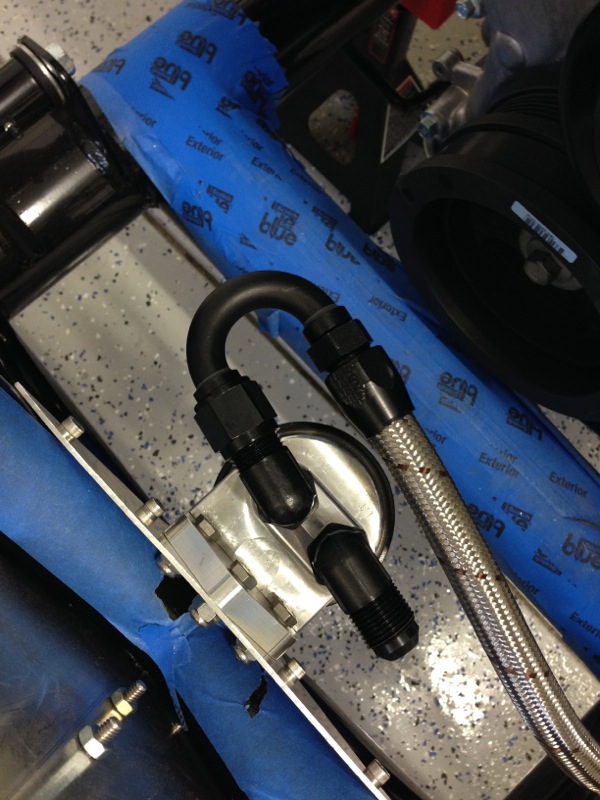
And in this pic you can see the lines going into the oil thermostat. The lines on top are from the engine and the lines on the bottom will go to the oil cooler, once it’s mounted. For the first start I will just make a loop back line as I can’t really mount the oil cooler until the body is on the frame. You can also see the oil temperature sensor on this side of the thermostat block and the oil pressure sensor is on the opposite side.
So at this point I had to stop for something completely unrelated to the car and it’s what you don’t see in the pic below. Can you tell what’s missing? Probably not. Well it’s my Christmas lights. See I still had them on the house. The problem was, with the weather being how it has been, I wasn’t too excited about climbing on the roof with a ladder while it was snowing, freezing, whatever. And while the lights were very nicely installed in nice straight lines apparently the HOA didn’t seem to think that they should still be up in April and under threat of a fine, I spent a couple of hours taking them down.
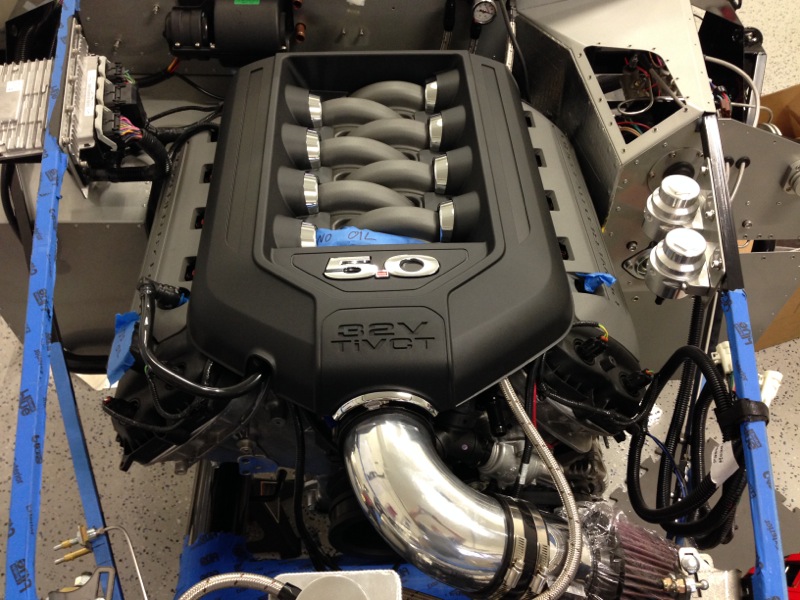
Ok back to the good stuff. As I was running different coolant lines I wanted to check and make sure the engine cover still fit. As you can see below it does. This is pretty much what the engine bay will look like once the body is on, minus all the blue tape of course.
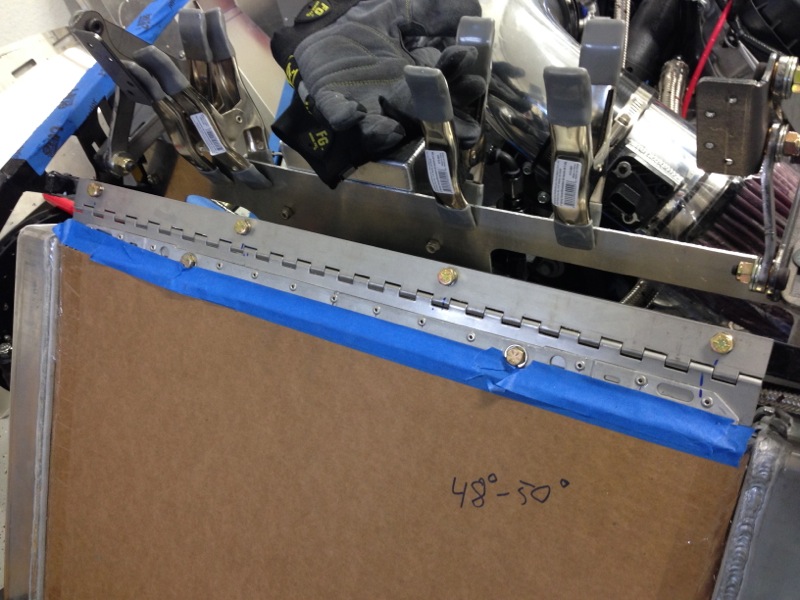
I also mounted the radiator using a kit from Breeze Automotive which is essentially a stainless steel hinge across the top. Works out really well and leaves the radiator adjustable to line up with the body once it’s installed. It also supports the radiator better than the factory method of mounting it.
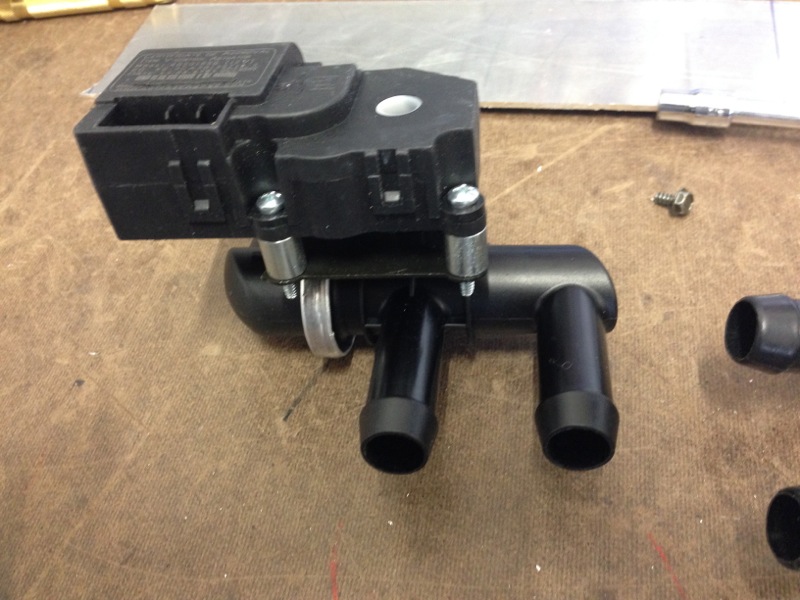
Back to some brackets. In the pic below you might recall is the heater valve that controls the flow of hot water into the heater core. Originally I was using this one with a cable pull to open and close it. I wasn’t really fond of that approach because the pull really wasn’t going to match with the look I was creating for the dashboard.
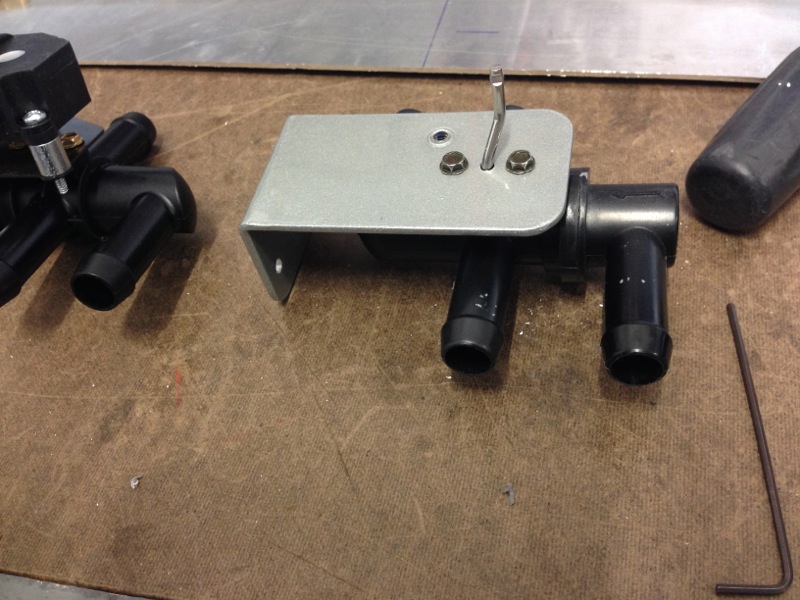
And as luck would have it, it turns out there is a supplier out there that makes an electrically controlled version of the valve as you can see below. I just had to modify my original bracket a little bit but I got it to mount up and now I’m really happy with that part.
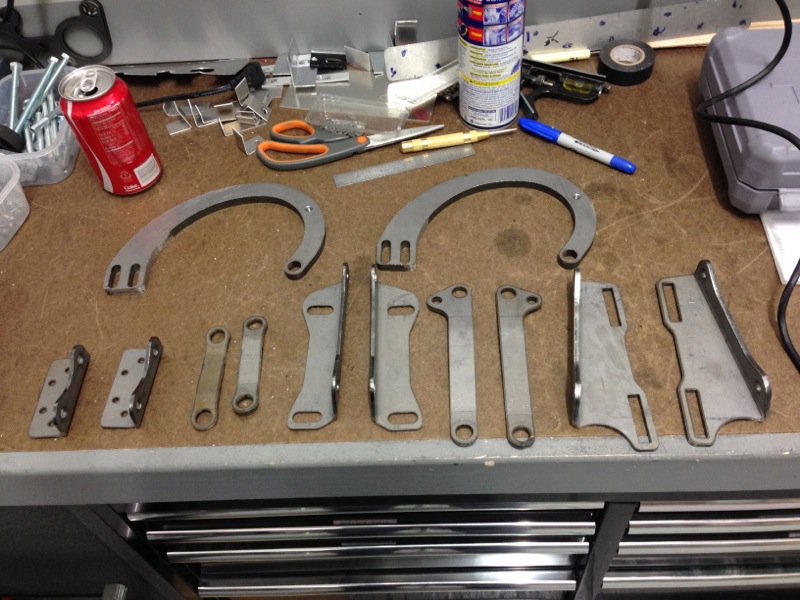
And even more brackets, hinges, etc. Below are all the parts that make up the hood hinges. I’m very fortunate in that Caroline was nice enough to drive these down to Colorado Springs this week to drop them off at the powder coater. Next time we see them they should be a nice shiny black.
Here’s one of the modifications I worked on during the week. One of the problems with the car is that there isn’t any built in support to prop up the trunk lid when you open it. Caroline and I have seen everything from broom stick handles to latching slide rails. Caroline already told me a broom stick wouldn’t do. I wanted something a little slicker and some of the Cobra guys have come up with this solution so I copied it. It’s really just 2 gas cylinder prop rods attached to a bracket in the trunk on one end and the other end attaches to the trunk lid bracket. Hardest part was drilling the hole in the right place and tapping it for the ball head. This will be nice once the car’s all put together. It tucks up into the top of the trunk so it’s pretty much out of the way and not really visible when it’s open.
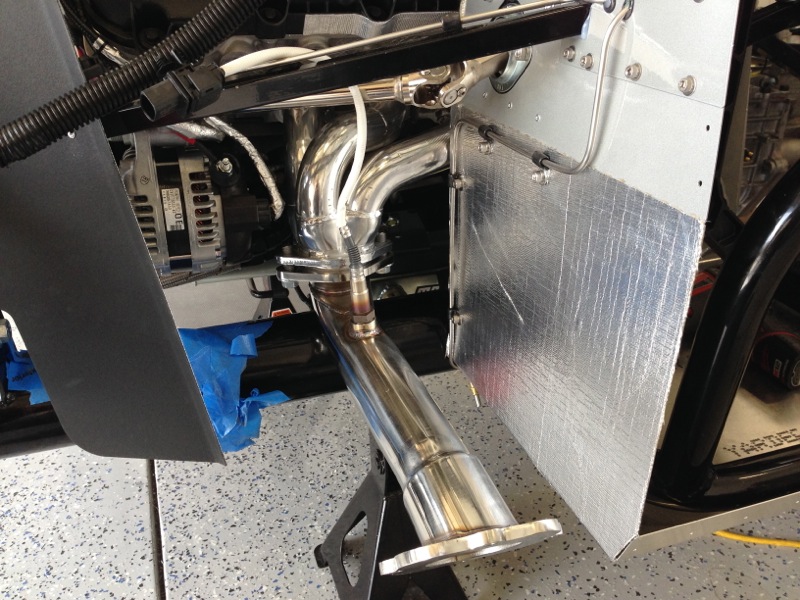
So I took this Friday off, Good Friday that is, to continue to get ready for first start. One of the things I needed to knock out was some more heat shielding on the foot boxes. This pic is the passenger side foot box with the heat shield applied to the front and around the inside panel. These are the 2 panels that are exposed directly to the headers. With that out of the way I was able to mount the headers.
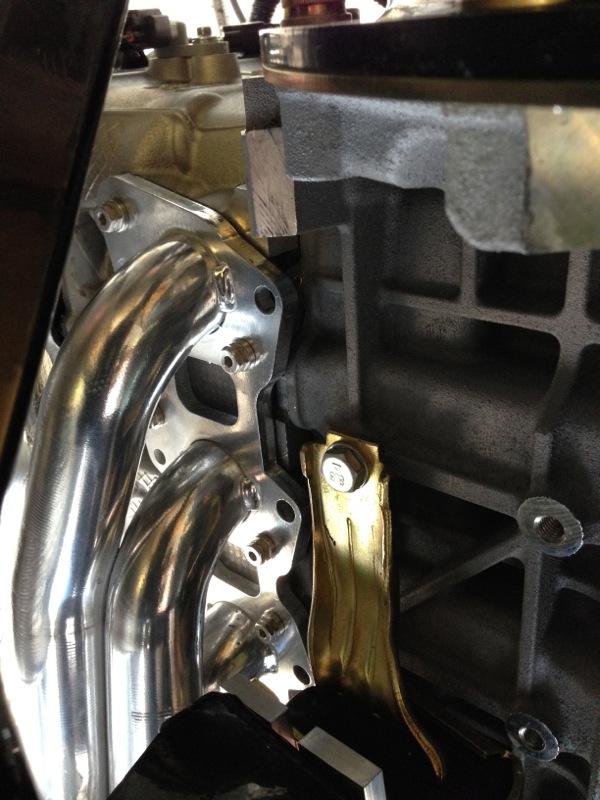
This pic shows the driver side header and heat shield on the front of the driver foot box. It also shows that the header and J-pipe are mounted.
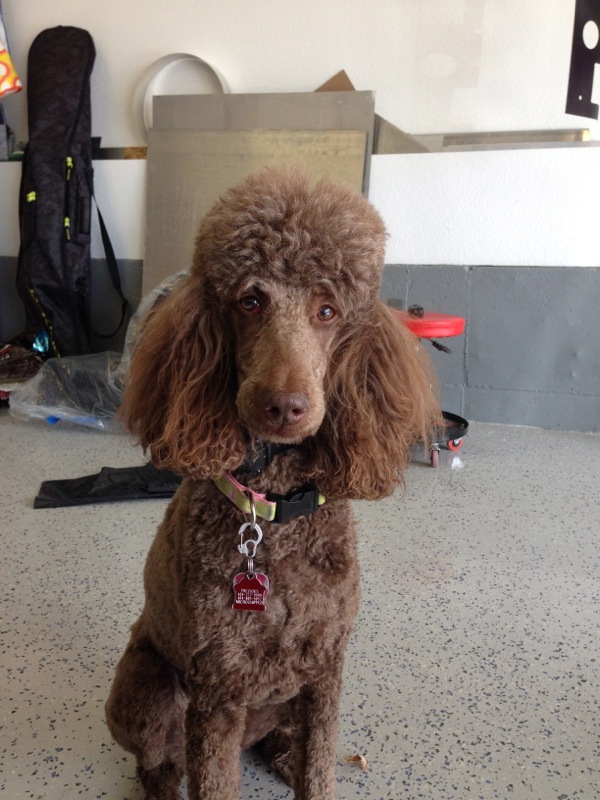
Mounting the headers turned out to be a bit of fun. With the tight space constraints I had to work part of them in from the bottom of the car. The pic below shows the view from below looking up at the driver side header. At this point all of the bolts are in but I haven’t put the locks on them yet. I’ll explain those in a sec. The problem was I really needed a gravity reprieve while I doing this, as I kept dropping the bolts while I was trying to get them started, they would bounce off my hard head and fly across the garage. I then had to crawl out from under the car and fetch the bolt. This was very time consuming. Destinée wasn’t able to help as she was at physical therapy for her knee but she left some help behind.
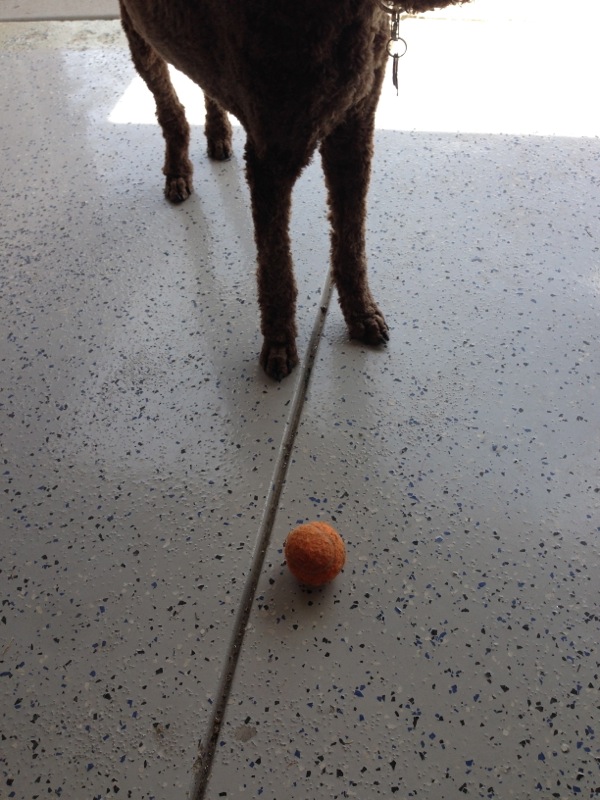
You would think she would be great at fetching but not so much.
She only cares to fetch this nasty orange ball. She has a habit of of dropping it on me while I’m laying on the floor and if I don’t throw it for her she feels the need to clean my ears for me.
Anyways, with clean ears let me explain the locking bolts. Header bolts have a habit of working their way loose. This comes from the constant heating/expanding, cooling/contracting cycles they go through and given the difficulty of getting to some of them I wanted to make sure I didn’t have to deal with that. So there’s a company called Stage 8 that has this rather innovative locking mechanism. In the pic below you can see one of the header bolts, you can also just see that the head has a relief cut around the head.
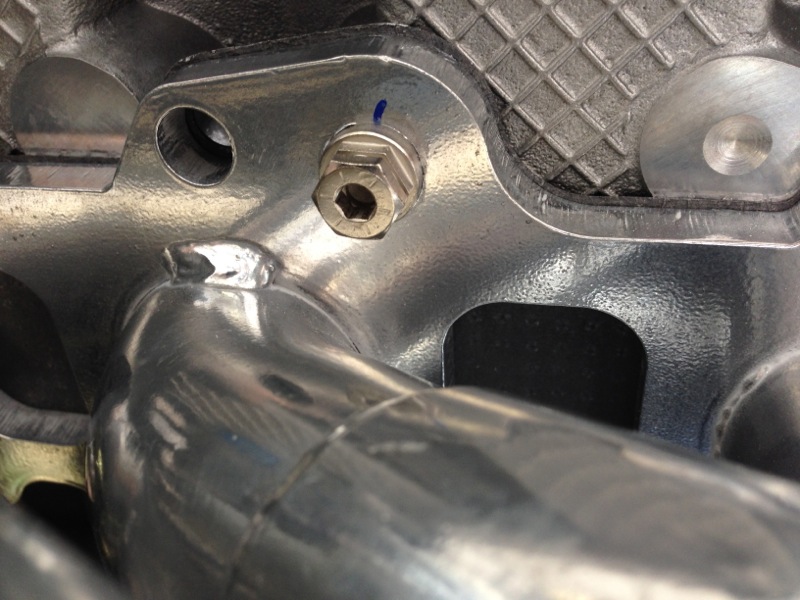
That relief cut is for the locking C-clip as you see below that holds the little anti-rotation arm in place. Now when the bolt tries to back it self out it will rotate that small arm which will prevent it from moving as it makes contact with the header. Pretty clever I think .

Well now with all of that out of the way the next thing to do was to fill up the fluids, mount the tires and get her down on the ground
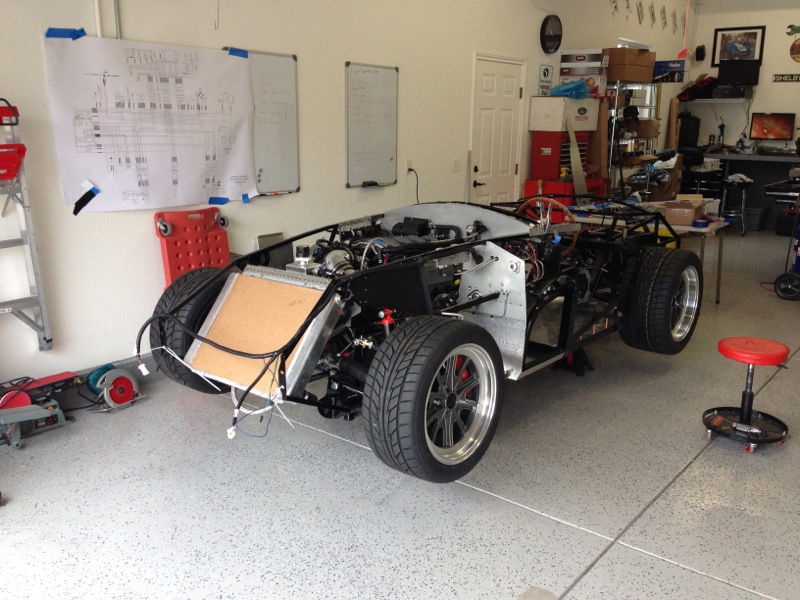
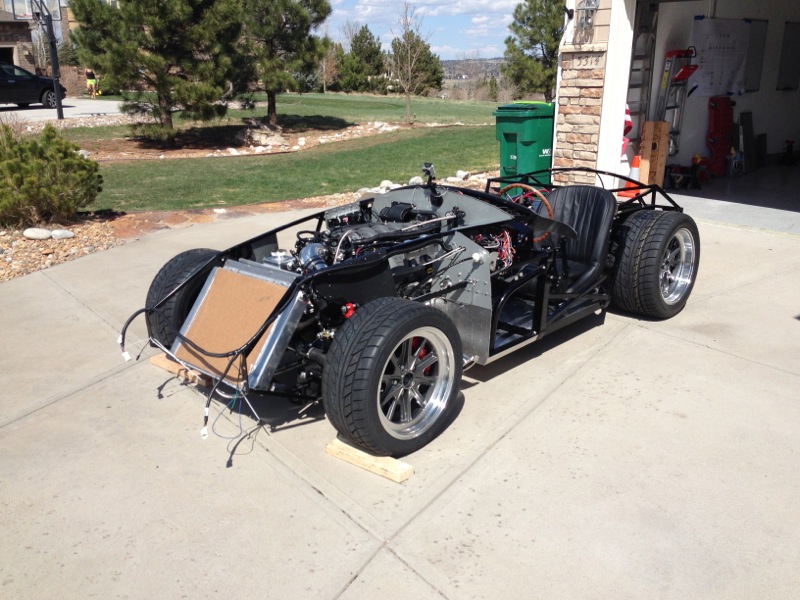
And here she is resting on her own tires for the first time. It’s funny after having her up on jackstands for a year you get used to a certain height and come to think of that as the height of the car. Once it’s down on the ground you realize how low it sits. After setting it down on the ground one of the things I had to do was set the ride height. 4.5″ in the front and 5″ in the rear. I had to go through a couple of cycles up and down adjusting the springs until the height was correct. Once that was done I then did a basic alignment and tightened everything down. That will do for now until I can get her to an alignment shop. At this point Destinée and I ran through a few more checks and powering. Got all the fuses in. Heard the fuel pump come on and then did an initial engine bump and she turned over. Since there was no fuel in the tank there was no worry it would actually start this time.

On Sunday we finally rolled her outside, enjoying the good weather and got ready to start her up for the first time. We gassed her up, had the fire extinguisher standing by and had the Go-Pros standing by to film the excitement. Turned everything on and let the fuel pressure build up and adjusted the regulator. Unfortunately, the next thing I would have liked to link to was a video of the first start. However, while building up the pressure in the fuel system we noticed a couple of leaks. At first I hoped it was just a loose fitting but it wasn’t. Turns out at each location where I transition from flex line to the stainless line it was leaking. I tried to sort it out but wasn’t having any luck and so after a couple of hours I threw in the towel realizing something wasn’t right with my fittings.
After rolling her back in the garage I pulled the hard lines off and took a closer look. I realized at this point that it looks like I made a mistake when I bought the stainless for the fuel lines and I didn’t get seamless lines. It appears that during the flaring for the AN fittings the welded seam in the tubing is causing a small imperfection in the flare that’s preventing it from making a proper seal. Well these are the lessons you learn building something like this. I’ve ordered some new tubing that should be in this week and we will see if I can get some new lines run and maybe I’ll get her started by next weekend. See ya.
Great post. Total anticipation. So do you have to go with a continuous line for the fuel lines now [all seamless, no flex]?
No I’ve ordered some new lines with a different style of end connector for those specifics lines so I should be good. I will just need to re bend them but I should be able to use the old lines as templates.
Great catch, Randy! I love that 2nd to last photo!
It’s looking awesome! I’d love to be with you when you crank it! Next step….the body? Then drive!
Actually once it’s running I’ll drive it a bit in what’s called go kart mode just to make sure everything is working. Then the body will go on.
when is the super charger getting mounted? I don’t think you’re going to have enought HP in that thing….. 🙂
Next year. Gotta leave something to do this coming winter.
Love this blog! I check for updates all the time!
Checkout http://www.stainlessheaders.com/coyote for another option on headers.
I like those anti-rotation header bolts!
I’ve seen those guys and have contemplated buying a set but decided I would wait and see how the ones from FFR perform. Glad your liking the blog. Thanks
Ya, I can understand. Beautiful build! I hope that you won’t mind if my dad and I email you some questions from time to time as we get through ours. We are well behind you.