
The Great Pumpkin

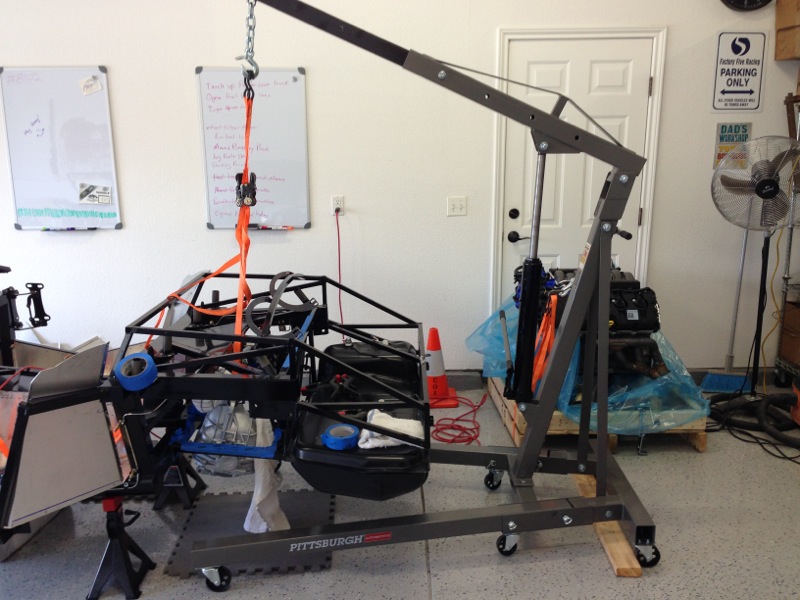
With Halloween right around the corner I couldn’t resist. The differential is also referred to as the pumpkin so now you know. So the diff went in this weekend. I got it back from Lou’s on Friday, Lou took care of rebuilding it for me. I decided that I would be better off letting Lou take care of it since he has all the right tools and experience. Now getting it installed was a whole other thing. For the first couple of hours it seemed like a classic case of square peg-round hole. The install manual says it comes up from the bottom, pinion first with axle holes aligned front to back. As you can see in this first pic, given the weight of the unit about 45 pounds I used my engine hoist so I didn’t have to worry about it falling on my head and crushing my coconut.
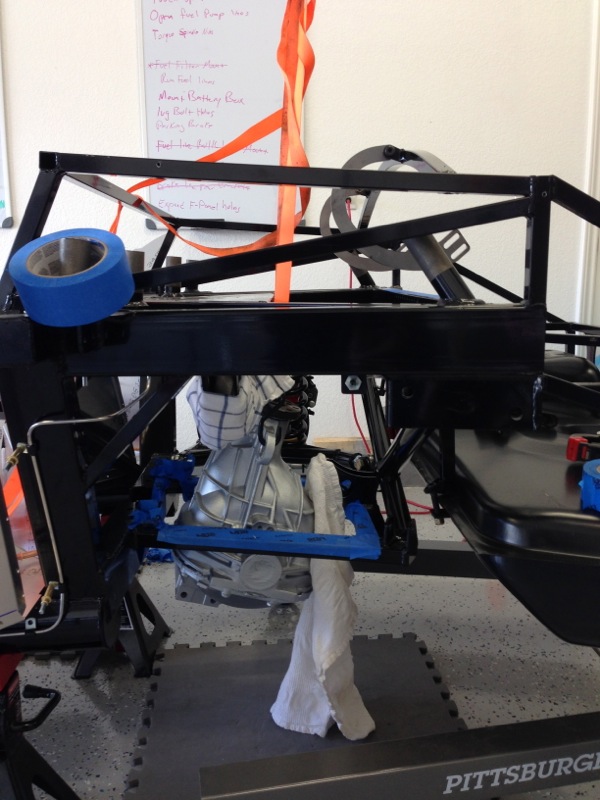
Here’s a closer look of the diff hanging from the straps. Turns out it won’t go in this way, or about a dozen other ways. I hopped back and forth between the car and the online forums looking for the secret. Finally I found a video showing the actual install and thus found out the missing part of all the other descriptions. I had to move the hoist to the side of the car and put the pinion up and forward and then rotate the diff with the top pointed towards the driver side. Or more simply I had to rotate it at the same time I was raising it. Once you see it done it took only about a minute to get it in place.
And here it is resting nicely and bolted in its place. In case you’re curious I removed the driver side rear suspension to make it easier to get in there and work.
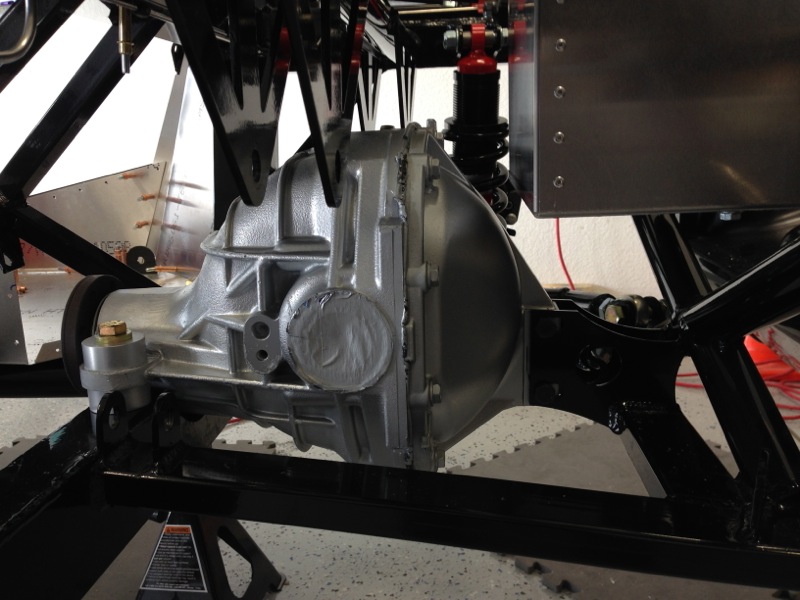
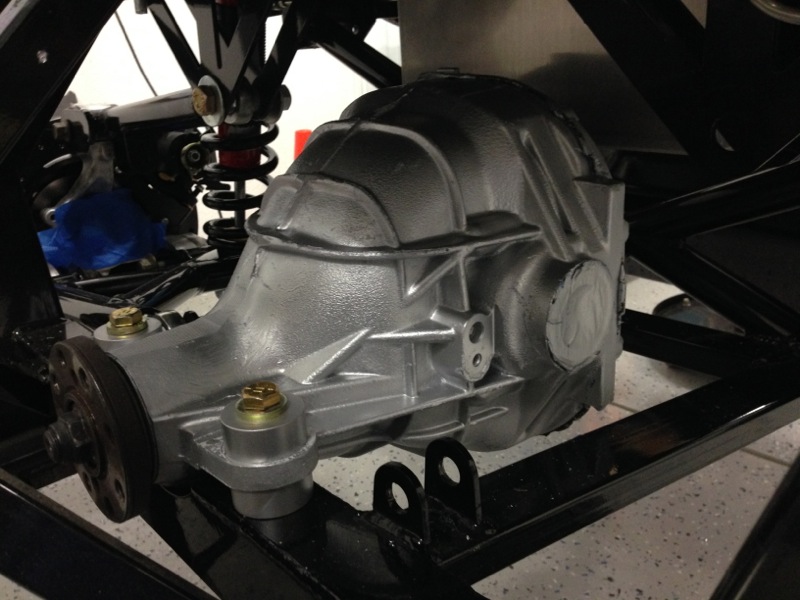
Another view taken from the driver’s side. In case you’re curious the driveshaft will bolt to that round disc with the holes and the nut in the center of it in the bottom left corner of the pic. The axles will insert in the round section of the diff where you can see the tape covering the large round hole on the side. The tape is covering the holes to keep junk from getting in as well as protecting the seals when I sprayed a coat of silver paint on the diff. So the tape is also silver and sorta blends in with everything.
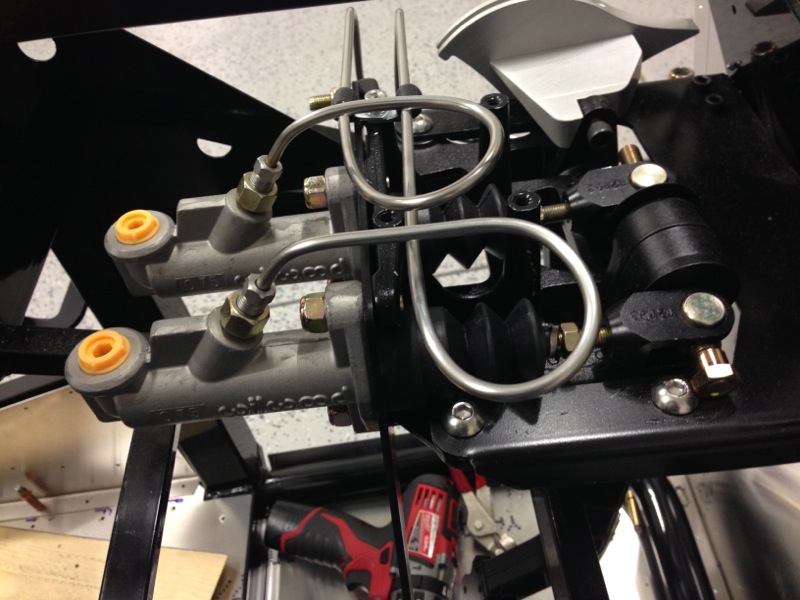
Some other areas that I completed this weekend include the running and mounting of the front brake lines and the master cylinder reservoirs. In the pic below you can see the stainless steel lines coming into the 2 master cylinders. The cylinder closest in the pic is for the rear brakes and the other one is for the front.
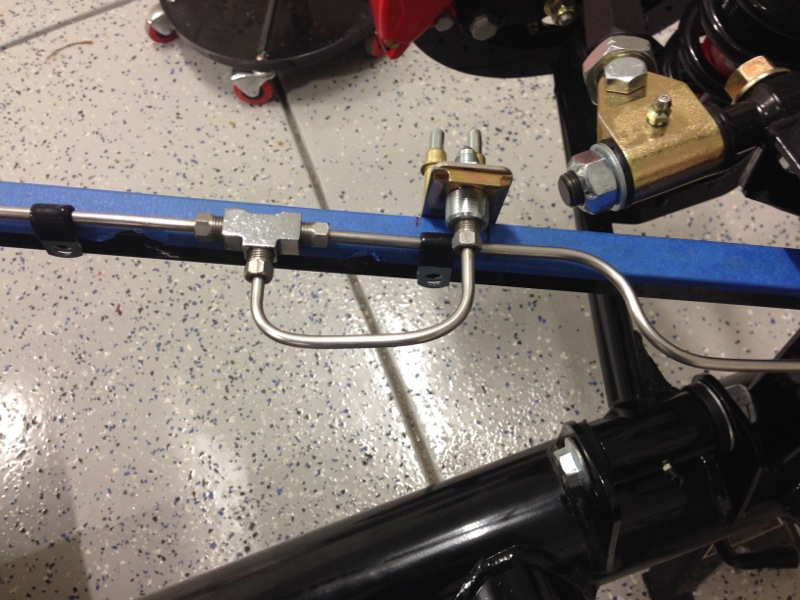
In this pic you can see the brake lines running into a tee to serve the driver side front and then continuing forward to cross over to the passenger side. Coming out of the tee in the center the line loops around and ties into the fixed fitting. On the other side of this fitting will be the flexline that connects to the brake caliper.
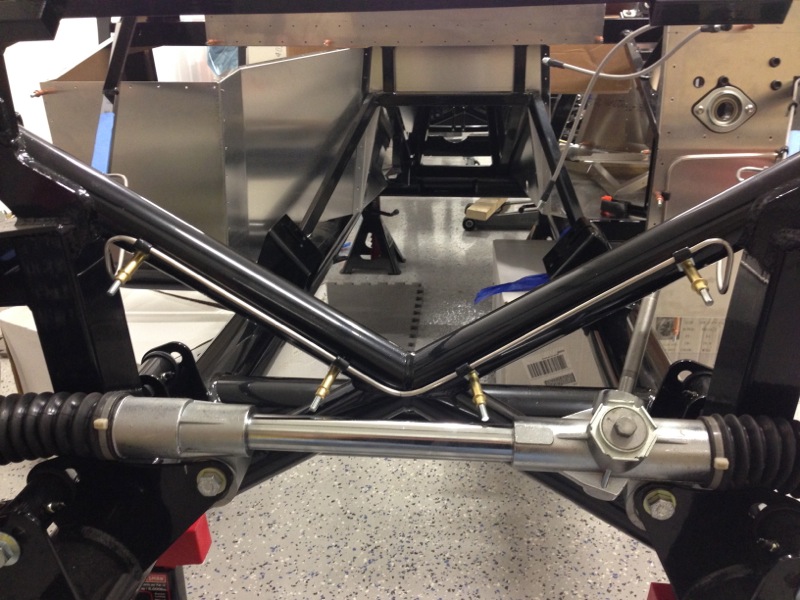
Here you can see the line crossing over the front X member and then going to the passenger front brake on the left side of the pic. The gold colored Cleco’s are holding the clamps in place and will eventually be replaced with rivets.
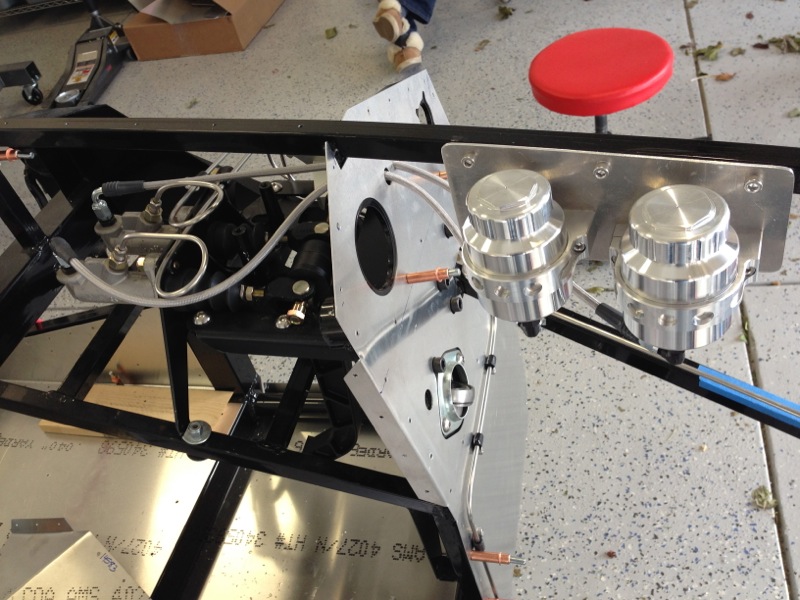
Here are the master cylinder reservoirs being trial fit to make sure everything lines up.
And here you can see the master cylinder reservoirs mounted in their final spot and the braided hoses running to the master cylinders. Now all I have to do is run the flexlines to each brake and then bleed the whole system and hope that my flares don’t leak. It will be a while for that since the hoses from the reservoirs run through the panel on the front of the driver foot box and that will be going out for powder coating so I won’t be able to bleed the system till I get it back from powder coating. Once I get it back I can permanently mount it and run the lines. I’ll be adding rubber grommets to the lines to both seal the holes and protect the lines.
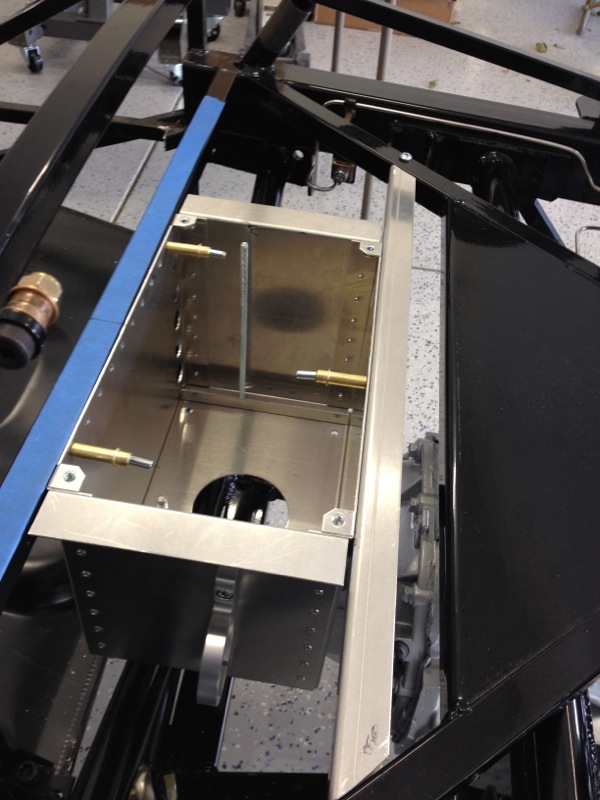
One other thing I knocked out this weekend was the installation of the dropped battery box. This is a nice little piece that allows you to install the battery in the extra space above and behind the diff. It gets the battery out of the trunk and free’s up quite a bit of space.
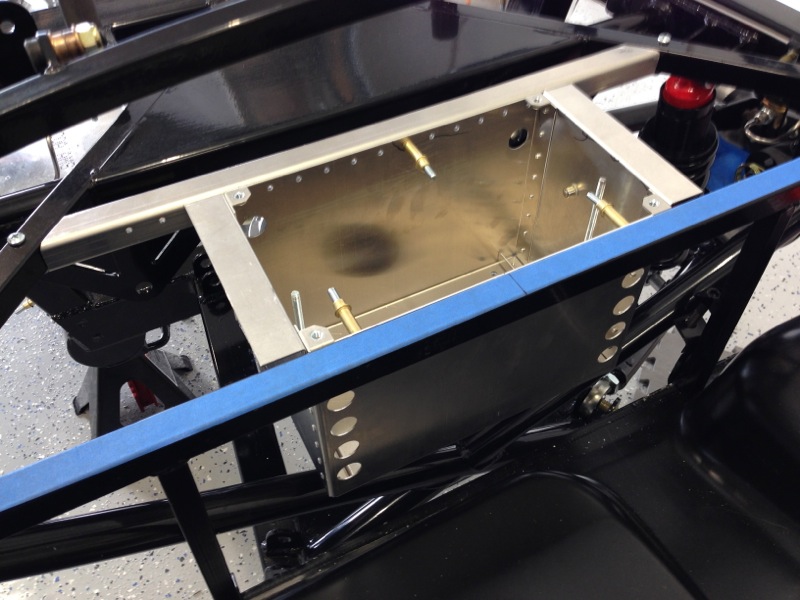
In the pic below you can see the fuel filter bracket that’s mounted on the side of the battery box towards the bottom of the pic. You can also see the outside of the box in the 3rd pic of this post just behind the diff. Well that’s it for this weekend. I got a lot done and am that much closer to lowering the engine into place.
Oh one last thing in the spirit of the post title. We went to the Pumpkin Chunkin Colorado 2o13 festival on Saturday. Pretty insane stuff, got this video of the Inertia 2 doing the last chunk. That things powered by a Blown 454 Chevy engine. Watch it in full screen. I have no idea where the pumpkin went.
Interesting read and great documentation, I learned quite a bit. I hadn’t heard of a differential being called a pumpkin, but makes sense. You made good time with all of that work and progress. Curious, how far did that damn pumpkin go?!
WOW! Excellent work Randy. Fit, test fit then re-fit again right? I find on my restoration I put everything on at least twice! I have the advantage that it was built that way at the factory. You are starting at ground zero and making it work! Nice job!
Tom
How do you put the battery in that dropped battery box? Do you have an access through the trunk?
Overall your doing a wonderful job documenting this build. I’ve done similar work but I didn’t document every move and issue I ran into. I bet Ford didn’t document building these cars as much as you are!!
Getting it in is easy – Gravity! Getting out might be harder. Yes that area is in the trunk. Normally the battery sits in the trunk right behind the cockpit back wall and takes up quite a bit of space in the already small trunk. This box sits in that unused area beneath the trunk. It has a cover that will go in place and be under the carpet in the trunk.