
Set Backs and Do-Overs
Over the last 2 weekends I had hoped to wrap up the cooling system and the remote oil filter, oil thermostat and oil cooler and thus be ready for first start. Well that’s the direction I was headed until I ran into a few issues which resulted in the set back and a do over or two. But let me start you at the beginning. Last week Saturday I started working on relocating the oil filter. This went pretty smooth. In the pic below you can see the stock location of the oil filter on the driver side of the engine under the alternator.
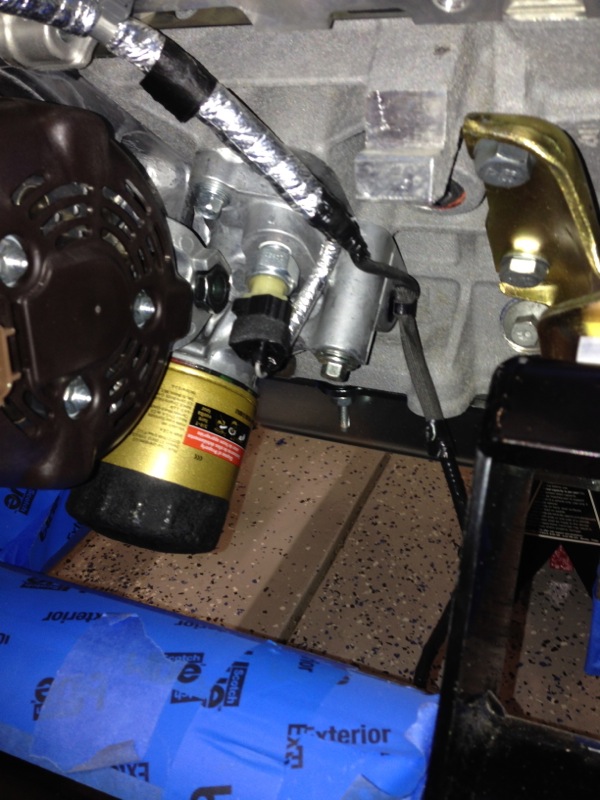
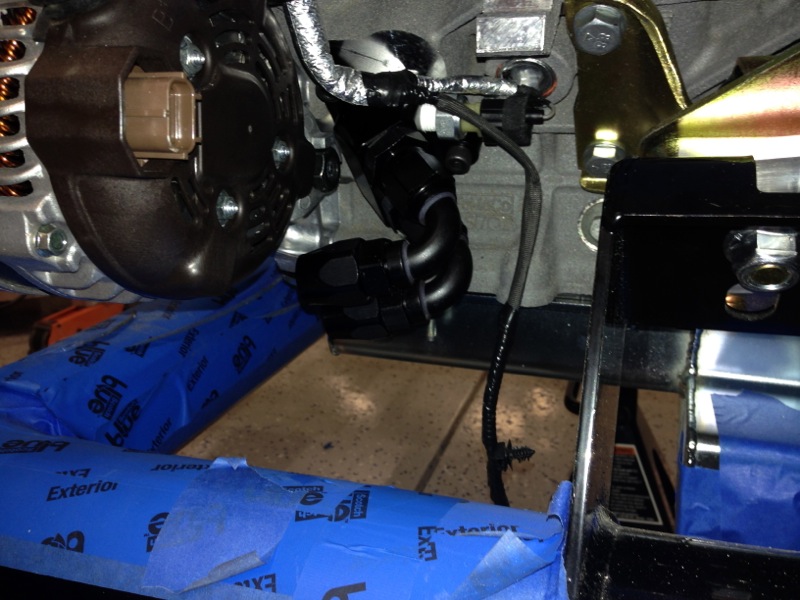
I want to relocate the oil filter for a couple of reasons, one being that I can run a larger filter and two being that since I’m also going to run an oil cooler I need to run oil lines anyways so I might as well move it. In this next pic you can see the adapter, the black piece with the curved fittings, that replaces the piece that the stock oil filter screws onto as well as the oil pressure sensor. Those two fittings will eventually have 2 stainless braided lines, like I ran for the fuel lines only bigger, running towards the front to the remote oil filter adapter.
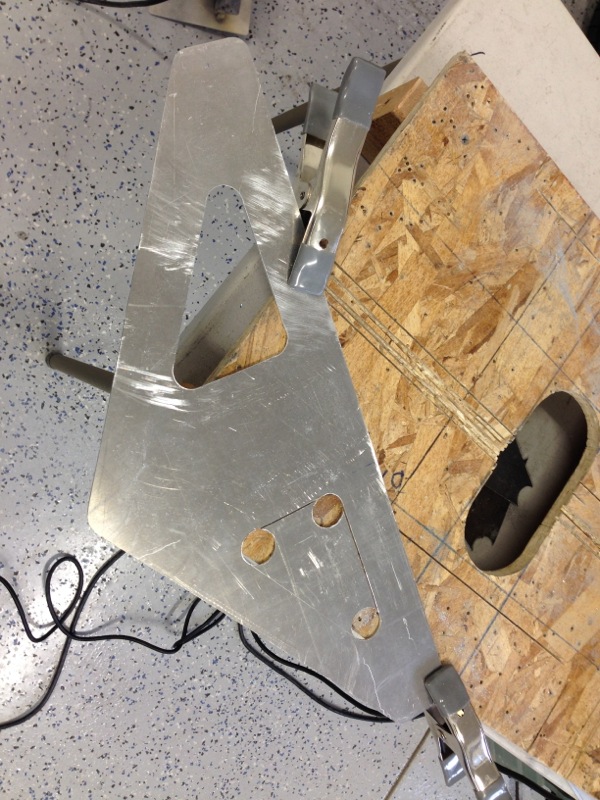
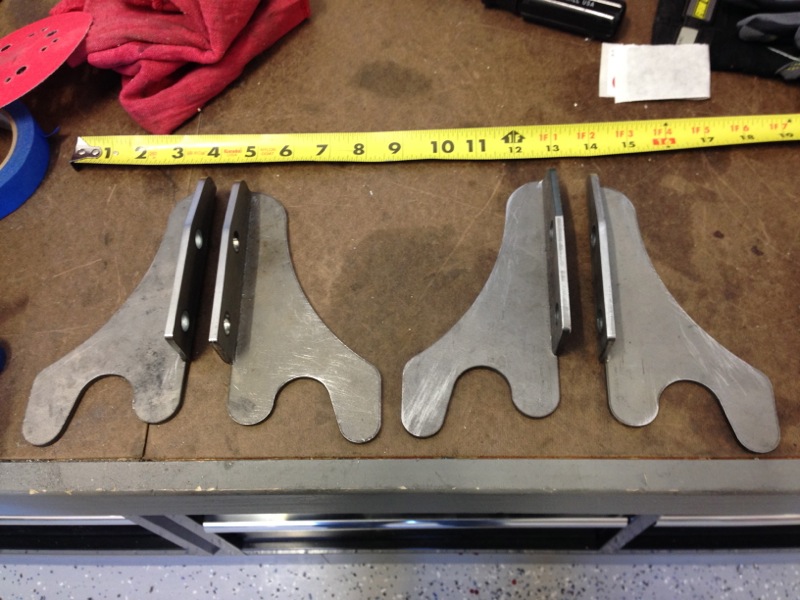
The next step was to locate the remote oil filter adapter. The way a lot of people mount it and the way the manual suggests is to screw it to the X brace in the front of the car. Since I also need to mount an oil thermostat, it controls when oil flows to the cooler, I decided I wanted something a little different. I got out some cardboard, mocked up a template for a bracket and came up with something I liked. I transferred it to some .090 aluminum and started cutting. You can see one bracket in mid stage below.
With the 2 brackets cut out I mounted the remote oil filter adapter to one, the pic below, and the oil thermostat to the other one, the next pic.
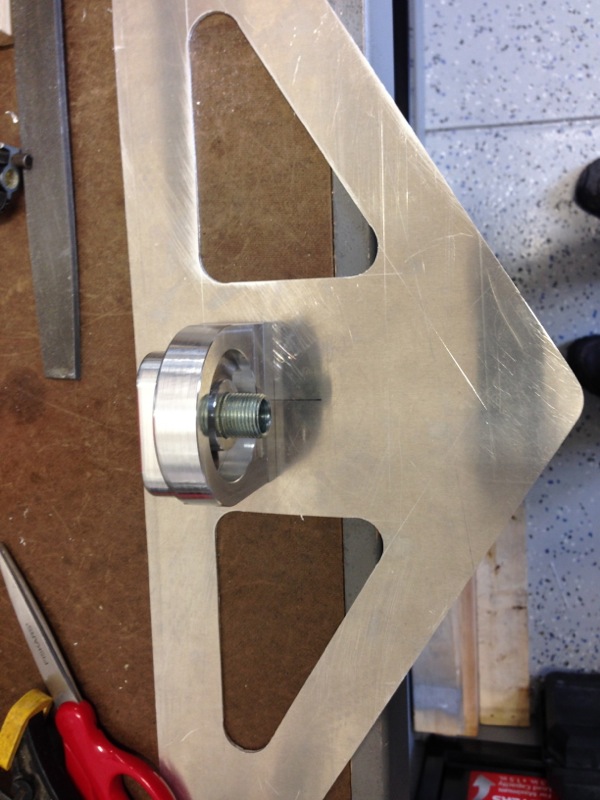
In the pic below is the oil thermostat with 2 of the fittings installed. These are the fittings that run to and return from the oil cooler. There are also 2 more that go on the top of the thermostat that take oil from and return oil to the engine. The thermostat will also provide a place for the oil pressure sensor and the oil temp sensor (prior to going into the cooler).
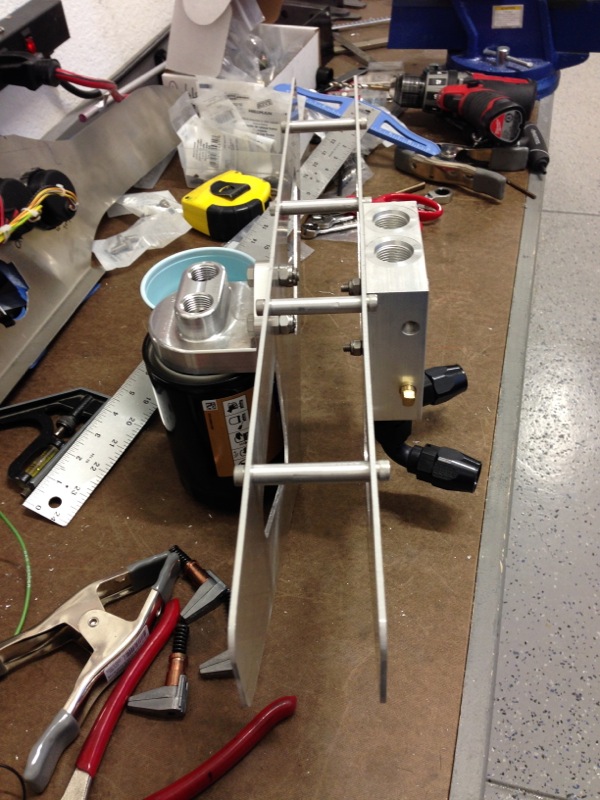
Once I those pieces mounted I made some spacers so that the 2 brackets would straddle the 2″ tubing that makes up the front X brace. You can see those in the pic below and the oil filter is installed on the adapter. You can also see the 2 ports on the top of the oil filter and the thermostat.
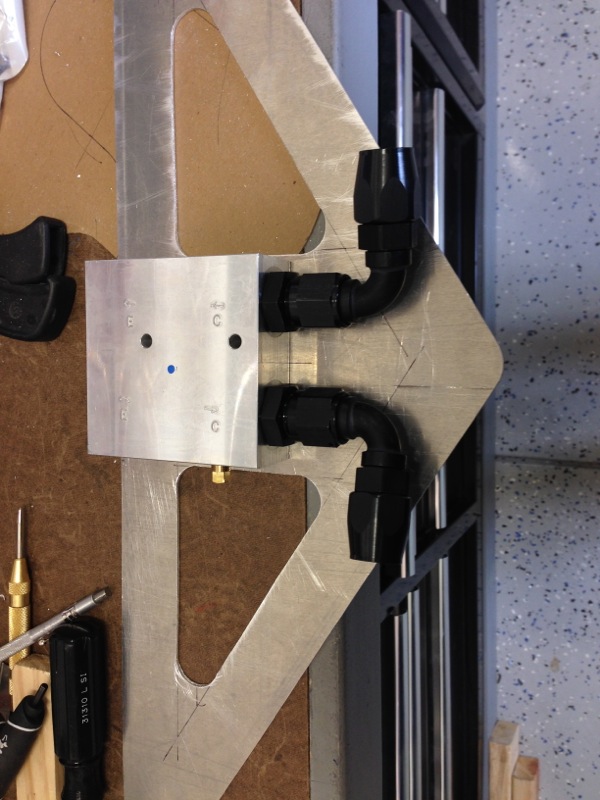
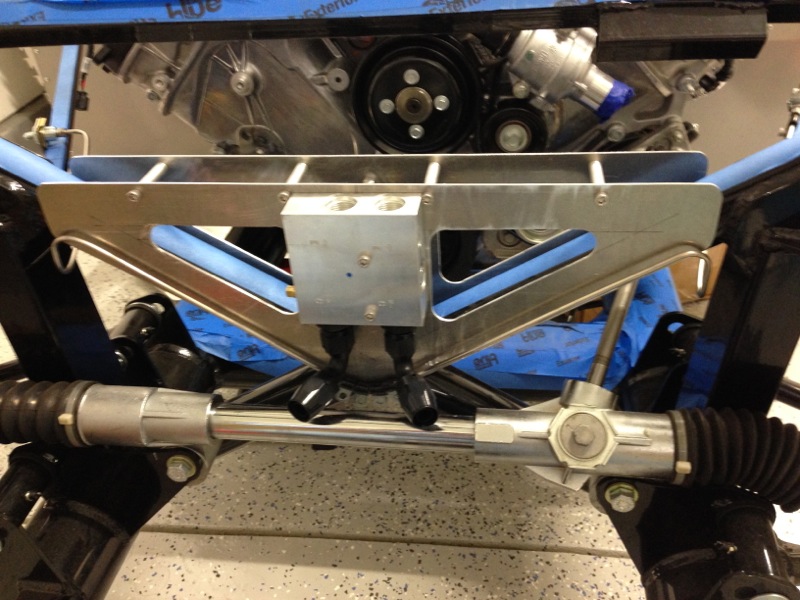
The next step was to place it in the car for test fitting. Below you can see the back side of the bracket, this side faces the engine.
The pic below shows the front view of the bracket and you can see the X brace that it would have mounted to. All in all it took me all of that Saturday to mock this up and then make it and get it all fitted. I was pretty happy with it and how it looked.
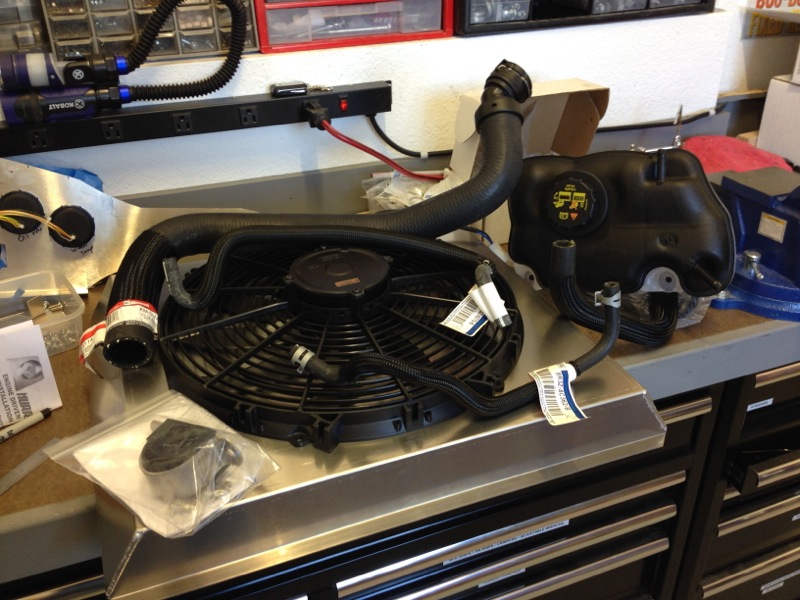
On Sunday with oil filter, etc. taken care of the next step was to start mounting the radiator, cooling fan, cooling fan shroud, overflow tank and running all the hoses. All of those pieces are in the pic below.
Fitting the shroud to the fan introduced the first fit problem as the edge of the shroud was a bit tight against the top hose connection. Not that big of a deal I trimmed it and it fit nicely but it was an indicator of the problems to come.
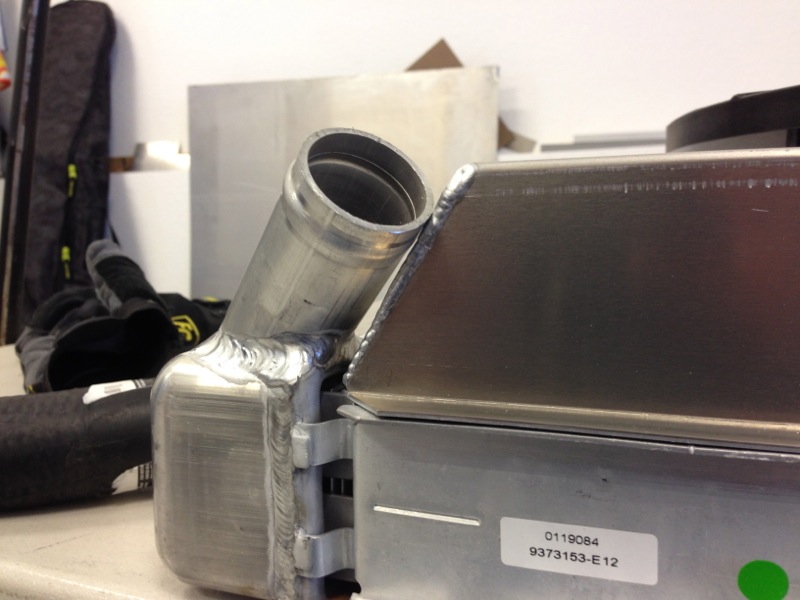
In the pic below you can see the shroud mounted on the back of the radiator and the electric fan is mounted in the shroud. On the right you can see it now clears the top radiator hose you can also see in the middle of the pic, just in front of the oil thermostat, that it’s a bit close to the fan but it clears.
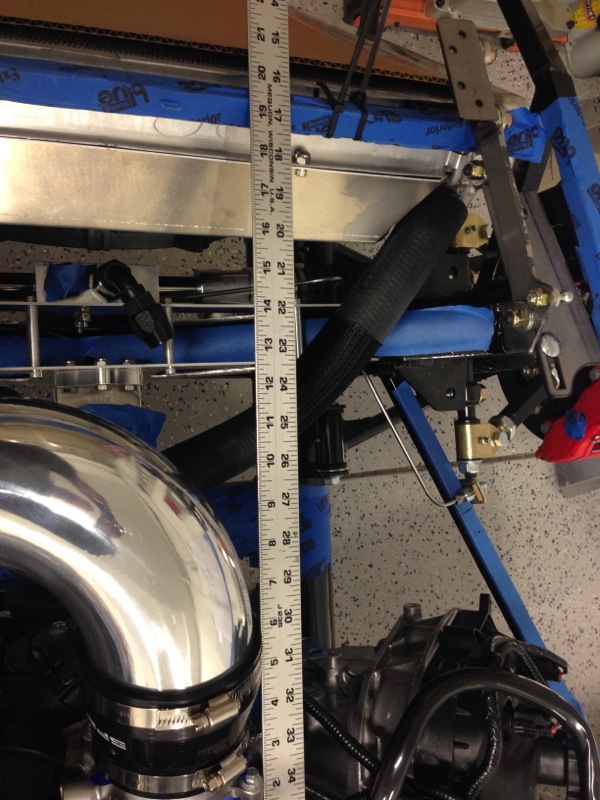
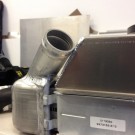
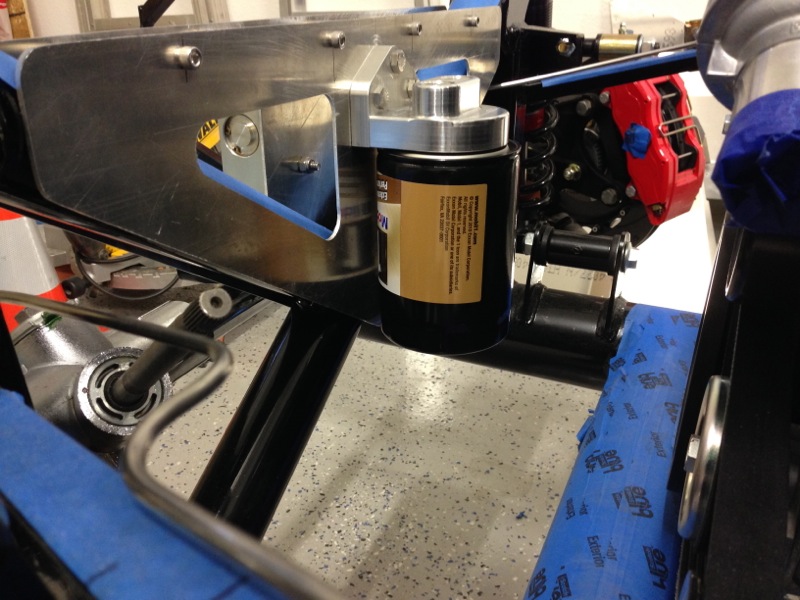
Well that cleared but when I went to start working on the brackets for the overflow tank is when I realized I had miscalculated the depth of the tank. As you can see in the pic below the bottom outlet for the tank interferes with the oil filter/thermostat bracket. I wasn’t feeling to happy at this point and might have even muttered a couple of colorful words to myself. Ok no might about I did utter a whole bunch of colorful words. This pretty much brought the weekend to a screeching halt, seeing how I had used up all the colorful words I know, and until I could figure out how to work this one out.
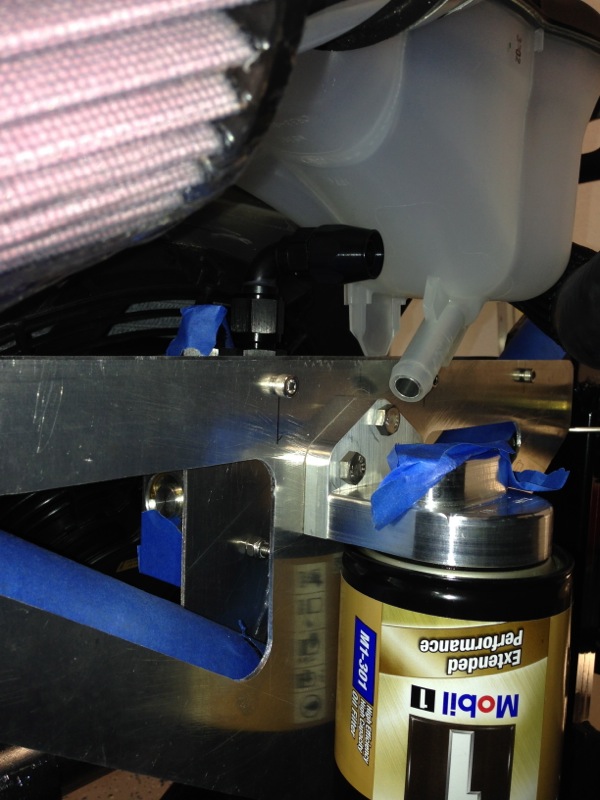
This is the top view of the tank and you can see it also interferes with the cold air intake.

Let me explain something at this point. This tank is the stock Ford tank that is used in the current Mustang with this engine. Others have used this tank with this engine and it works well, assuming that you can shift it towards the passenger side and you don’t have a custom oil filter / thermostat bracket below it. I had decided to use it since it worked for others and well it is what Ford engineered to work with this engine. So that pretty much ended last weekend with me in a slightly upset mood, exhausted from all those colorful words and trying to figure out how to solve this one.
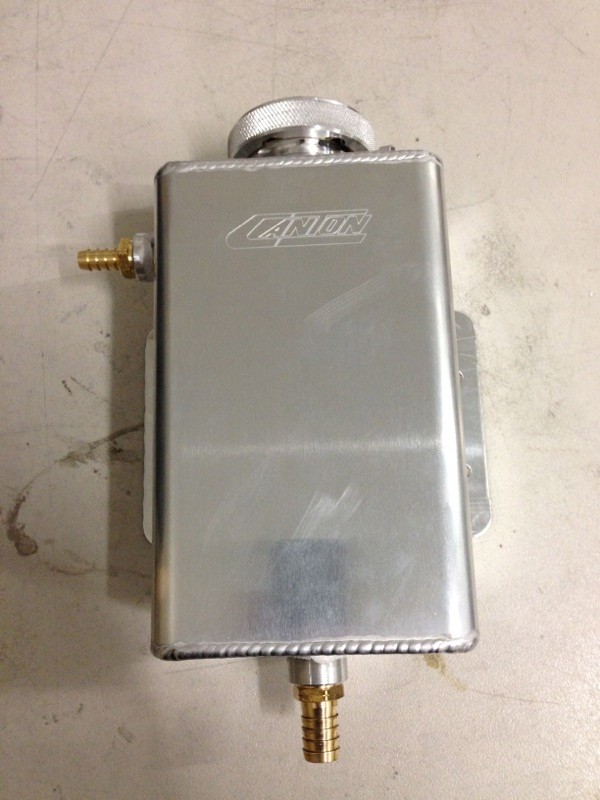
After some thought it occurred to me that I didn’t have to use that particular tank, well DUH! There are plenty of custom tanks available that would serve the same purpose and if I was lucky I might find one that would still work with my brackets. So off to the wondrous Internet to see what was available. I eventually found this tank that I felt was the right size and look and I could work with it. Also it being made out of aluminum seemed like it would look better under the hood than the plastic tank.
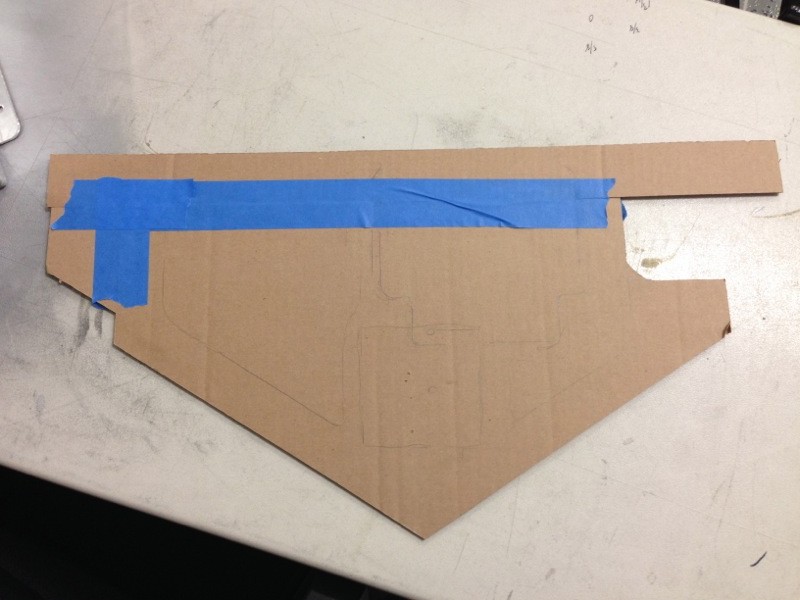
I had originally intended to mount it to the passenger side hanging off of the frame rails and while it fitted and the bracket I mocked up fit, it was just a bit tight and too close to the brake lines for my liking. And ultimately I didn’t like the look of it on the passenger side. So I was back to fitting it towards the front. Well it suffered a similar problem as the plastic tank and the bottom outlet interfered with the oil filter. That finally led me to conceding that I was going to have to change my brackets that I had spent all of a Saturday making. Below is the template for the new bracket that will support the oil thermostat on one side and the overflow tank on the other. I’m going to have to have to move the oil filter adapter to a slightly lower place to get everything to fit. I would have loved to show a pic of the finished piece but I ran out of sheet aluminum to make it out of and the place I get it isn’t open on weekends.
With the template done and no way to make the final bracket I took care of a few other minor odds and ends. I filed the quick lift jack points so that I could send them off the chrome shop. These go on the front and rear of the car where you would normally expect to see the bumpers.
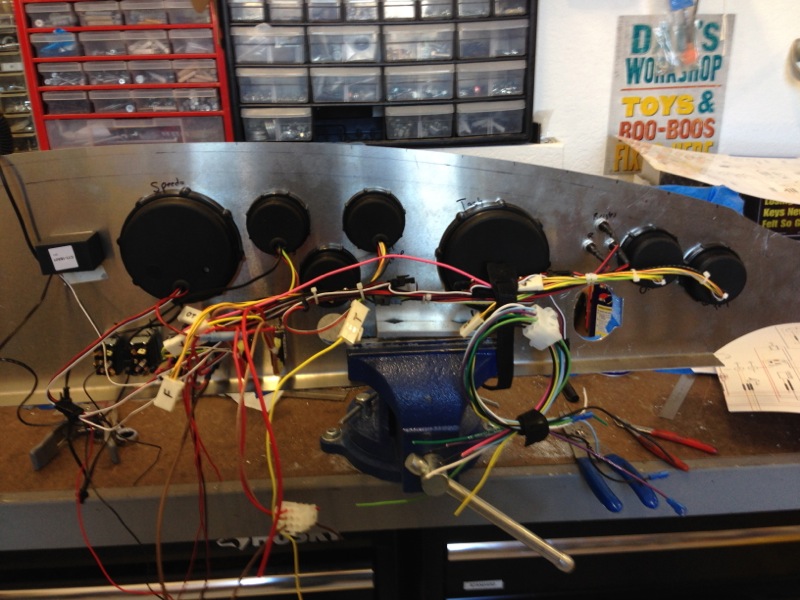
I also worked on re-wiring the dash as I made the original harness just a tad bit short and that made it really difficult to get everything attached so I decided to rewire it and replace the connectors with nicer and fewer connectors.
And that pretty much wraps up the last 2 weekends. A couple of set backs that I wasn’t expecting but should have known better and should have planned for better. All in all still good but a little behind where I wanted to be at this point. I had originally planned for a possible first start this weekend but that obviously didn’t happen. I’m not sure I can get it all together by next weekend so right now, assuming nothing else goes sideways, it looks like first start won’t be till the weekend of the 5th of April, stay tuned and let’s see.
Randy, tough weekend but your attention to details will ultimately yield an amazingly clean look under the hood when it is all done, so that that as the final reward.
Awaiting the first engine roar!
Mike
Can’t wait for the test drive…keep pushing through. This is very impressive.
Corey