
Overdue Progress and Update
It’s been a while since I’ve posted an update and that’s mostly because we’ve been busy with a few other things and I haven’t had the time to work on the car. ;-( Sad I know. Nevertheless, I got a good solid day in yesterday and made some good progress in multiple areas.
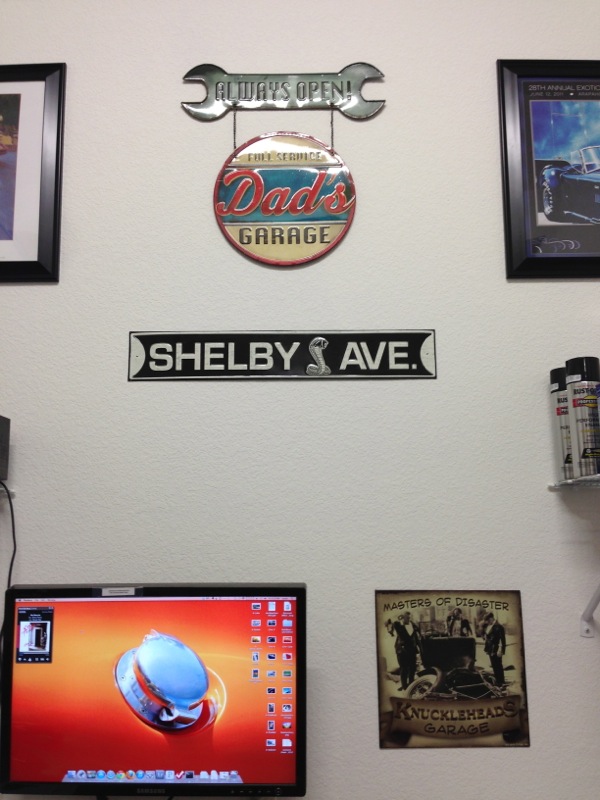
First I need to say thanks to my lovely wife and daughter for nailing it with my birthday gifts.
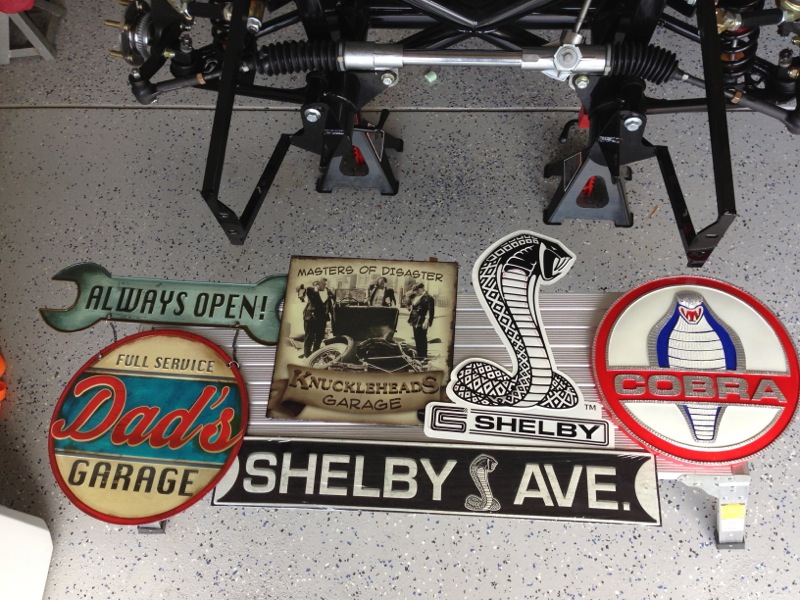
And here they are hung in the garage, perfect choice to fill that blank space on the walls. Adds a nice touch to the garage.
Ok, Destinee and I started working on the gas tank while we waited for the rear suspension parts. We got the sensor for the gas gauge and the pump installed.
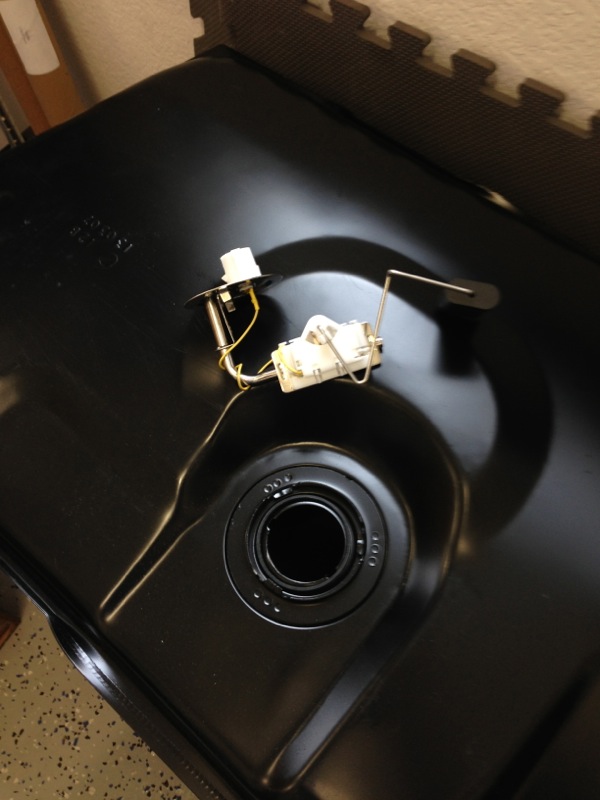
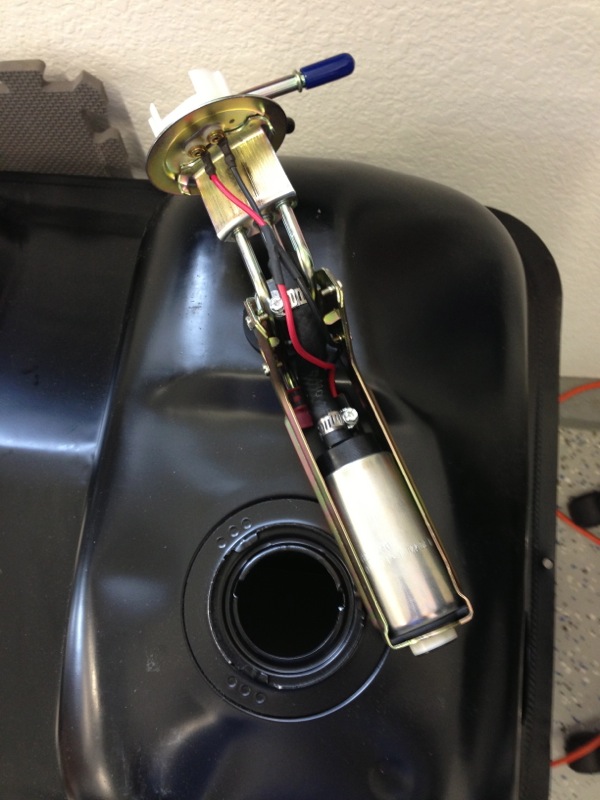
When we went to install the pump we immediately ran into a problem. Just a small one as in it wouldn’t fit. So after staring at it for a bit I realized that the folds on the pinch seams were interfering with the mounting brackets. You can see it in the pic below on the left.
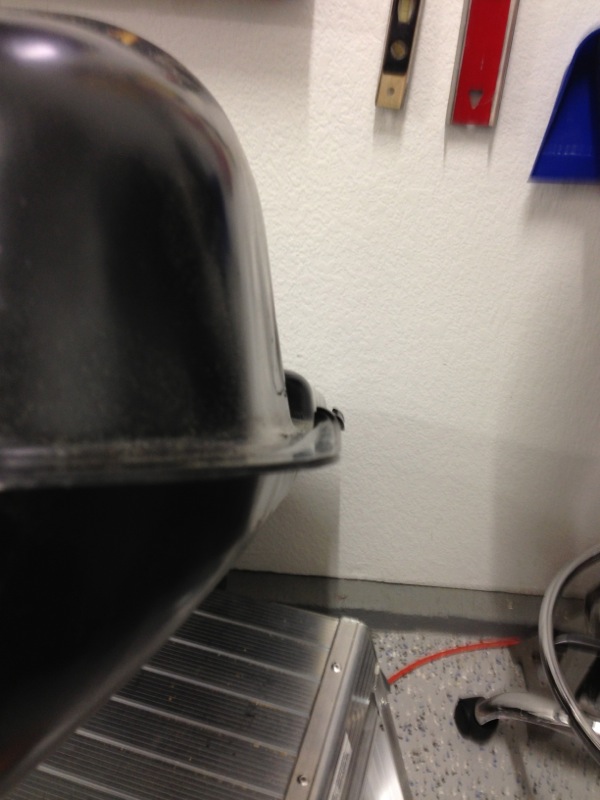
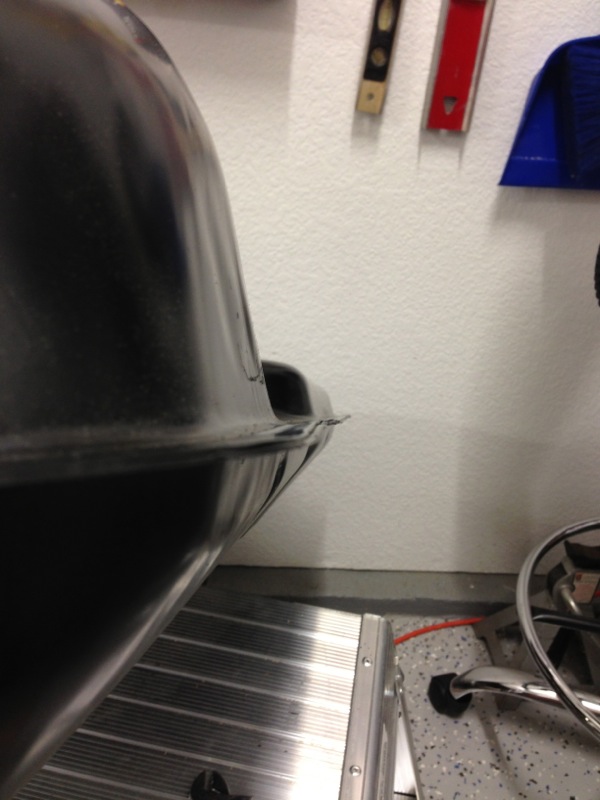
Refer to the manual and there’s no mention of anything, go to the forum and everyone says “Oh yea you have to bend the folds back down flat and the manual doesn’t mention anything about this”, so there you go. Finally got those bent down and hammered out as you can see on the pic on the right. That solved that problem and the gas tank went in with just a slight short bolt problem. A new longer problem easily solved that one.
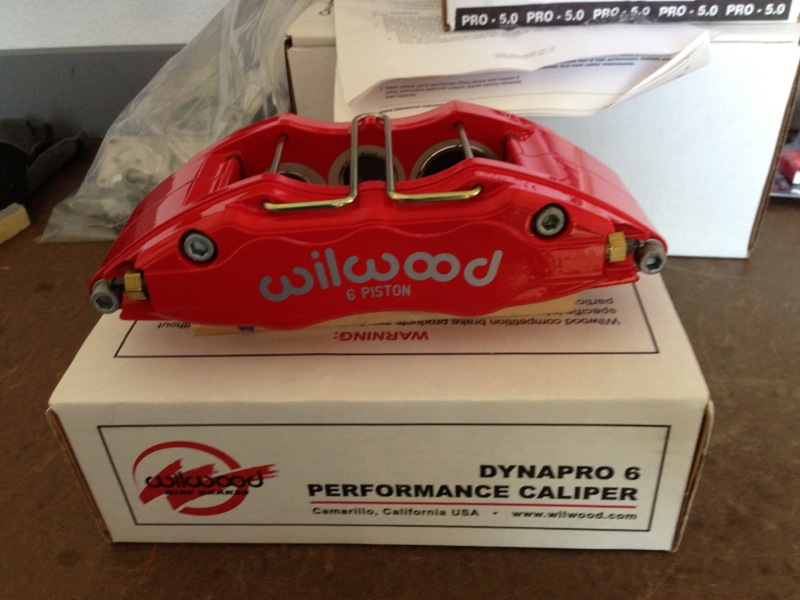
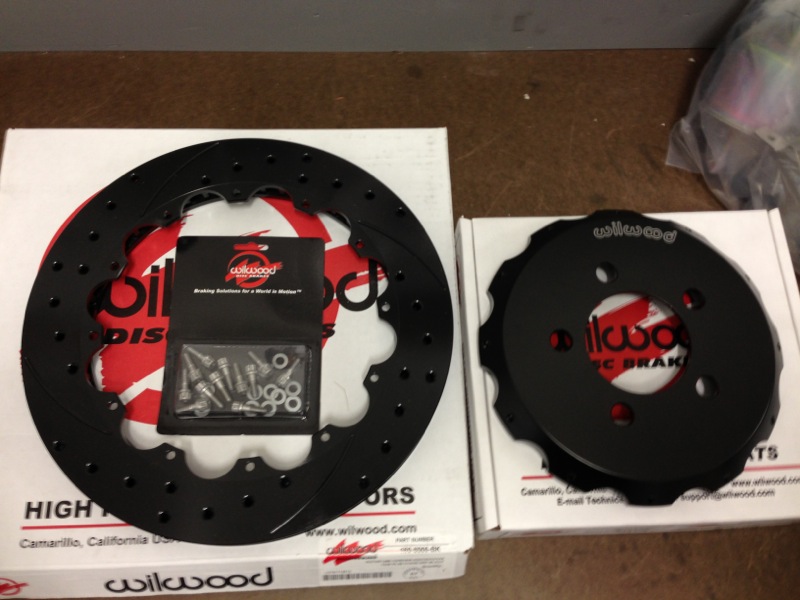
On Friday a bunch of parts showed up and I had lot to work with yesterday. First off the front brakes. I decided I didn’t want to go with the standard brakes and opted for the higher performance Wilwood brakes and here they are.
These are the front 6-piston calipers. These should stop the car.
12″ Front rotors and rotor hats.
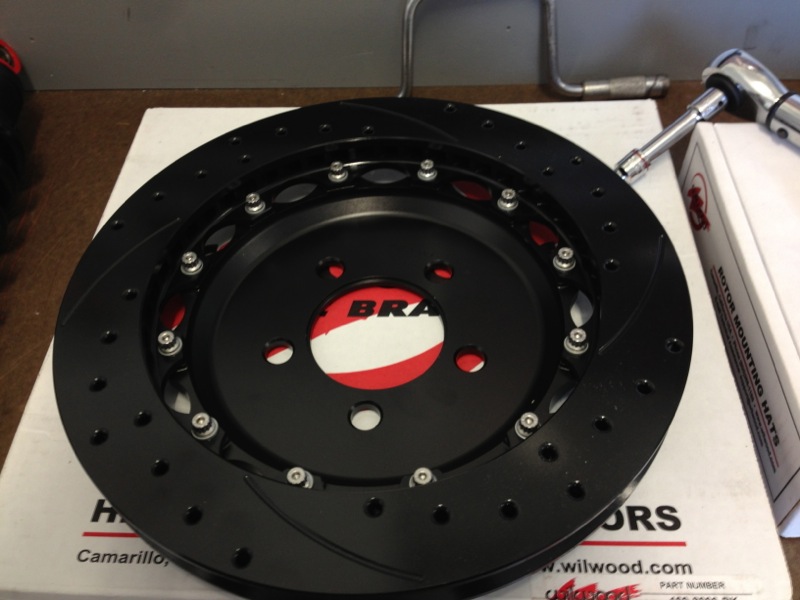
Assembled rotor and hat. Rear side.
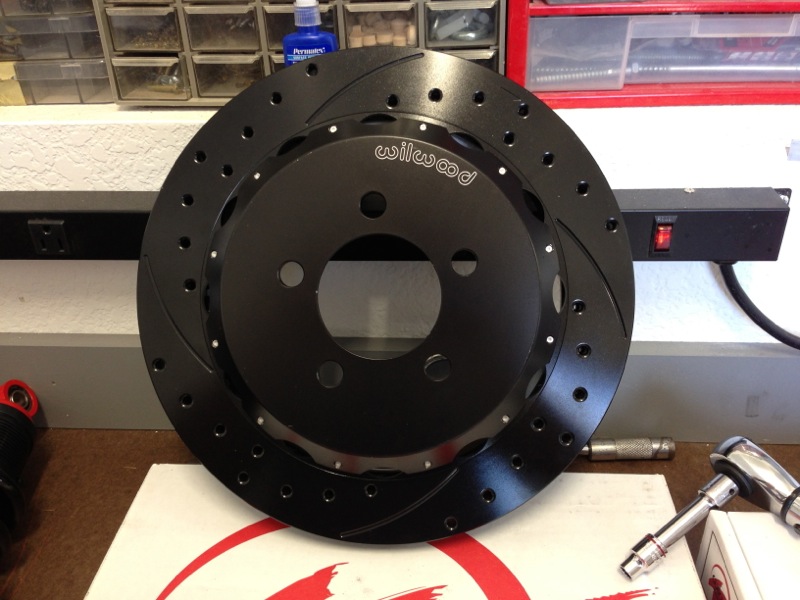
Assembled rotor and hat. Front side
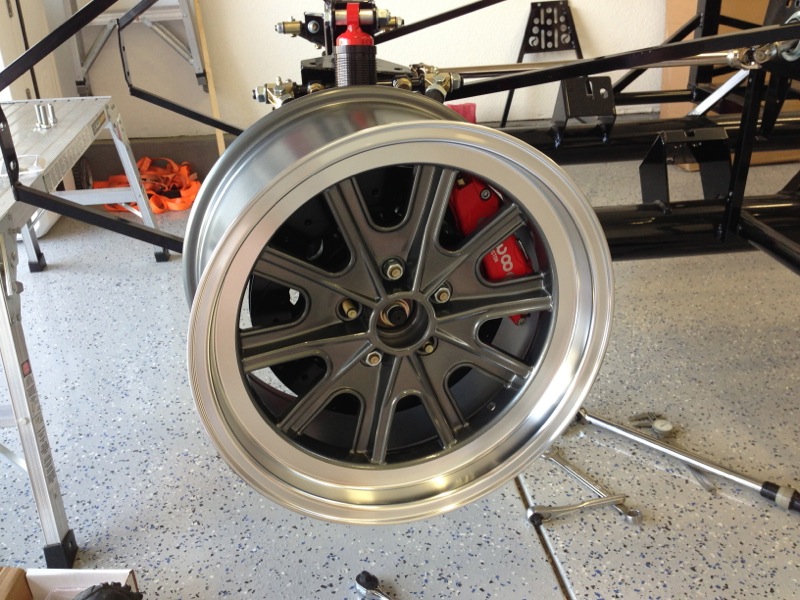
Whole assembly installed on car. Driver side
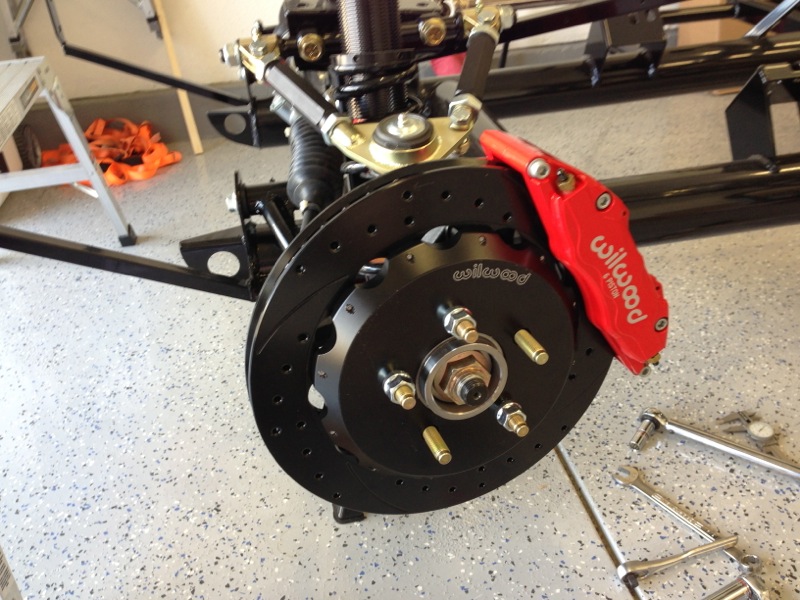
With wheel installed checking to make sure there aren’t any clearance issues.
Opps almost forgot to mention how much help Precious was in putting these together.

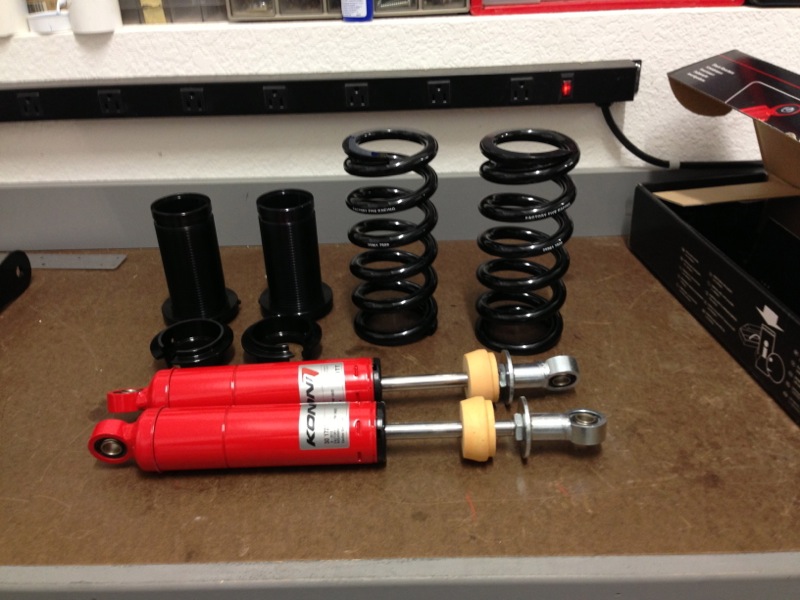
So after getting the front brakes taken care of I moved to the rear suspension as some of the right parts finally showed up on Friday also. First I had to assemble the coil over shocks. Here are all of the components.
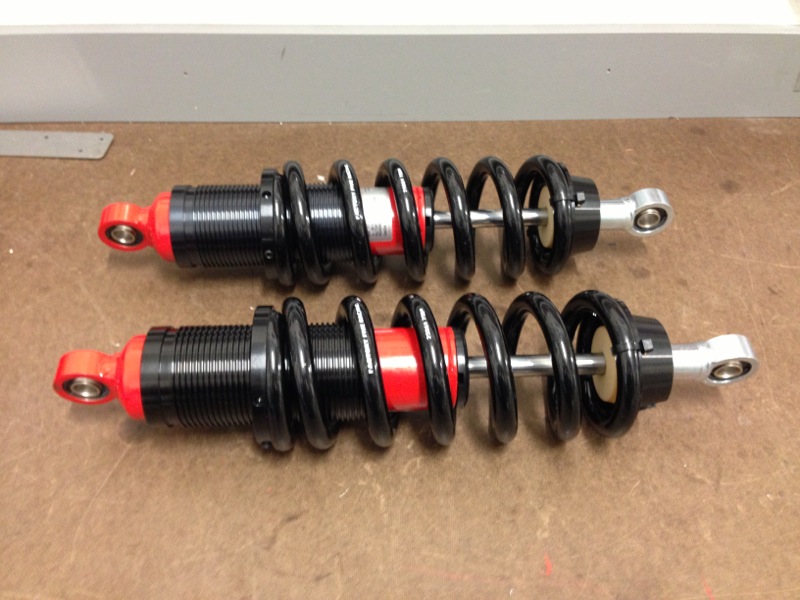
And here are the assembled coil overs.
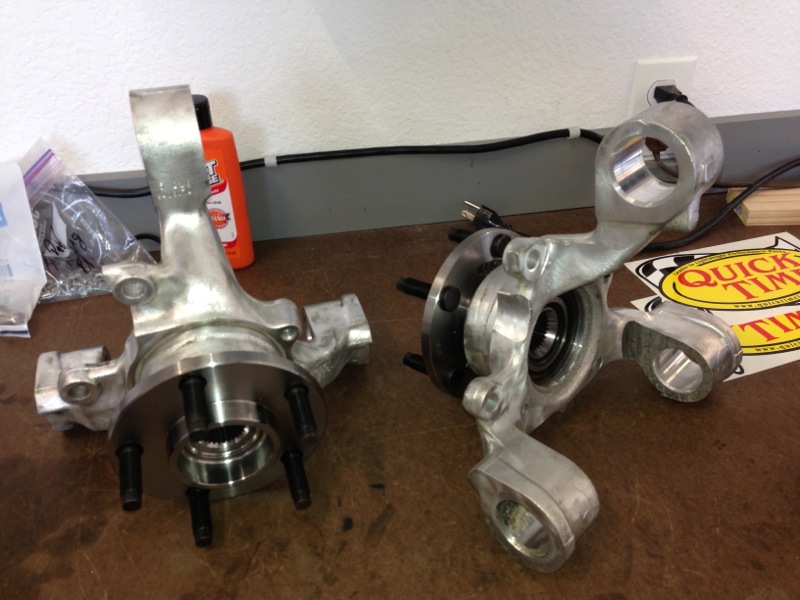
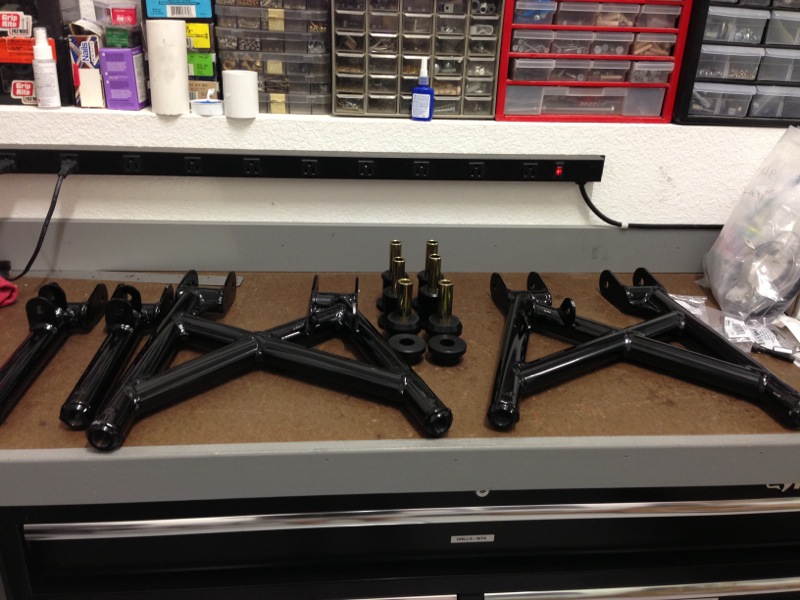
Onto installing the spindles and the upper and lower control arms. Below are the spindles, nice and clean from the machine shop with new bearings and hubs installed.
The proper control arms, finally. The 2 larger arms are the lower control arms and the 2 on the left are the upper control arms.
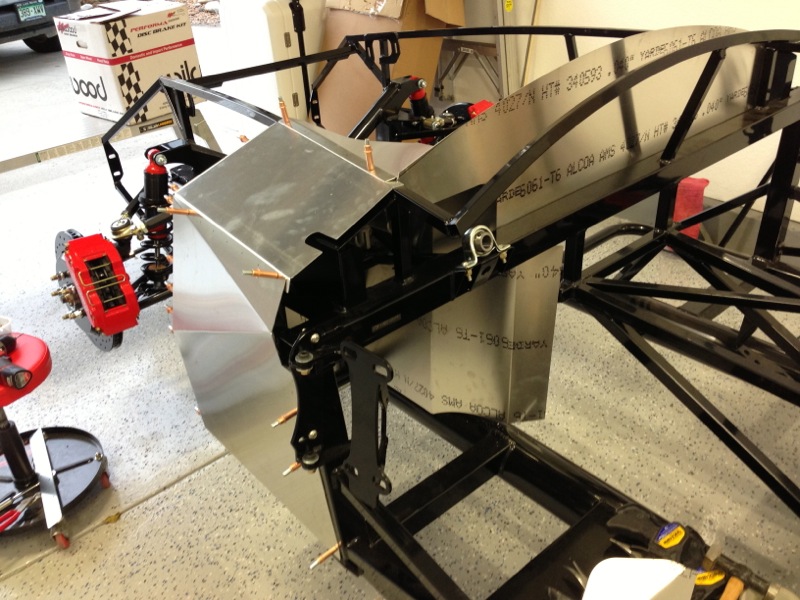
Here you can seem it all installed in the car. Nothing is set at this point because I’m still lacking the axles and I haven’t rebuilt the diff yet and right now the spindles are held on with the original spindle bolts. Expecting the axles next month and looking to have the diff rebuilt in the next few weeks.

Same hub just from the forward view.

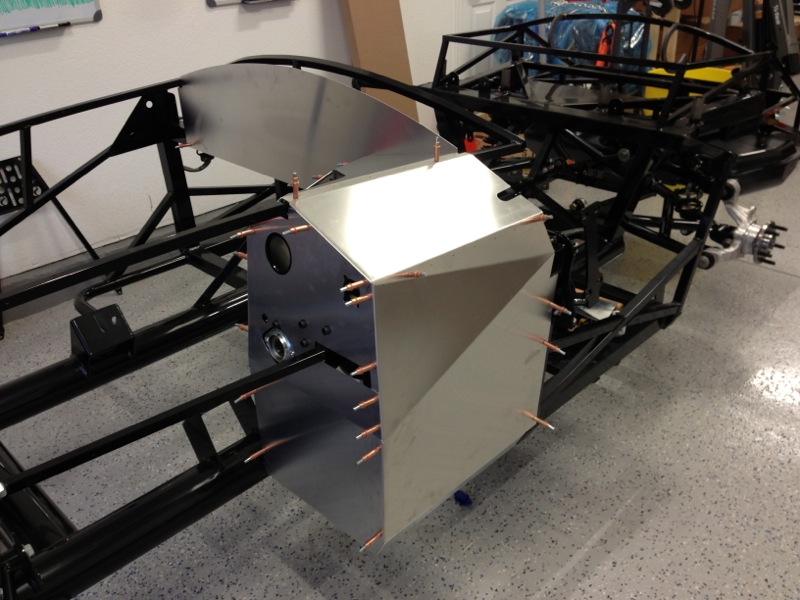
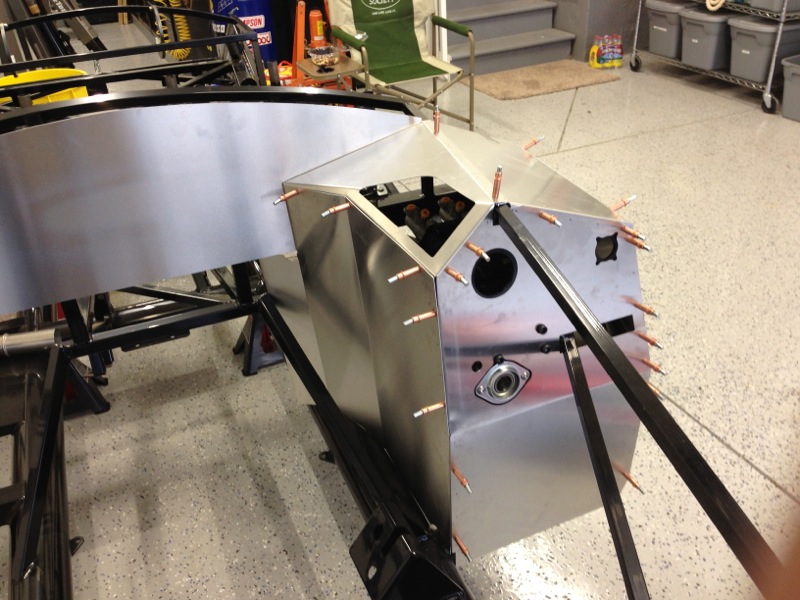
And finally yesterday I started some of the aluminum panel work, specifically on the the driver side foot box. This work is in preparation for running some of the lines and getting ready to set the engine in place. In case you’re wondering what the little copper pins sticking out of the panels everywhere are, they’re called Cleco’s. Essentially they are temporary rivets that hold the panels in place while you work the panel and get everything lined up. Far easier then actually using a real rivet that would need to be drilled out and holds better than a clamp. Plus, I won’t be riveting the panels in permanently until I have them powder coated.
Ok that’s it for the Saturday update. Not sure if I’ll get anything done on Sunday but if I do I’ll let you know.
Coming along nicely Randy. Good work!
Some really nice stuff dude. Get it done and I’ll be back out for a ride.
Did you have to refer to the “dog collar blog” to install that on Precious? Just a joke. Thanks for entertaining and educating us. Takin’ shape!!
Looks great! Love those calipers!
Nice update Randy, those are some beastly calipers… what’s the estimated weight of the car (completed)?
The car should be just a few pounds over 2000 when done. With over 400 hp I didn’t want to leave anything to chance with the brakes.
In the build school they said a Sharpie and Clecos would be our friends. I’m sure you’ve found this to be as true as I have. I ordered 80 clecos to start and I ordered 80 more. I love those things. Keep up the good work. It looks great. Did you happen to order a battery box from ffmetal.com?
I haven’t picked up the battery box yet. I’ve been looking at it but I’ve also been looking at some mods to the trunk to add a little space and I was considering possibly just making my own box.