
Maui

Need I say more. First off let me say I hope everyone had a Merry Christmas. Well it’s been almost a month since my last update and I’m a bit overdue. Part of my excuse is that we were on vacation the first 2 weeks of December, in Maui, so you can’t hold that against me. We couldn’t have scheduled it any better. For those of you who live here in Denver you’ll know what I’m talking about, we had a bit of a cold snap on Dec 2. The same day we left and we missed it. Actually when we landed in Maui and turned on our phones the first message we got was the Winter Weather Advisory. Ok enough bragging about that. The other half of the excuse is that, as I just mentioned, it’s been a bit cold and it’s hard to work in the garage when the temps are really low. Everything from the car to the tools are cold, however this last week the temps have been really nice, up in the high 50’s, and today was no exception. So I got some time in the garage today. WhoooHoooo!
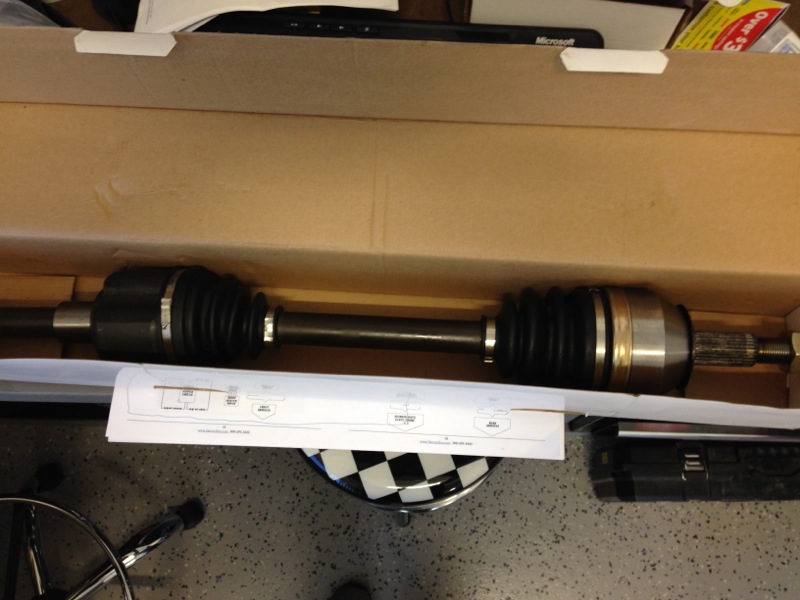
Turns out there really is a Santa cause my axles finally showed up. And below is a pic of one of them. For those of you who are curious, since I’ve put in an Independent Rear Suspension the axles aren’t solid. These have CV (Constant Velocity) joints on each end. These allow for the suspension to travel up and down, essentially providing flex in what is normally solid.
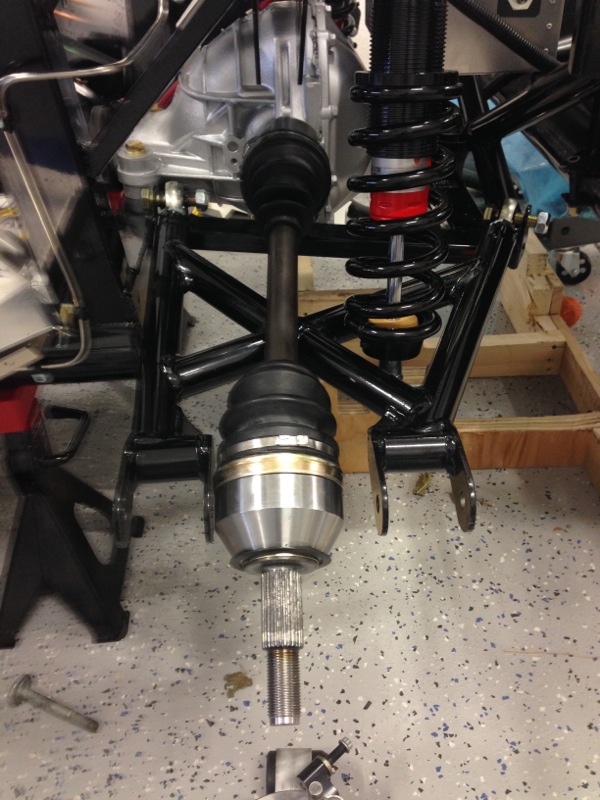
Here’s the axle inserted into the drivers side of the differential.
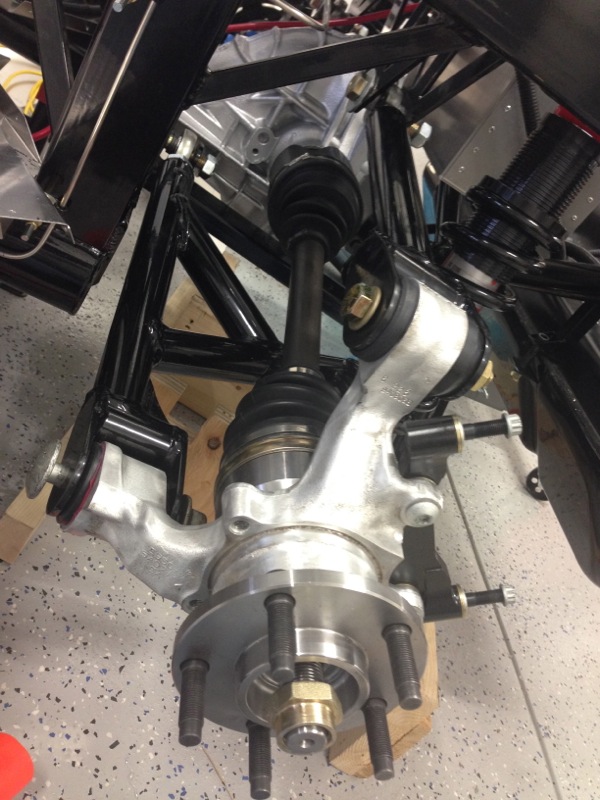
Now with the hub remounted. Notice the angle of the axle versus the hub. This is the flex I mentioned earlier.
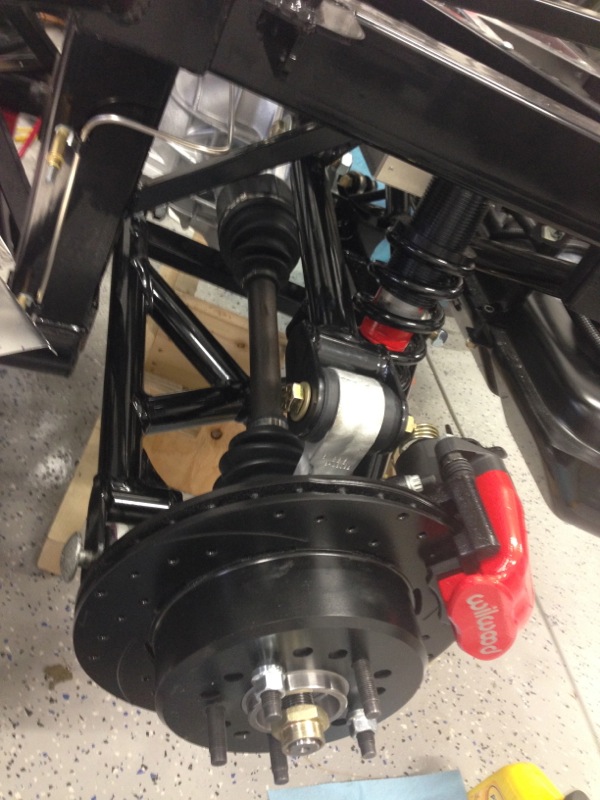
And now with disc and caliper remounted.
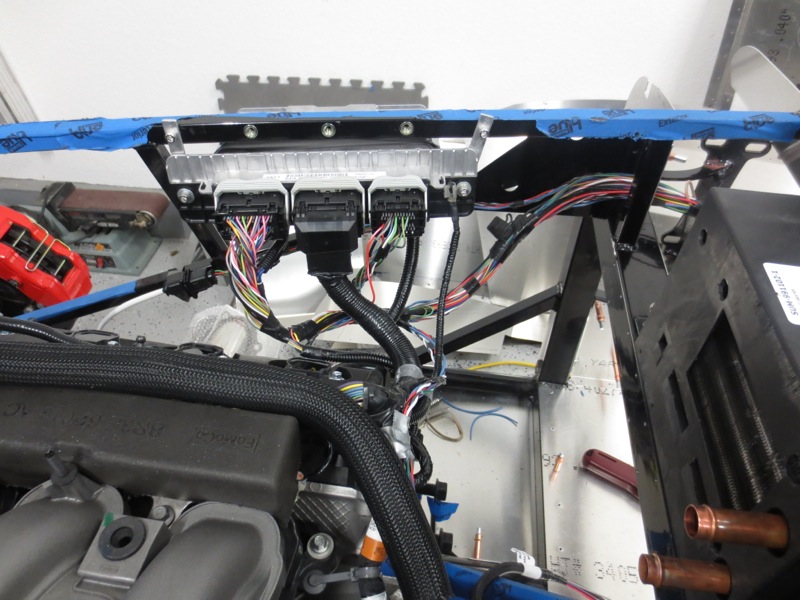
With that out of the way I continued working on the wiring and while it’s not done I think I’ve finished up figuring out how and where everything is going to run. I still have a few wires to finalize but I need to wait for a few more parts to show up before I can finish it up. Here’s a pic showing the harness around the ECU a bit more tidy. I need to get some cable wrap to bundle everything up nice and neat.
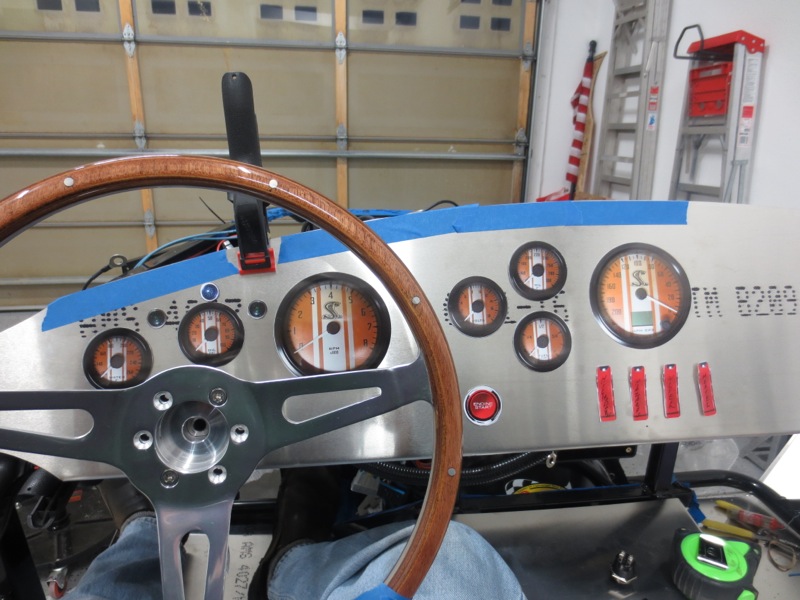
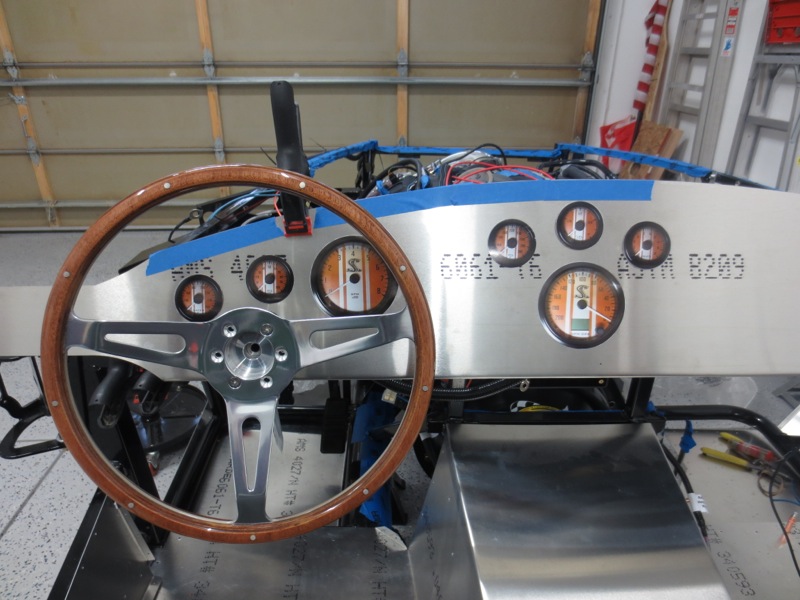
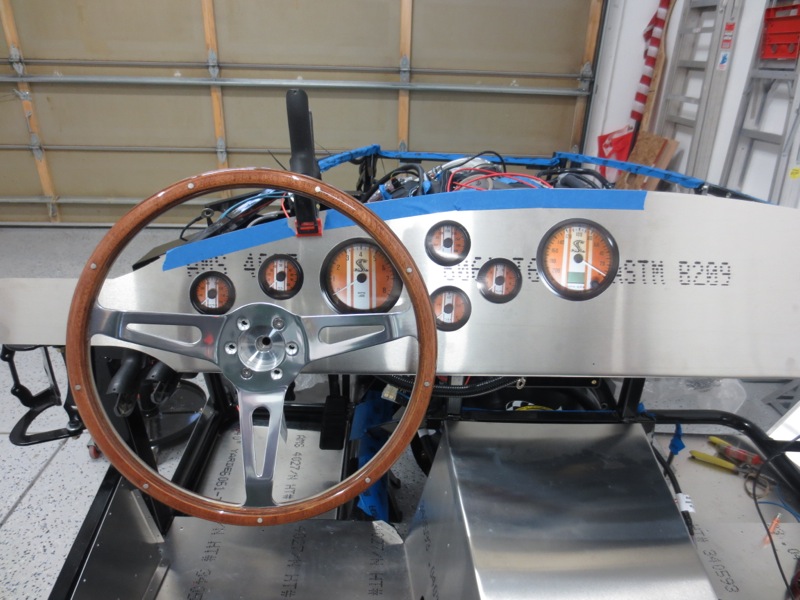
Since I reached a stopping point on that area I moved to another related area. Santa also delivered my new blank dash panel so that I can layout the gauges the way I want them versus the stock layout that comes from the factory. I temp mounted it so I could start trying out different ideas. The pic below shows the blank dash.
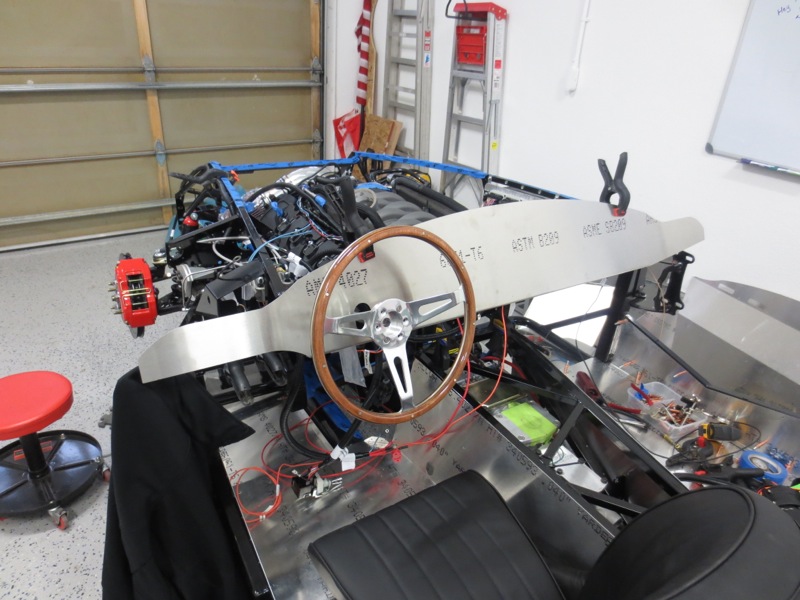
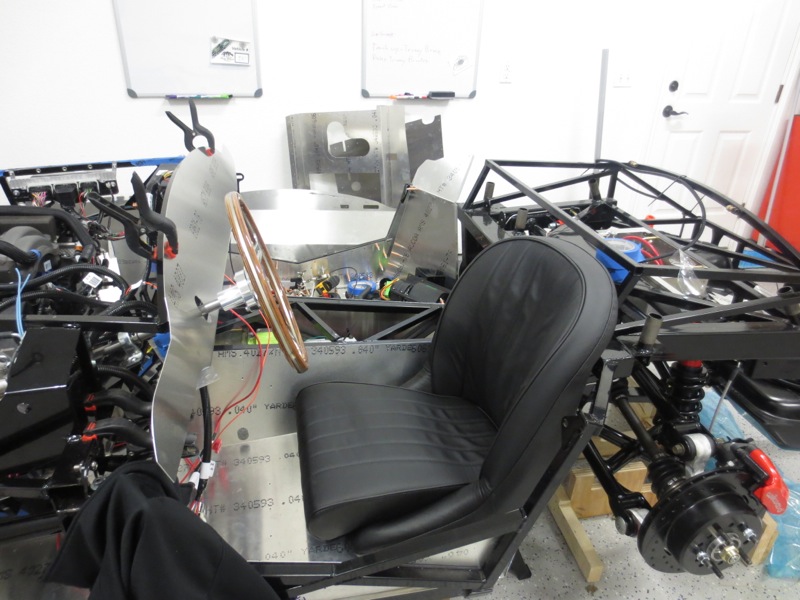
To get the proper view of the dash I also set the drivers seat in.
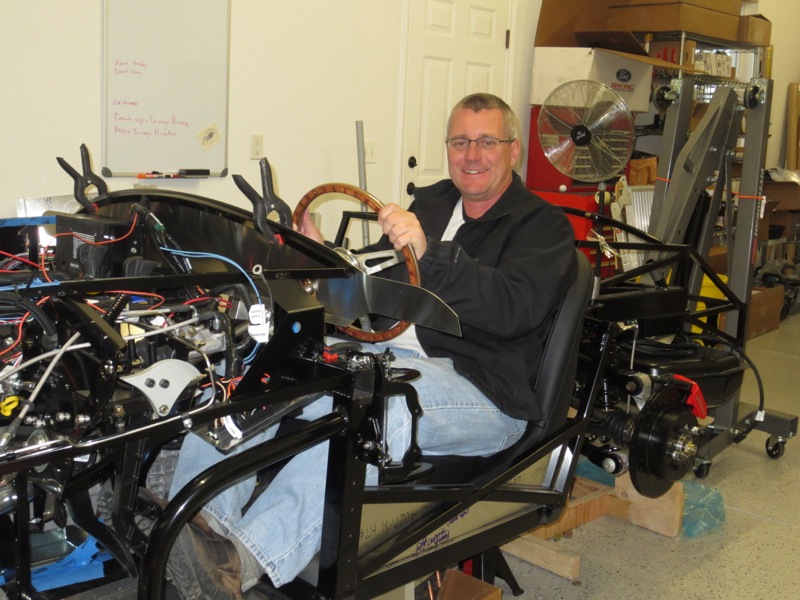
And since the seat was in and the dash was in and the steering wheel was in I figured I might as well take a selfie. Yes even though you don’t see me holding the camera at arm’s length I still think it’s a selfie because I used the timer on the camera to take the pic. In case you’re curious yes I made the vrooom vrooom sounds while I was sitting there.
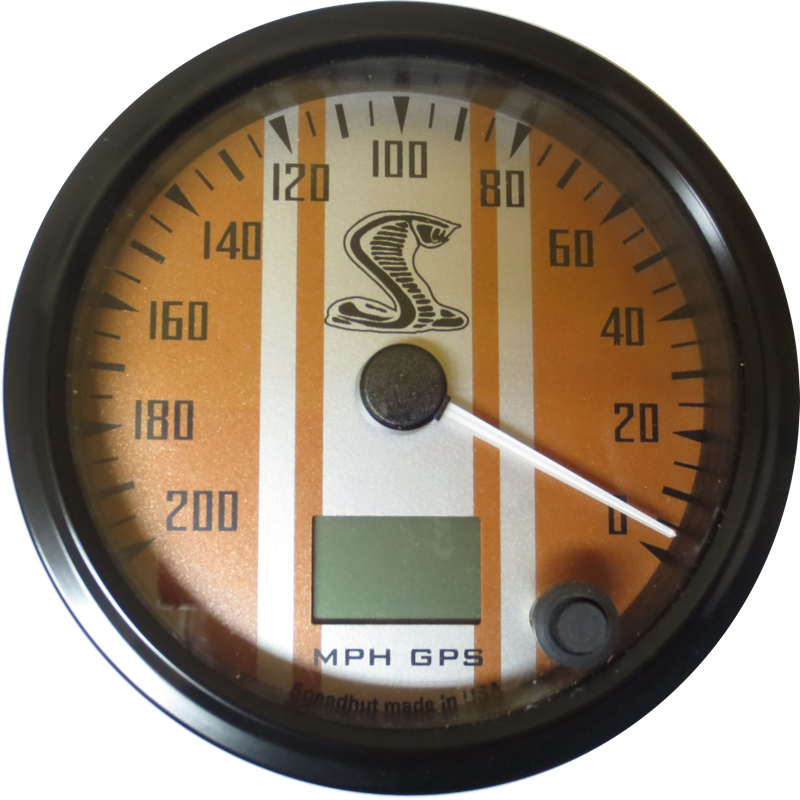
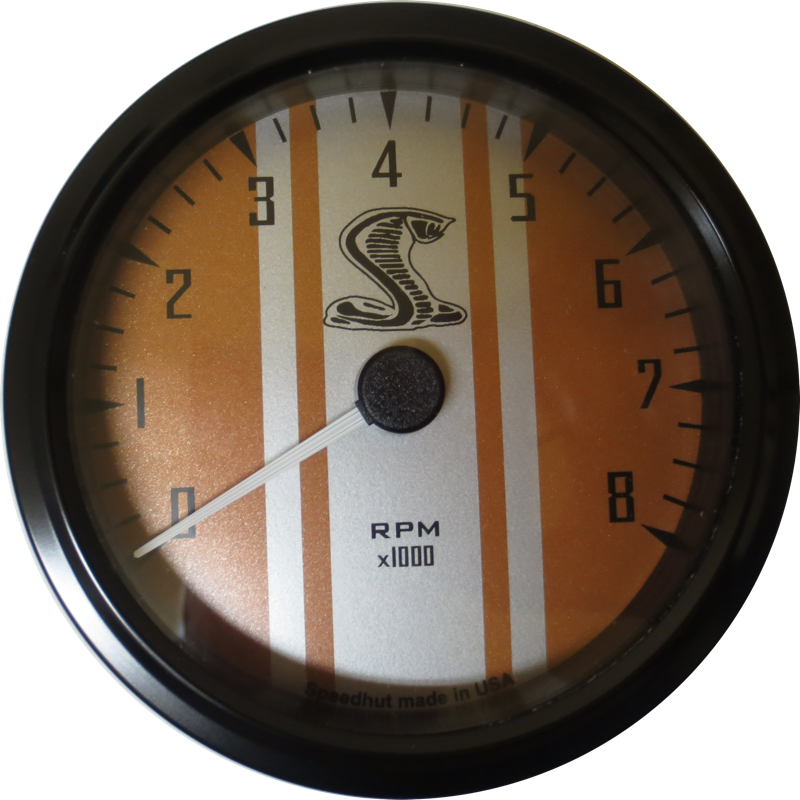
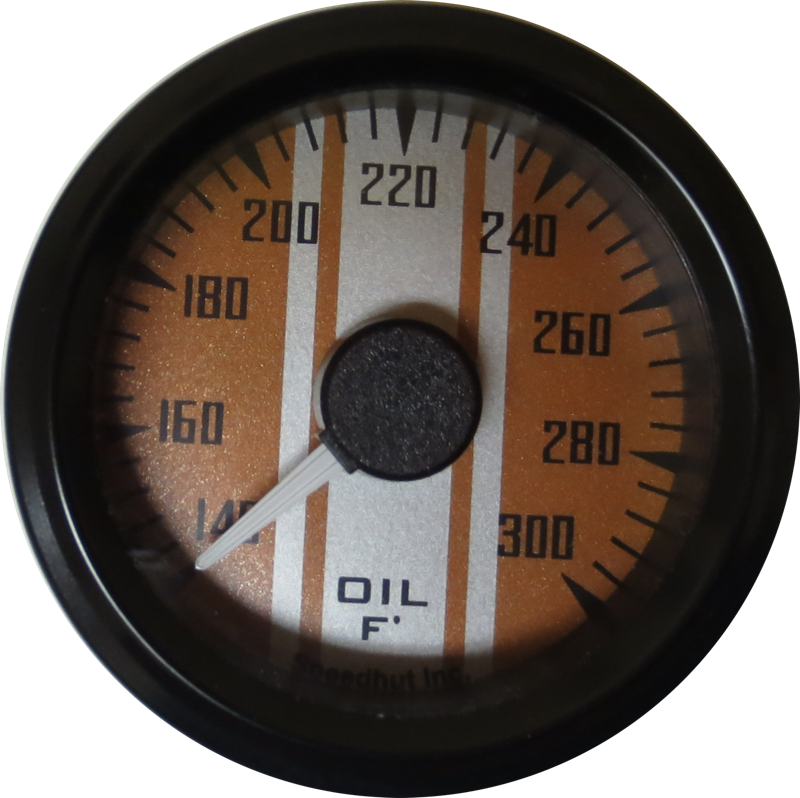
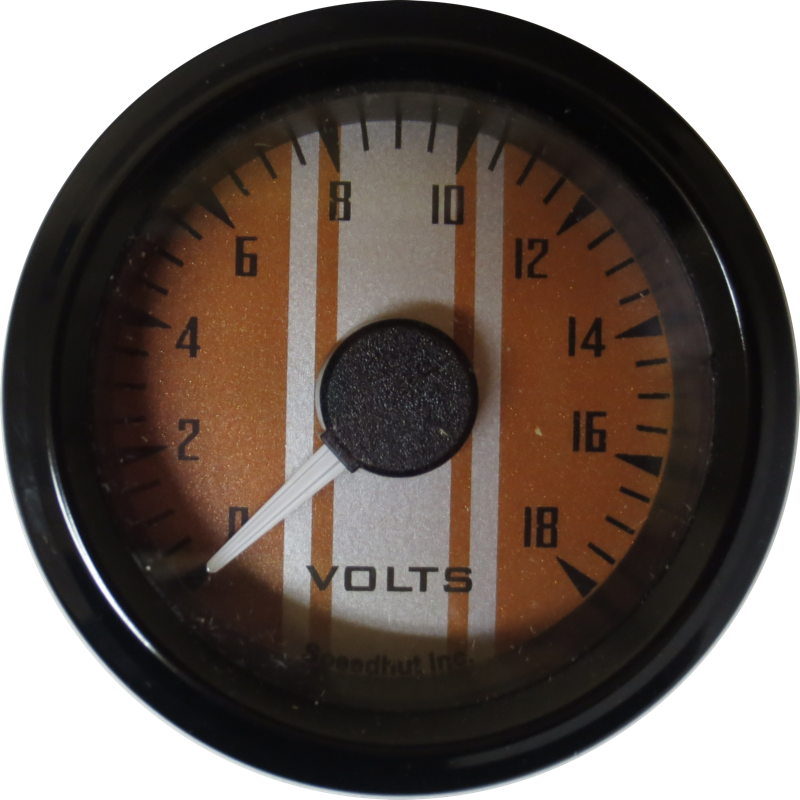
Alright moving on. Santa also brought me my new custom gauges. I got these from SpeedHut and they allow you to customize your gauge pretty much anyway you want. The color is sorta hard to pick up in the pic but it’s a copper metallic color. It should match nicely with the planned paint color. The only thing I couldn’t match was the strip which is silver on the gauge but I plan on doing a white strip on the car, though I might change my mind later. The Speedo and the Tach are 4 inches and the other gauges are 2 1/16″. You might also notice the speedo says GPS on it. It’s a GPS based speedo so it’s doesn’t need to be connected to the transmission and the be calibrated for the gearing, tire size, etc. It makes it a lot easier to install and setup.
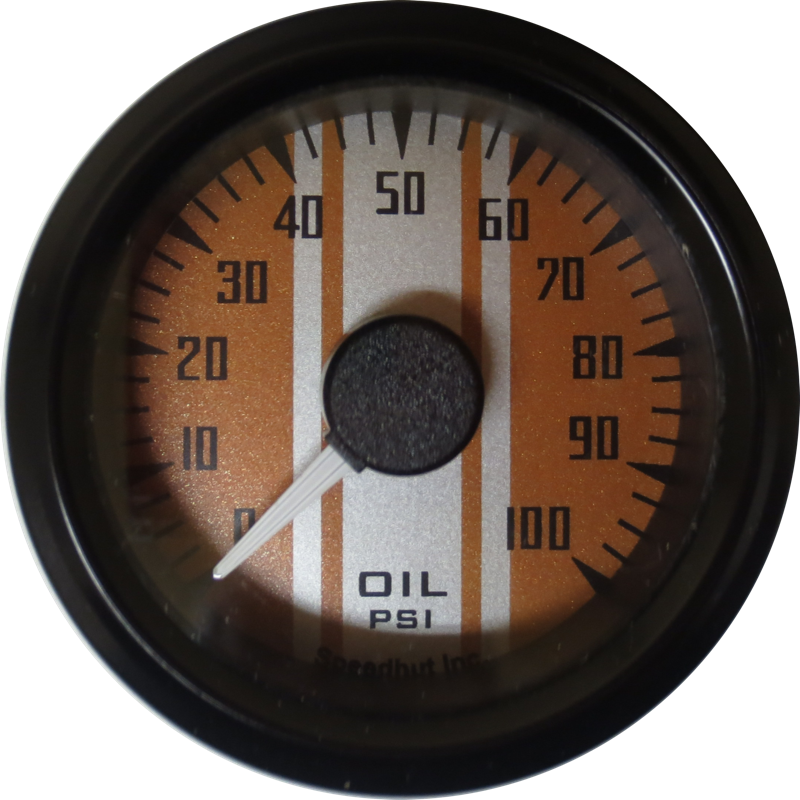
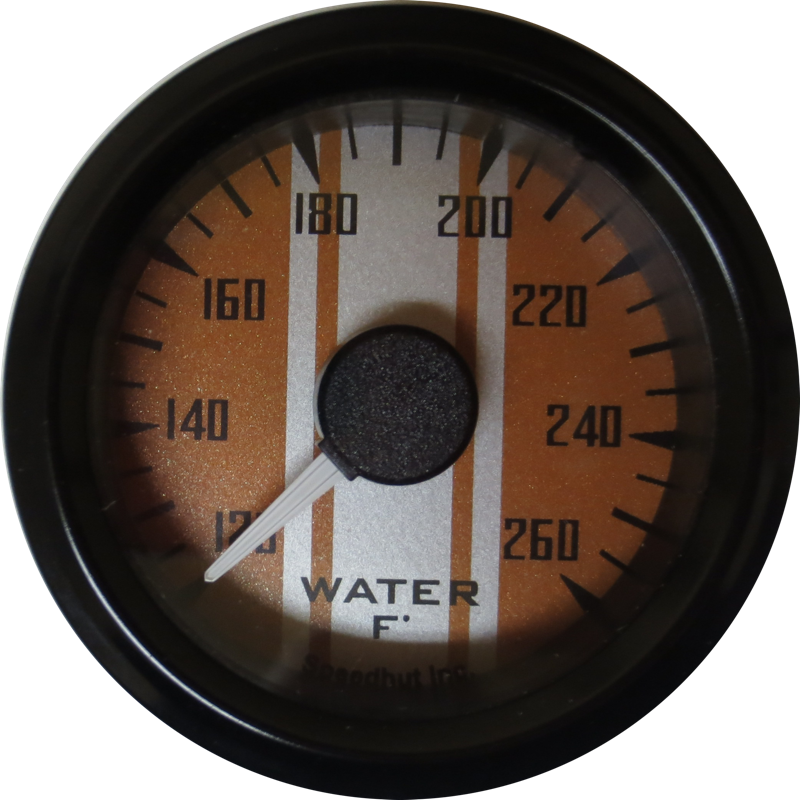
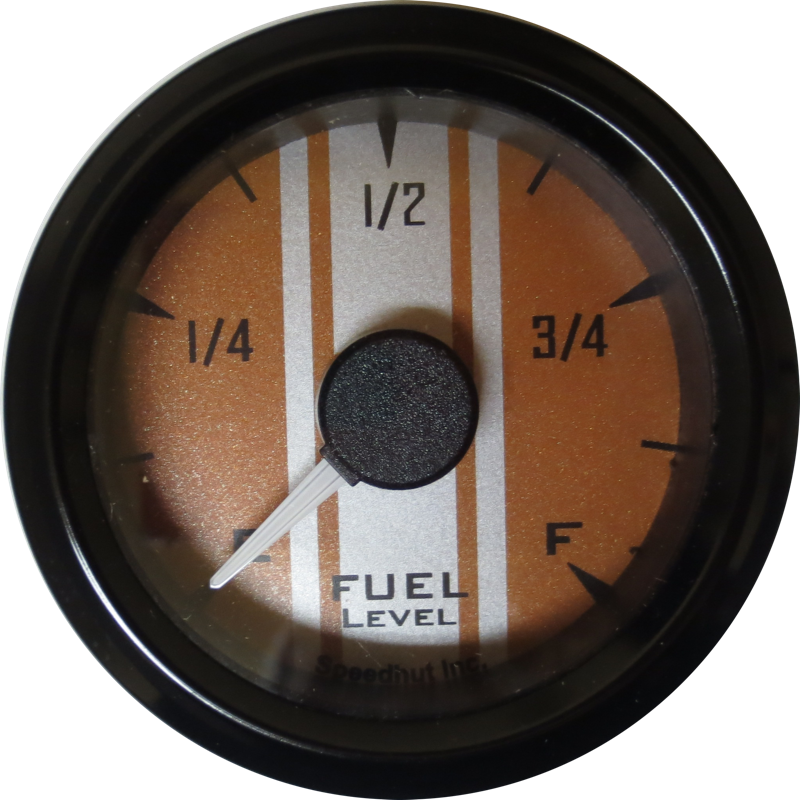
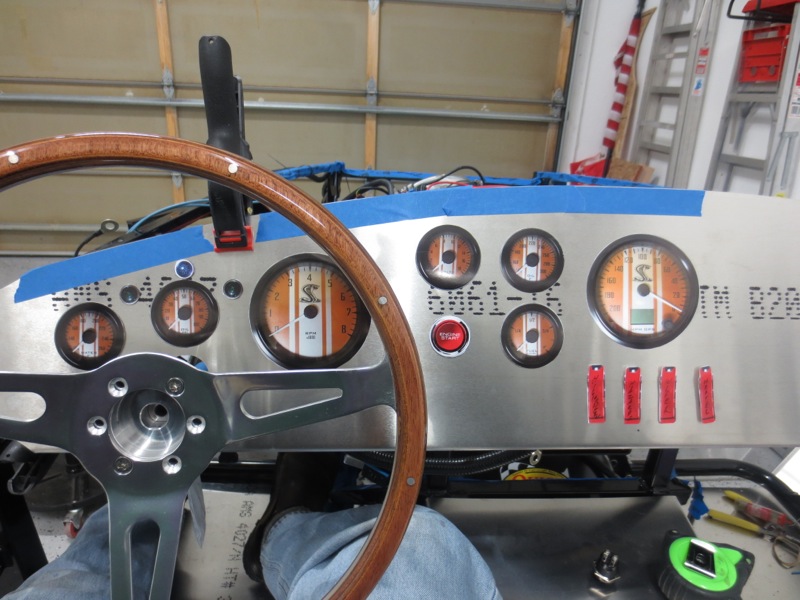
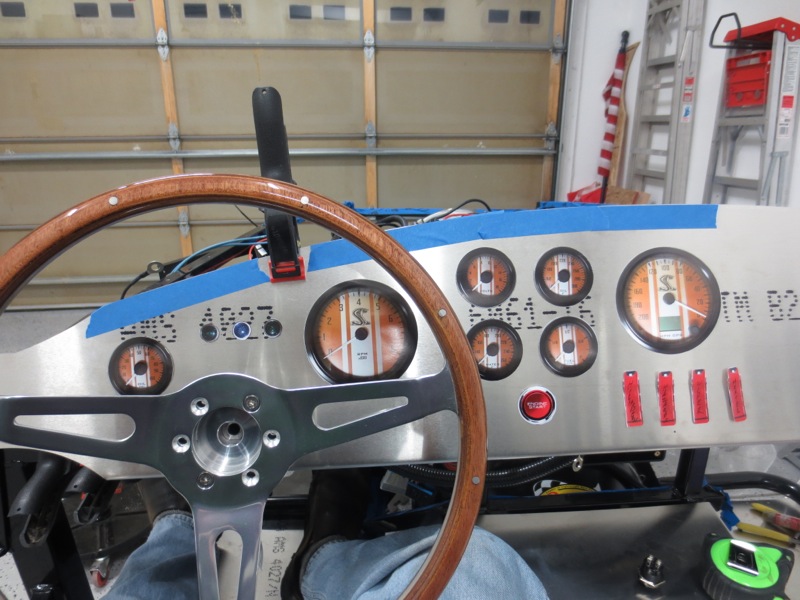
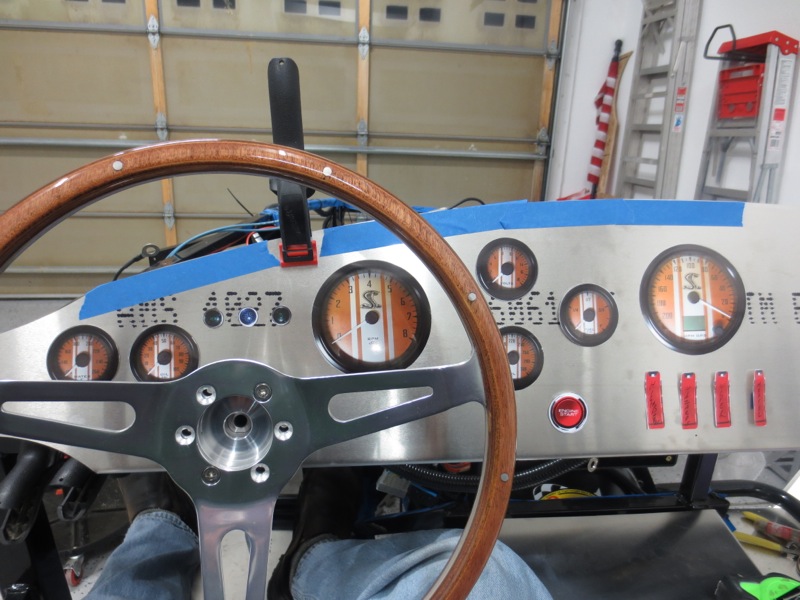
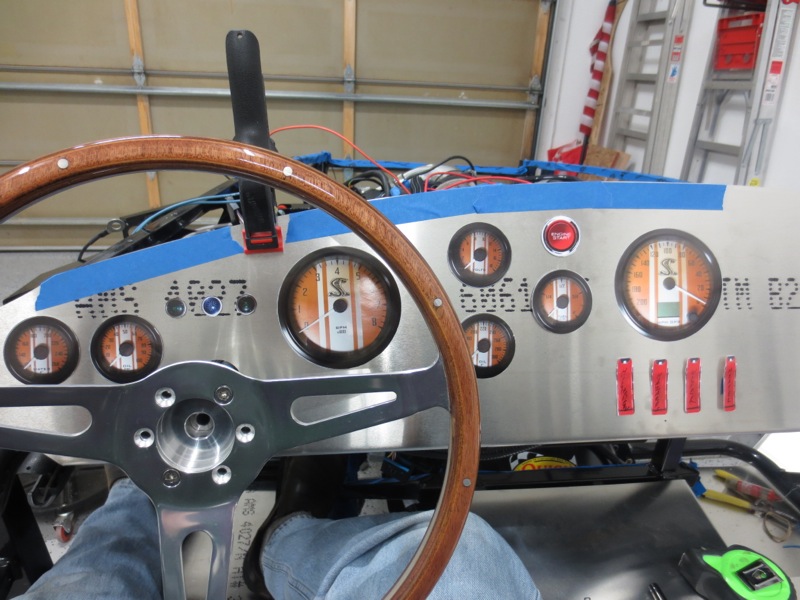
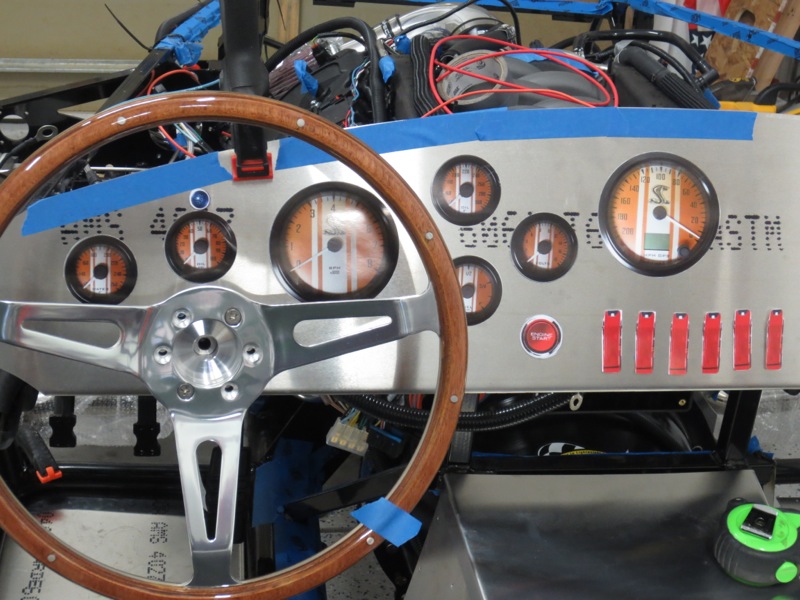
I took the above photos of the gauges and then printed them out so I could play around with different layouts like below. I also printed out the start button, button covers and the indicators as well. Here are the layouts I’ve come up with so far. Oh one other thing the dash panel will be covered with carbon fiber once I figure out the layout and punch all the holes. It’s a piece of carbon fiber that’s .25mm thick and will be glued to the dash. It should contrast nicely with the gauges. I’d love to hear what you think.
1.
2.
3.
4.
5.
6.
7.
8.
That’s it for now. Have a Happy New Year.
Randy,
How about 4 with the speedo replacing the four gauges, start button under speedo, move the 4 gauges to the middle, put fuel on the left. Symmetry might work better, also have speedo more in line of sight is a good thing.
Merry Christmas
The speedo is the furthest away because it’s the one I care the least about. 😉 I have to have one by law, plus if I get pulled over and the officer asks if I knew how fast I was going I can honestly say “Uhhh no, that’s the passengers job!” The tach is more front and center as well as the oil pressure because I do intend on taking it to the track and those will be the gauges I’m most interested in. Number 8 is the one we’ve been leaning towards. It puts the tach, oil pressure and water temp right in the main line of sight.
I really like the gauges!! Is the steering wheel adjustable? When Destinee drives it, she may have a different line of sight. (Except the sight of you in the rear view mirror ha! ha!). I like #7 the most. Do the casual observers get a vote on this?
Casual observers get a voice not a vote, in other words I value your opinion but I reserve the right to ignore it. When did we decide Destinee was going to get to drive it? I’m showing her how to build it so she can build her own if she wants to drive one.
Making a lot of progress! Looking great! Happy New Year!
The center cluster needs symmetry – therefore #7. Otherwise it will never work – we’re all doomed.
I agree with speedo in line of sight. I like having tach and speedo at a glance when track/race. Don’t know if you need to worry about oil pressure as much with the coyote engine. Keep temp close though..
Merely voice [casual] suggestion.
speedo oil temp tach remaining gauges
water temp
These are the 4 things I keep my eye on most.
I’m actually surprised that you look at the speedo!
Randy,
I’m loving your blog of your build! Keep it up.
I really liked the idea of printing out gauges to try different layouts!
–Rich