
Heat Part Deux and More Wiring
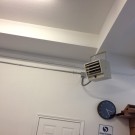
First off, I finally have constant heat in my garage. Last time I mentioned I was putting an electric heater in. It arrived from Amazon, only $400 and I hung it. I was contemplating wiring it my self but it needed a 240V line on a 40amp breaker and while I don’t mind running it I just really didn’t want to. So I called around and found an electrician to do the job for a reasonable cost. So last Tuesday he came out and ran the line and breaker. Boy was it cold in the garage while he was working and I was really glad I paid someone else to do it.
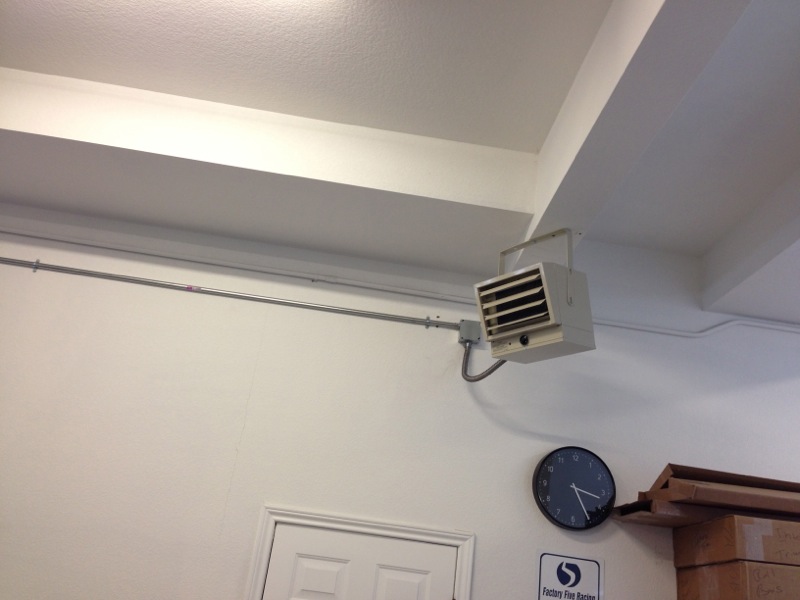
It may look small put this thing puts out a ton of heat. As I’ve been playing with the thermostat the garage has been hovering around 70º since Tuesday. One modification I’m going to make is to add a programmable thermostat to it. I’ve ordered the parts and they should be here this week. I’ll detail that in another post but needless to say I’ve been very comfortable in the garage (I was working all weekend in a T-Shirt, NICE!) all weekend and made great progress.
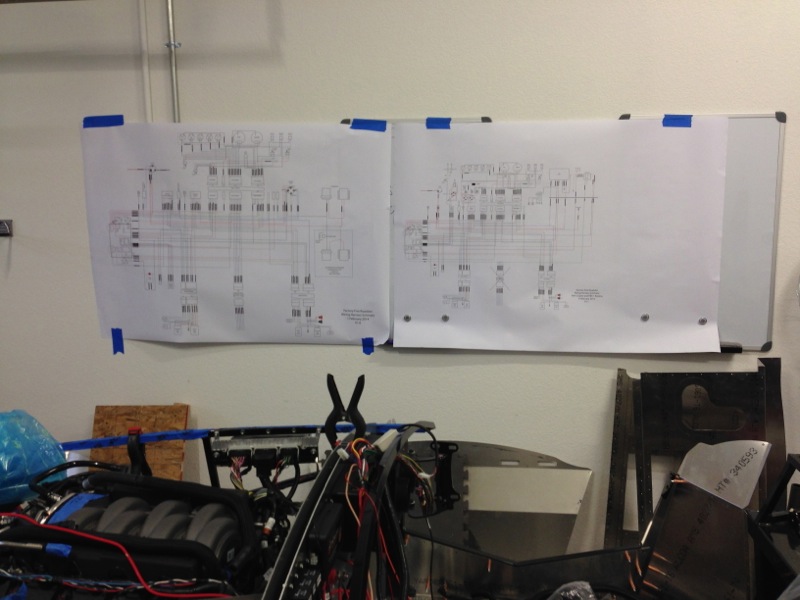
I wasn’t feeling well the previous weekend and took advantage of the time not in the garage to draw the schematics for the car. The schematic in the build manual leaves a lot to be desired, it looks like a low res jpeg image that’s been emailed and resampled a few too many times, very difficult to read. So I decided I needed a better schematic, first I drew a stock schematic that way I had a starting point. Then once I had that completed I created a modified schematic with all the mods I’ve made. As I worked through it I was able to pull out some items I didn’t need, like power for a radio or an electric choke. Once I completed the drawings I plotted them out in a nice poster size and hung them on the wall while I worked. (You can click on the links above if you want to see the pdf files.)
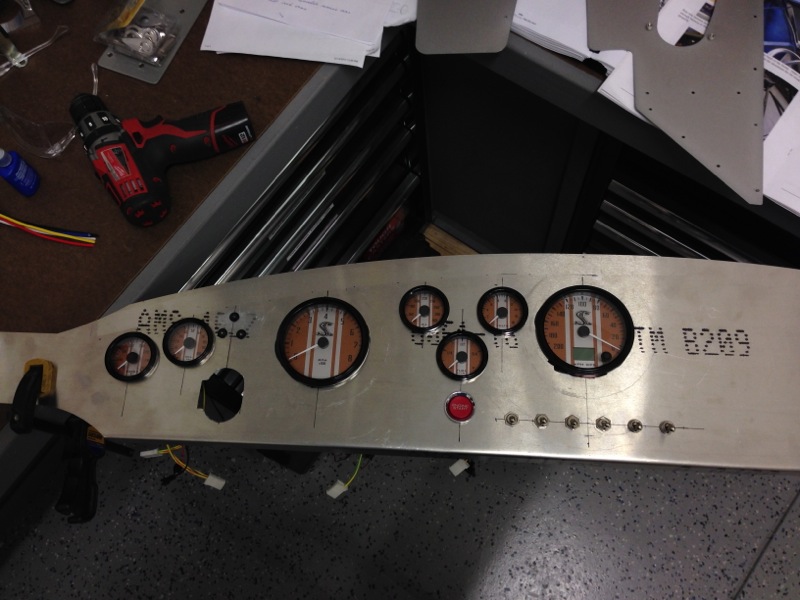
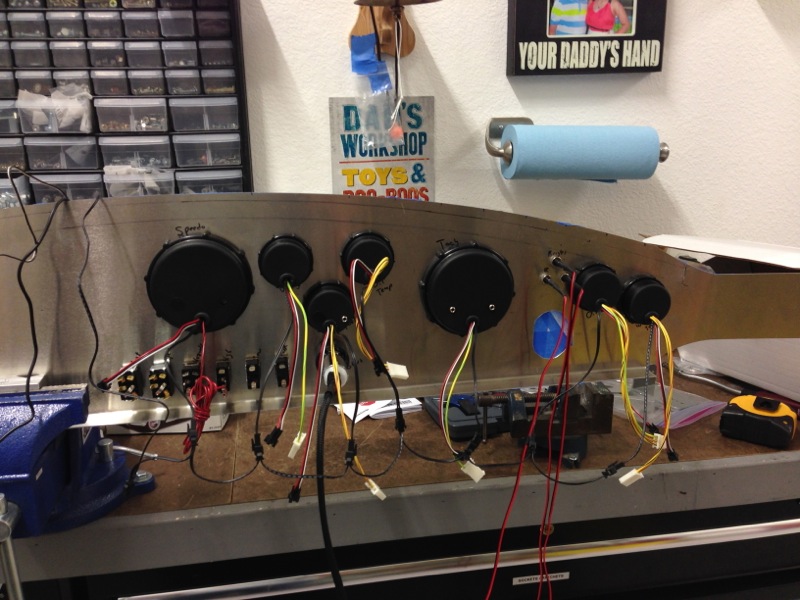
This worked out great as I went through the wiring harness. I had a reference for what was there, what I needed to pull and what I was adding. I started first by installing the gauges in the dash. You can now see the final layout I went with for the gauges. From left to right you have water temp, oil pressure, tach, oil temp, fuel, volts and then speedo. The 3 little black circles above the steering shaft hole are the turn signal and high beam indicators, they’re LEDs. Below the fuel gauge is the start button. The 6 switches are from left to right: parking lights, low beams, high beams, hazards, wipers and heater. In the final configuration they will have switch covers that match the carbon fiber that will be on the dash. Centered below the dash and slightly hidden will also be a panel that has the dimmer for the gauge lights, a courtesy light switch, the dial for the heater valve, 2 power ports and 2 USB power ports. The plan is to have it on a hinge so that I can access the back of the dash as well.
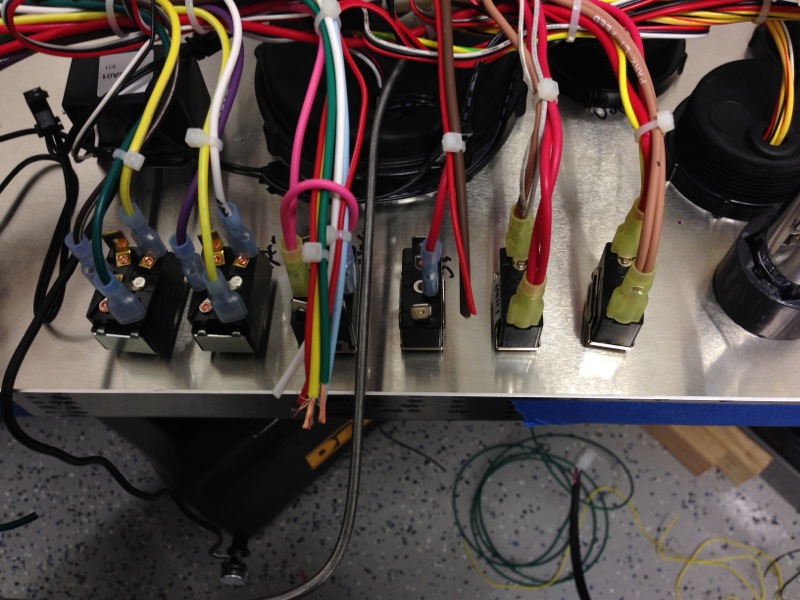
And below you can see the reverse side prior to starting the wiring.
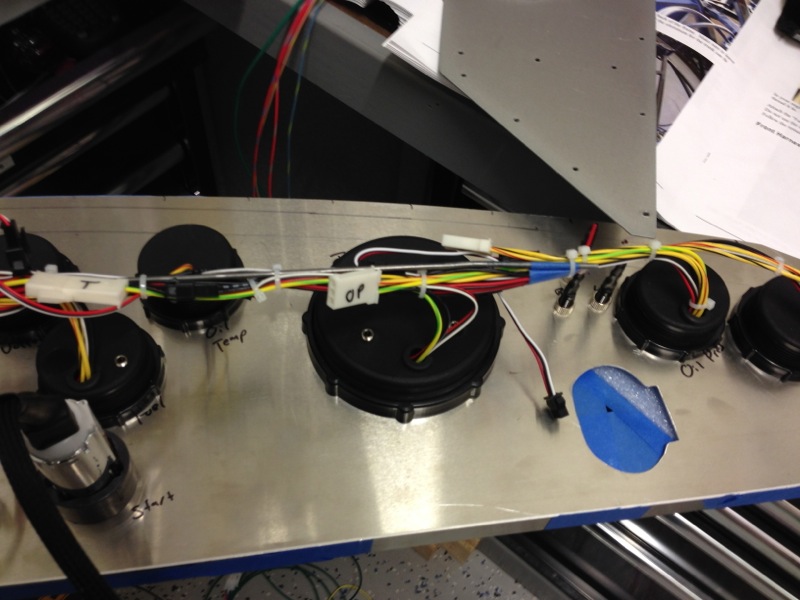
I couldn’t completely finish the wiring as I still need to take it back apart to finish the front of the dash itself. Once I’ve finished everything with the wiring that will be next then I can re-install the gauges and switches. Below are some close ups of the wiring on the dash. In the first pic you can see some of the wires not yet terminated. I couldn’t terminate them because they are connected directly to the gauge and I would be able to get the gauge out. I’ll take care of those after the face of the dash is completed.
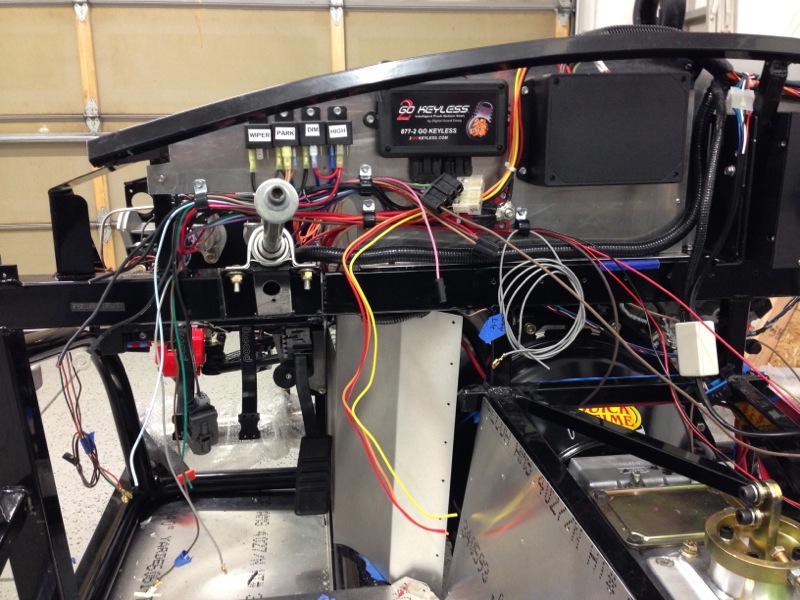
After getting everything done with the dash that I could I moved onto the wiring in the car itself. Previously you saw the inner firewall I created so that I could mount the wiring to it. Using that I mounted some clamps and started running the wiring. I still have a ways to go but it’s getting close.
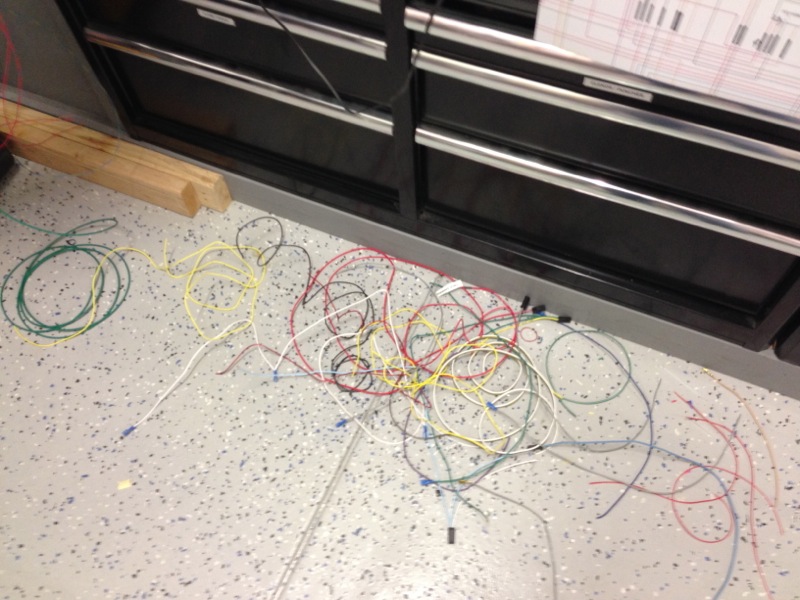
In this final pic you can see some of the wires that I have “dieted” from the harness. This pile is about twice this size now.
That’s it for now, stay tuned for the next post where I’ll probably apply power to the whole thing and see if I can create a massive electrical arc!
See ya.
WOW! Looking good!
Very, very nice! Great work!