
Final Assembly
Well I’ve started final assembly and am permanently attaching things to the car. But let me bring you up to speed since the last time I rambled.
After wrapping up the electrics and testing what I could and then finishing the parking brake, Destinée and I started the tear down and pulled the engine.
I needed the engine back out for a couple of reasons. First and foremost there was no way I was going to be able to mount some of the foot box panels with the engine in. Another key reason was that I had to pull the transmission off and change the flywheel bolts. Turns out the the original flywheel bolts are what are called torque to yield bolts which translates into one time use bolts. I had removed the bolts to install the backing plate for the bell housing and re-used them not realizing that. So I had to pull the transmission off, pull the bell housing, then the pressure plate and finally the flywheel. Not an all bad situation though, I also realized the the starter opening in the backing plate needed a bit of relieving as it would cause the starter to hang up on the flywheel. So either way I had to tear it down to fix that as well. With that out of the way assembly could continue on the chassis.
The first part to get mounted was the firewall. Below you can see it nicely riveted into place. That’s Destinée’s handi work with the rivet gun.
With the firewall mounted the next pieces to go into place form the passenger footbox. In addition to riveting these pieces into place we are also sealing them with clear silicone. You can see some of it on the edges of the footbox where it oozed out. I’ll trim that later after it cures.
A cross over piece that mounts on top of and too the front of the tranny tunnel also had to be mounted as the back part of the footbox ties into into.
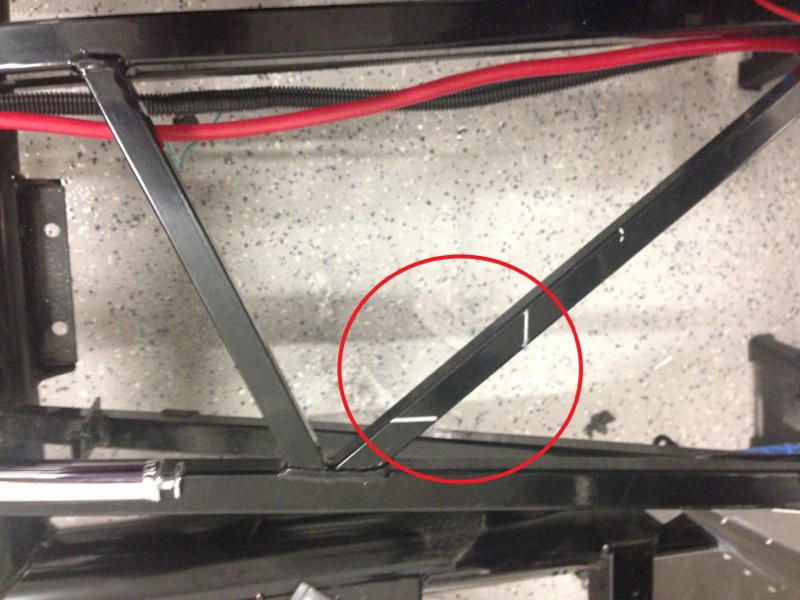
Speaking of the tranny tunnel I had to make a small adjustment as the mid shifter on my transmission touches one of the cross braces. SO while this is considered a no weld kit I ended up having to do some welding. I really had 2 choices here as I saw it 1) buy a welder and learn how to weld (which I do plan on doing) or 2) hire someone to come in and section and weld a new piece in. I choose number 2, for now. The pic below, I even circled it in red for you, shows where I needed to cut the brace to create some clearance.
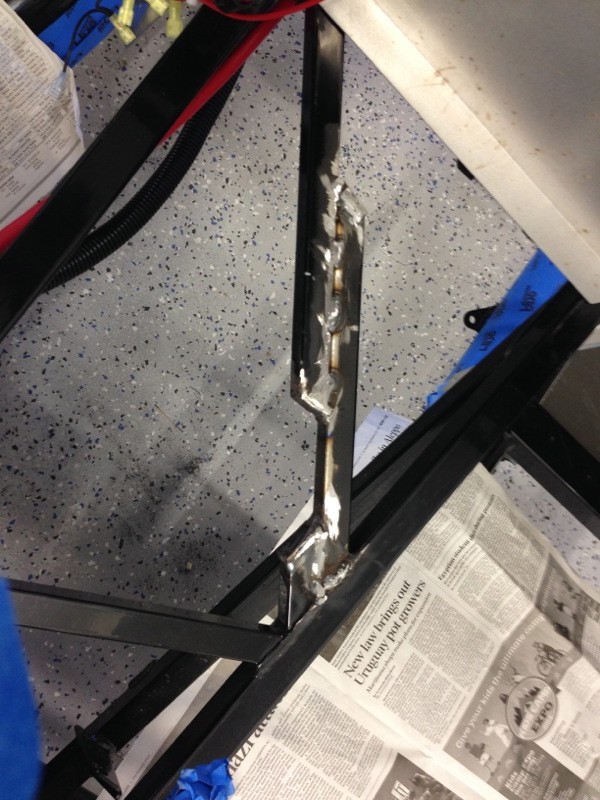
And this pic shows the new piece welded into place prior to priming and painting. While I had the welder on site I also had him weld a couple of pieces behind where the seats mount so that I had a more solid attachment point for the seats. The original design has them mounting to the aluminum sheet. Now while your seated you would have the seat belt which are nicely mounted to the frame, having the seat just bolted to the sheet metal in the rear seemed a little flaky to me. So adding the extra steel pieces provided a place to better bolt the seats.
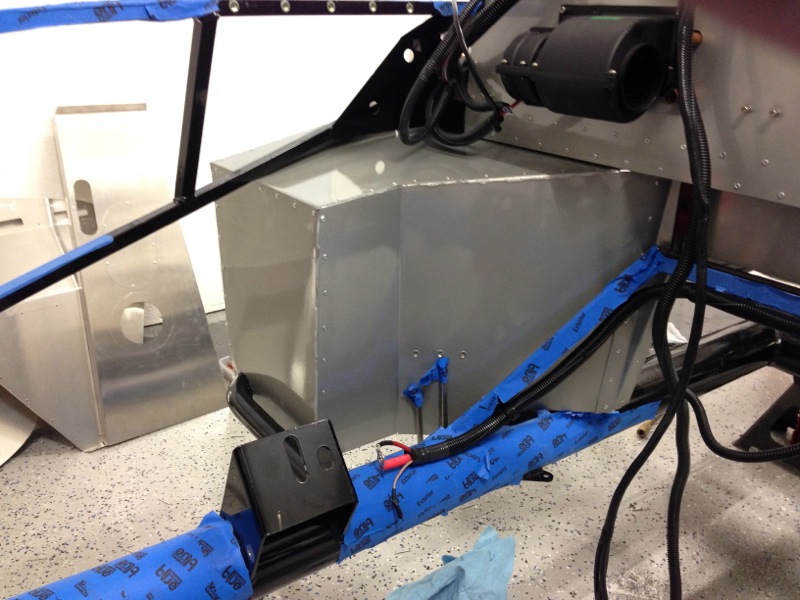
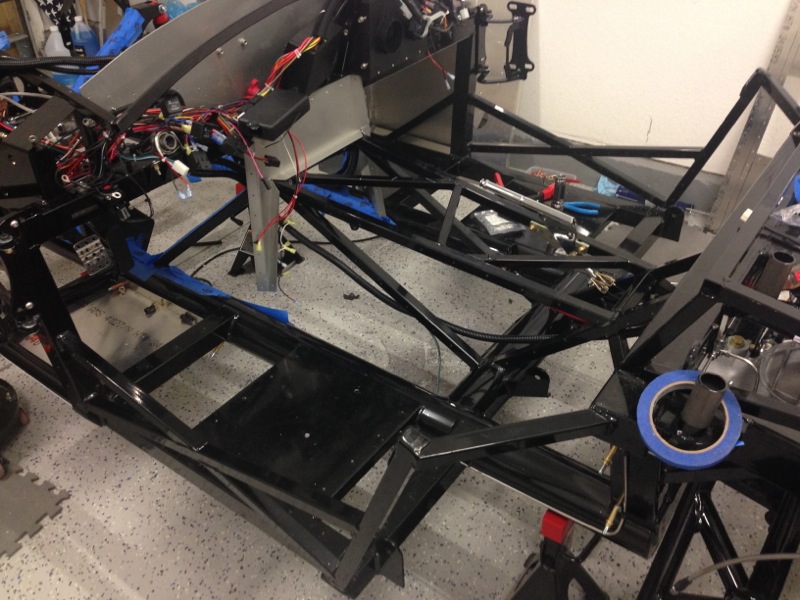
With that out of the way we were back to installing the aluminum panels and the driver foot box was next. In the pic below you can see the panels installed that form the inside of the driver footbox. We’ve left 2 of the outside panels off to allow easier access to the pedal box, fuse panel etc. We probably won’t install those until after first start, go-cart and just prior to installing the body.
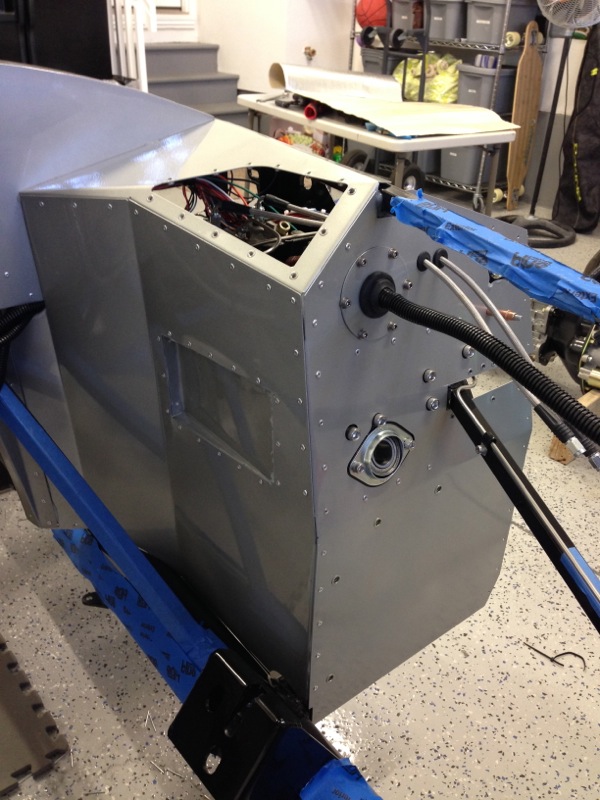
In this pic you can see the heat shield I’ve applied to the inside of the driver footbox panels. This is critical because the exhaust headers will be right next to this panel and my feet will be right on the other side of that .040 inch thick aluminum.

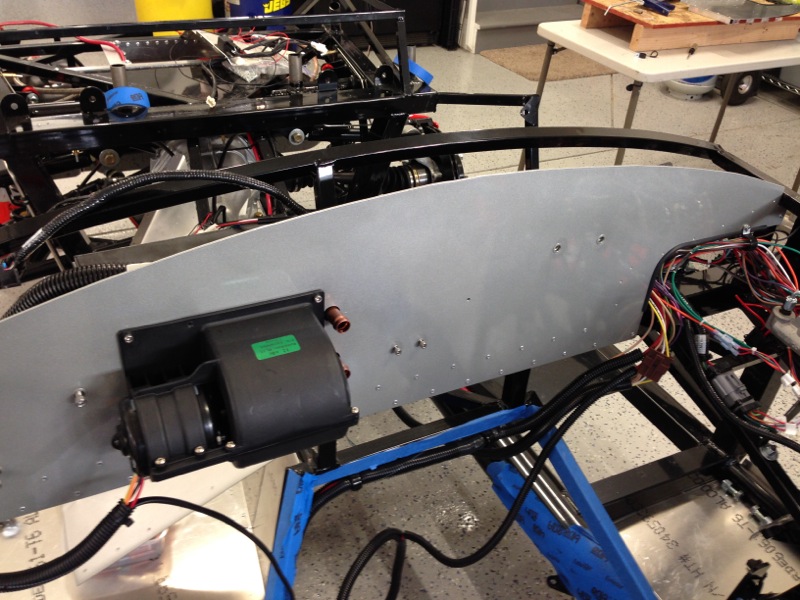
Other pieces that needed to be finished in the engine bay were the connections for the fuel lines and then running the fuel lines up to and mounting the fuel regulator.
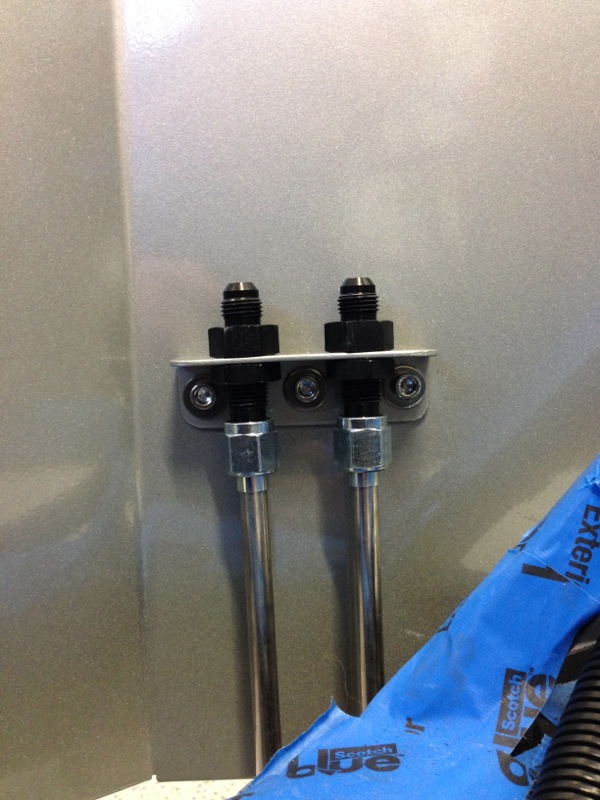
The hard fuel lines running up to the mount panel on the passenger footbox.
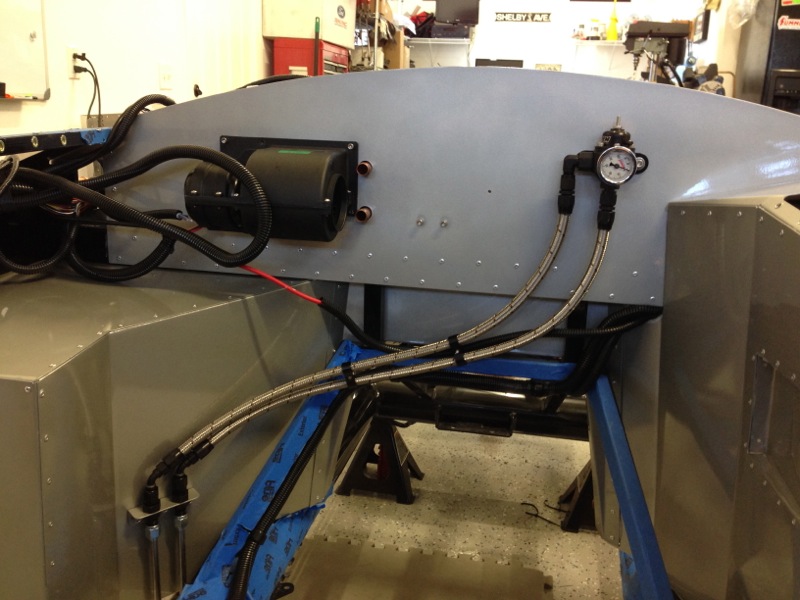
And below you can see the stainless lines running to the fuel regulator mounted on the firewall.
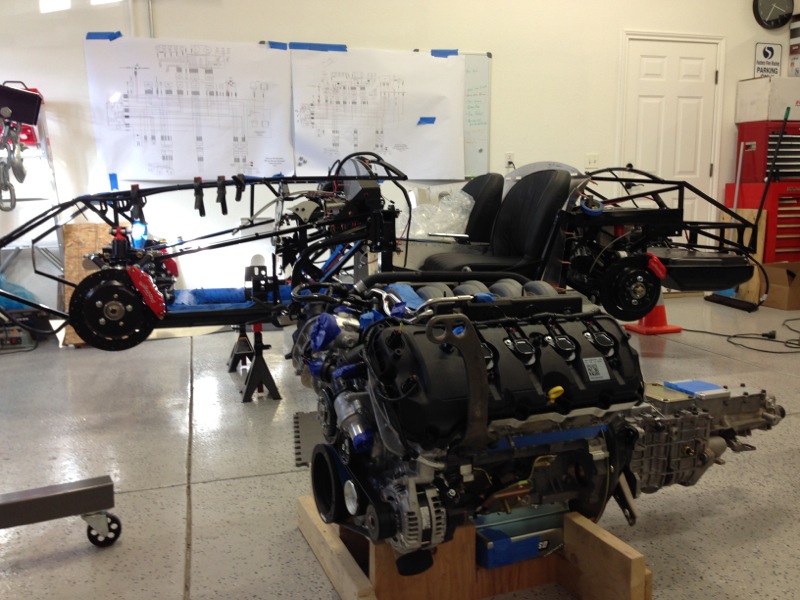
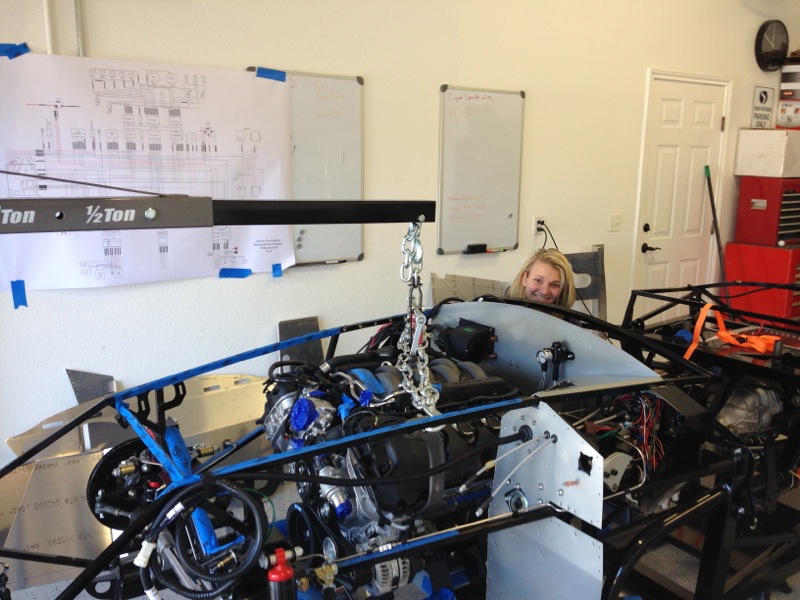
With those pieces out of the way it was time for the engine to go back in. Once again, with Destinee’s help, we put the engine back in. The weather was also really nice this last Sunday so we were able to have the garage door open and that just made it that much nicer. In the pic below you see the engine back in and Destinee is installing the transmission mount bolts either that or she’s texting, posting on instagram, taking a selfie, not quite sure. Seriously, there was no way I could have done this without her help. Throughout this build I’ve been having a blast but I really enjoy the times she’s helping out far more. I think I’ll let her drive it, she’s earned it. She ROCKS!
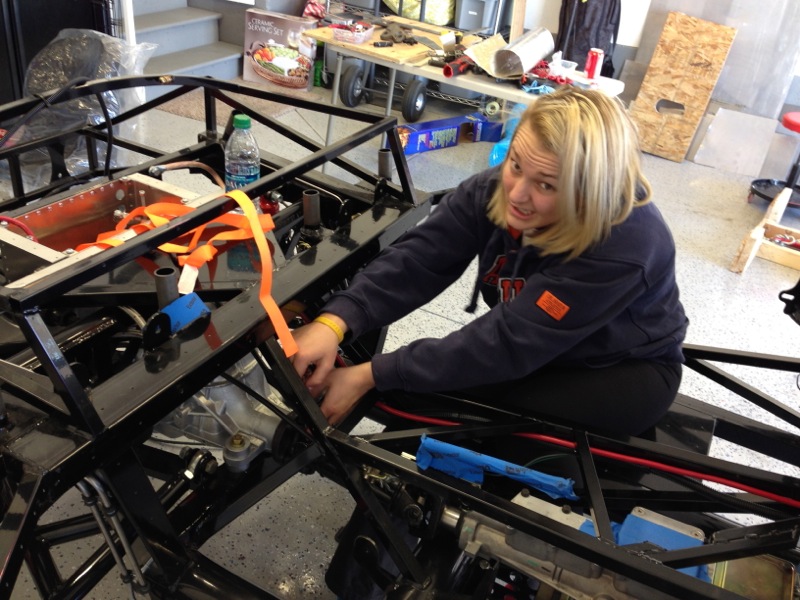
She also figured out the driveshaft bolts can be a bit difficult to install but she finally got them in.
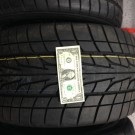
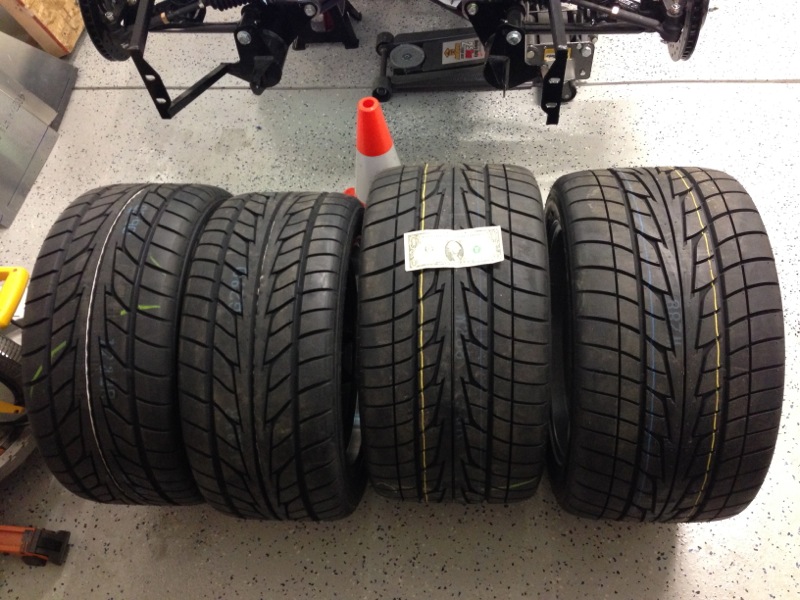
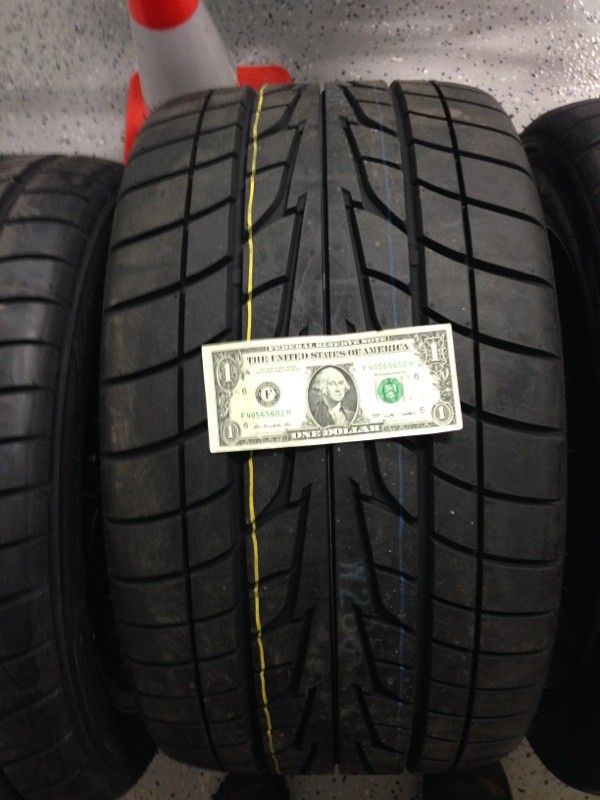
That was pretty much a wrap for the weekend. Quite a productive one and then on Monday it got a little more exciting since Discount Tire called and told me my tires were in. So this morning I dropped the wheels off to have the tires mounted and picked them up on the way home. That’s a lot of tire. In case your curious about the sizes, they are 17″ rims, 9″ wide on the front with Nitto 555 Extreme Performance 255/40ZR17s and 10.5″ on the rear with Nitto 555 Extreme Performance 315/35ZR17s. The dollar bill is to give you and idea of how wide the rears are.
Here’s a close up on one of the rear tires. If only they cost only a $1. 😮
And here’s a couple of pics of them mounted on the car.
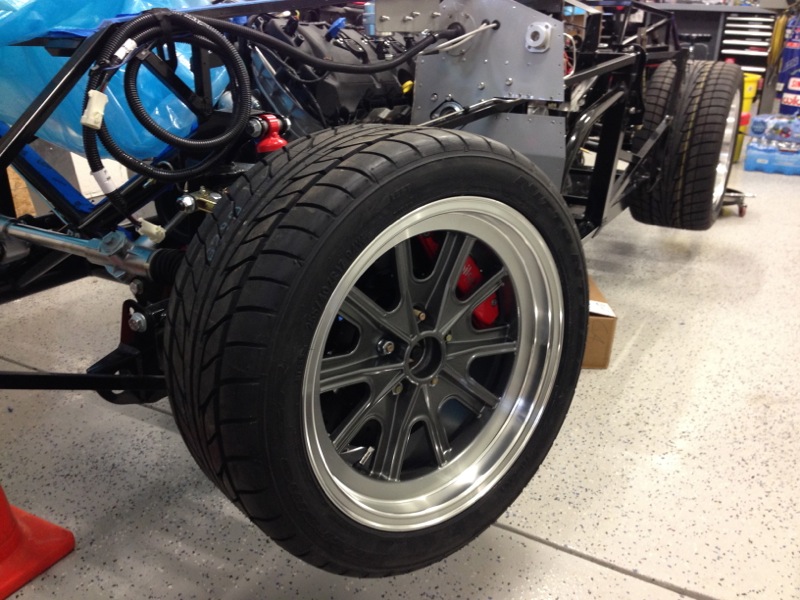
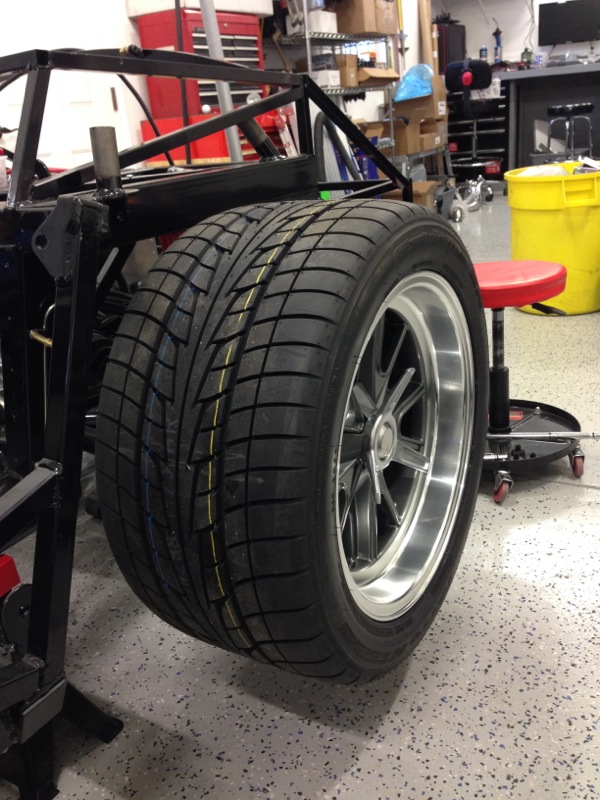
Now I’m wondering how many miles/burnouts I’ll get out of them. That’s some expensive rubber to turn into smoke. You should notice the rear wheel has what looks like a knock-off spinner on it. It’s just a cover the mounts to the center and covers the lug nuts. You can see the lug nuts on the front wheel. You can actually get the car with real knock offs but I decided I wanted to go with the standard lug nuts for ease of use, mounting, etc. and I don’t have to safety wire the knock offs to keep them in place.
That’s it for now. This weekend I’m planning to finish installing the inner firewall that supports most of the electrics and then I need to work on 2 systems I haven’t spent any time on yet. The cooling system. Mostly straight forward as it’s pretty much the stock Mustang cooling system with only a slight mod on the bottom hose. And then I’ve decided to install an oil cooler and remote filter setup.
Stay tuned with the weather getting better I’m racing toward first start by the end of March and shortly after that the first go-kart. Later…..
Awesome!!! Looks great and can’t wait to see it again
Can’t wait to hear it roar cause it sure looks awesome!
Looking great! Still having fun?
Wow Randy! You’ve made a lot of progress! I’m sure you can’t wait to drive it! Keep the cards and letters coming!
Willie
Been watching your journey, quite exciting!
Mark
Randy – really nice progress and great story about working with Destinee on the project!
Certainly coming together. ETA on painted shell?
Spoke with the painter last week. Still targeting completion by start of June which means it has to Goto paint by mid April. Working towards first start by end if this month but things are getting tight.
Seeing the wheels on it makes the Cobra seem much more real. Paying for the tires makes it too real for you, huh?
What a great project to do with Destinee. It would be fun to read her account of the build, too.
Looking forward to hearing the engine roar to life!