
Closer & Closer and a $250 mistake!
Well not to much all that exciting this post even though I’m a week or 2 behind. I’ve just been continuing down the punch list of knocking out a bunch of little things. Problem is they can chew up a lot of time. Though I did resolve 2 pretty major items if you consider brakes and leaking fuel major.
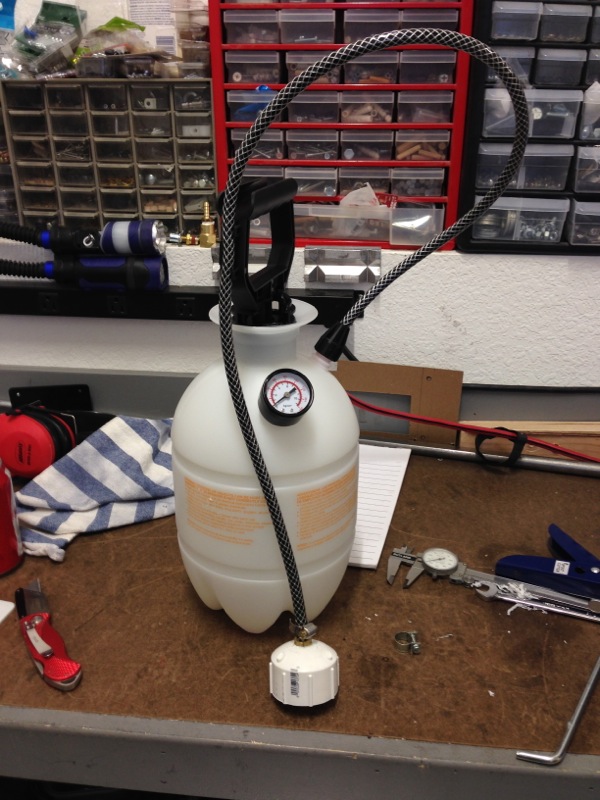
While I had brakes during the first drive they were really soft and that’s obviously not going to work so I had to resolve that. While trying to bleed them again I finally noticed that the left rear bleed screw was oozing fluid even after closing it all the way. No matter how tight I made it, it just kept leaking. That was part of the problem with the soft brakes. After looking at it and finally taking it apart I realized I had made a $250 mistake. When I originally made the brake lines I cleaned them out with brake cleaner to clear any metal shavings etc. that might be caught in the lines. Well apparently I didn’t get it all and I should have flushed the brake lines once they were on the car. It appears that a metal shaving got under the bleeder screw and as I was opening and closing it I was destroying the seating face for the screw. And thus why it won’t seal anymore. Since the face is part of the caliper I ended up having to order a new one and at $250 a mistake I don’t intend to repeat. While waiting for the replacement to show up I came across some suggestions to power bleed the brakes to make it easier. I could have purchased a power bleeder but I could also make one my self out of a few cheap parts from Home Depot and save a few bucks. After the $250 mistake I was in the mood to save a few. Just taking a pressurized sprayer, a pressure gauge and a 1 1/2 inch PVC screw on cap was all I needed. I put the parts together and overall it worked pretty well. I did use some Teflon tape to seal the cap and it still leaked a little bit but it worked and the brakes are now bled and solid.
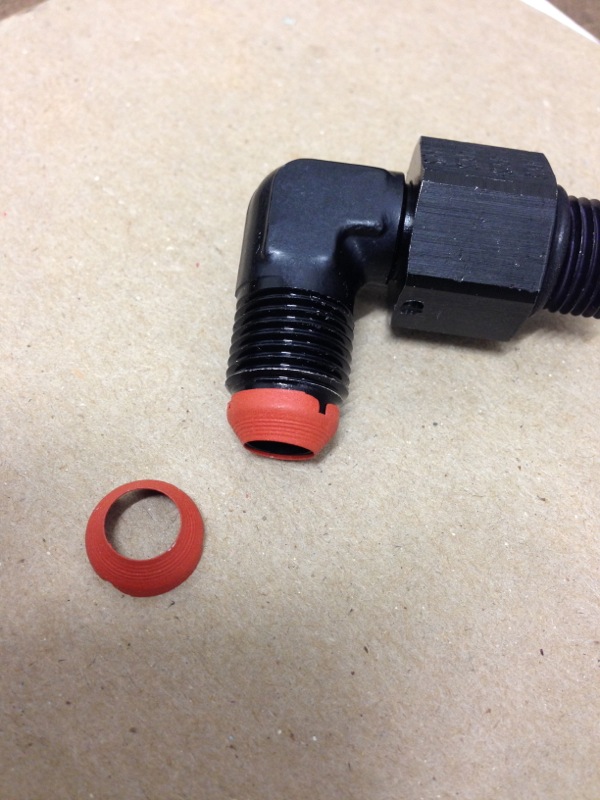
The other issue around leaking gas stemmed from the stainless lines I had put on for the fuel. It turns out they were not seamless and when I flared them the face of the flare had a small ridge by the weld. The first solution was to replace them completely with aluminum lines with compression fittings. I did that and the leaks were solved. The only problem is I hated they way the looked. The original seamless lines were made from straight tubing whereas the aluminum lines came in a roll and for all my efforts I couldn’t get them straight. Granted their under the car and you can’t really see them but I just hated they way the look. So I had a choice to either find some seamless stainless and redo them or see if I could somehow fix the original ones. After some research I found a local shop that specializes in tubing, hoses, etc for hydraulics, whatever and said they could fix any line. I took my lines down to them with the intent to have them either re-bend me some stainless lines to match mine that would seal or weld some stainless fittings on mine and thus eliminate the ridge on the flare. Turns out they had an even better idea. They have these little seals that they use on worn out hydraulic lines that have been overtightened and they suggested I try these first as they are designed to seal the small gaps and they are much cheaper than new lines. Plus they’re rated for something like 12,000PSI so I figured I was good in that area. I bought some, put them in and they worked like a champ. So fuel line leaks solved.
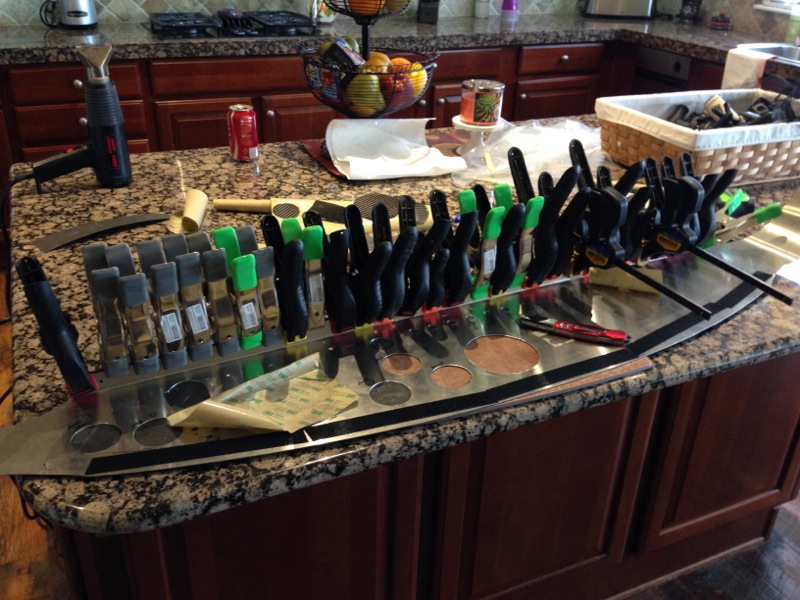
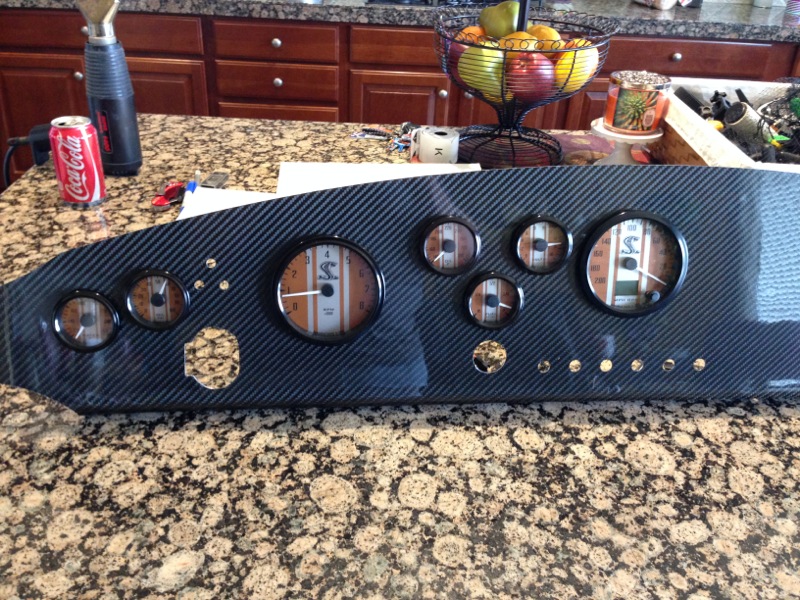
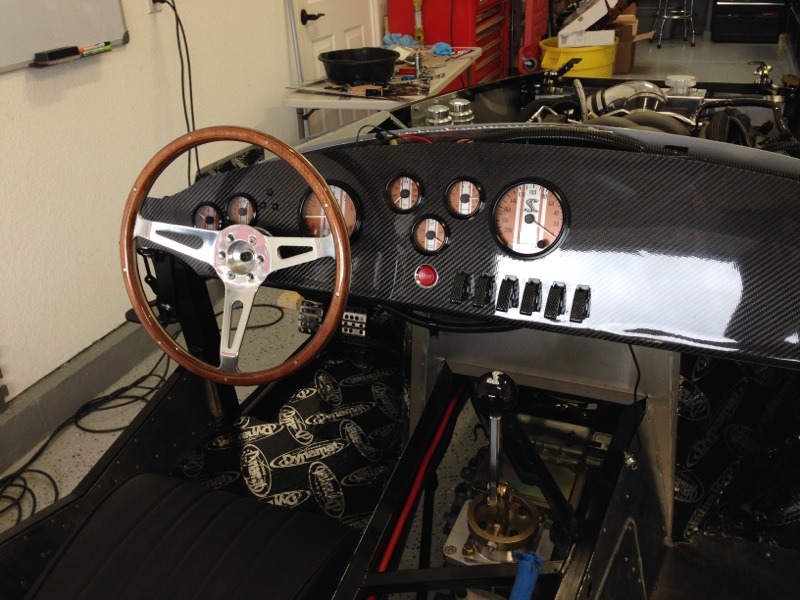
With those slightly larger issues out of the way I got onto 2 other big tasks. The first was applying the carbon fiber overlay to the dashboard and then starting the installation of the Dynamat to the interior cockpit. First the dashboard. Since I’m not exactly going with the traditional look I wanted something a little more modern on the dash. I finally decided on carbon fiber. I could have created a whole new dash out of carbon fiber but that would take quite a bit of time and will probably be a future winter project. Instead I found a company that provides carbon fiber already done and in varying thickness. I ordered up a sheet of their thinest material at .25mm thin and the plan was to apply it to the dash face and wrap it around the bottom edge. The pics below shows all the clamps I needed to get it to stick to the bottom edge of the dash panel, the result with the gauges installed and then the dash in the car with the remaining switches and start button. I’ll probably end up redoing the whole thing as an actual carbon fiber piece some time in the future since the bottom edge created a few problems. Carbon fiber doesn’t really like to bend and eventually the bottom edge cracked. If you’ve ever handled a cracked piece of carbon fiber you know how razor sharp the edges can be. I ended up cutting off the bottom edge and painting it black. You can’t see it once it’s in the car but overall not the final result that I wanted. So it will get redone in the future.
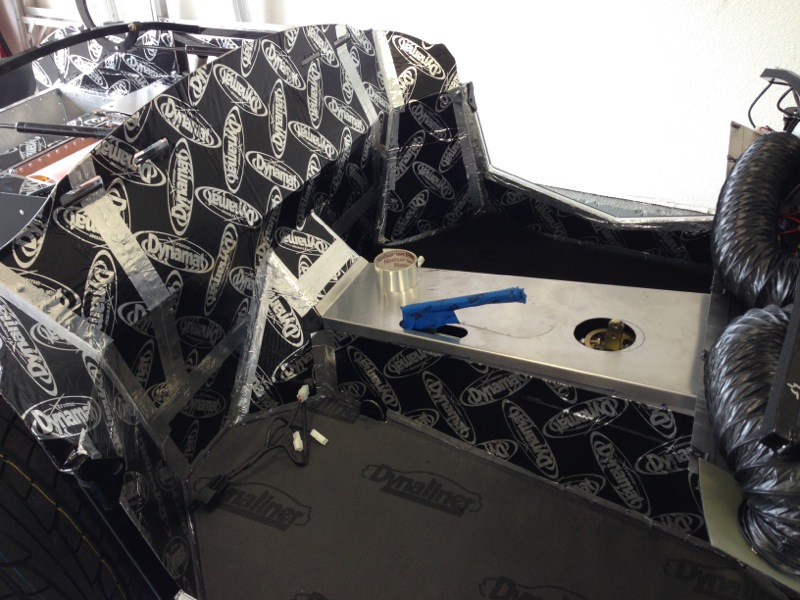
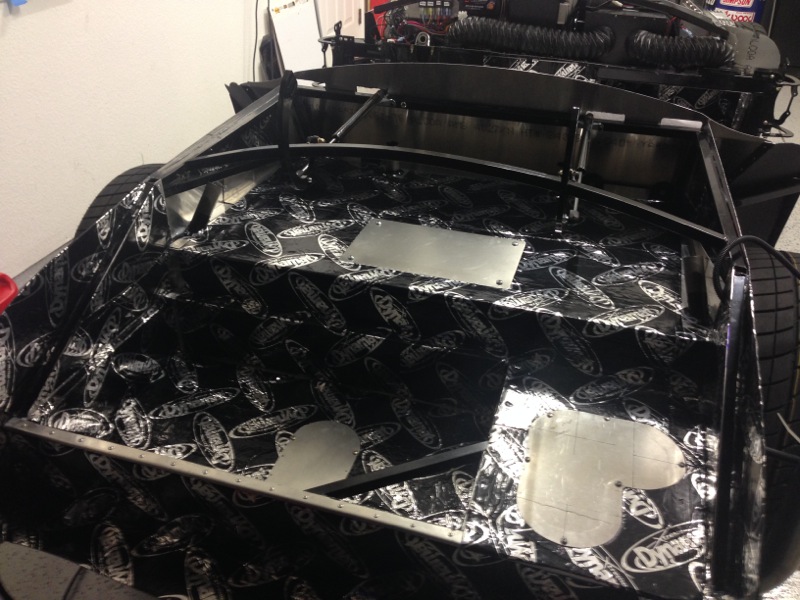
With the dash effectively done, it was onto laying down the dynamat in the cockpit and the trunk after completing the installation of the last panels in the trunk.
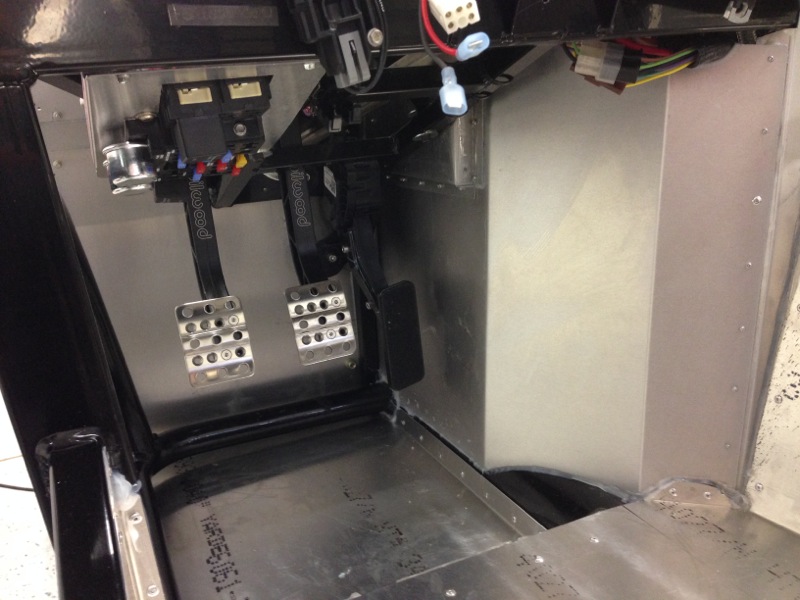
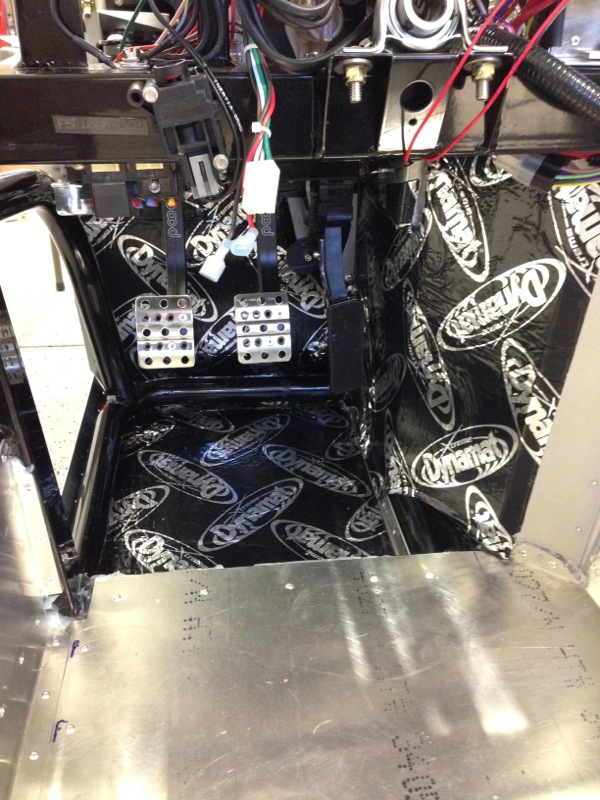
The dynamat is a both a heat shield and a noise reducer. It’s an aluminum backed black butyl based core vibration damper. What it does is keep all the aluminum panels from ringing and vibrating and thus cuts down on the noise in the car along with the more important feature of also being a heat shield. The pics below show a before and after of the drivers foot box, the cockpit done and the trunk done. On the floor in the cockpit there is also another layer of Dynaliner which provides more sound deadening and heat control. All of this will be under the carpet.
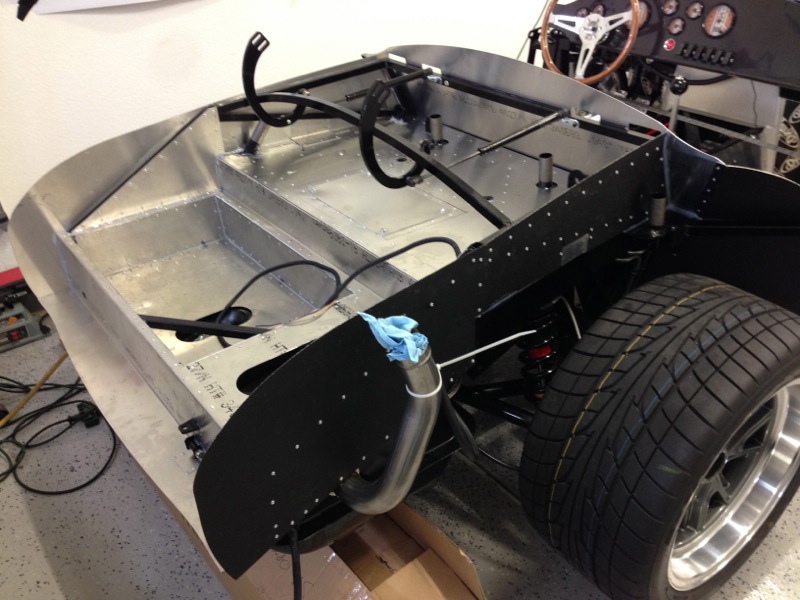
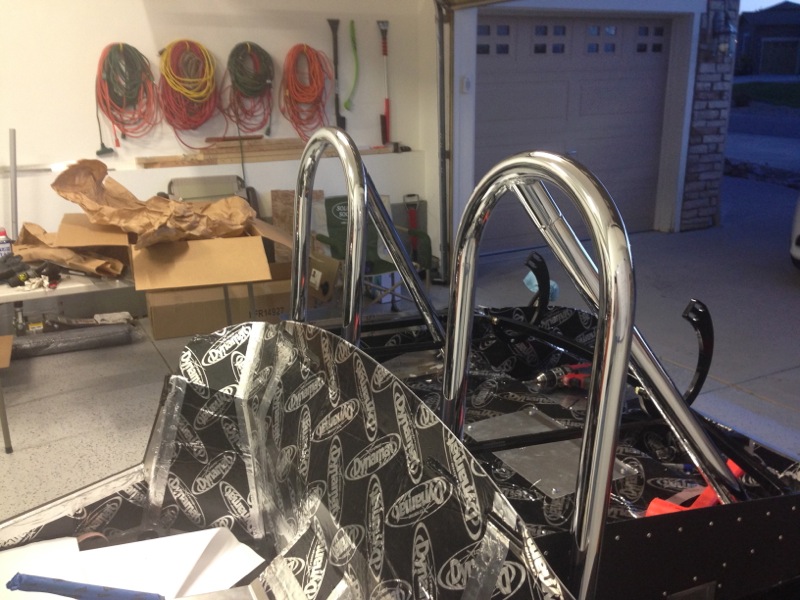
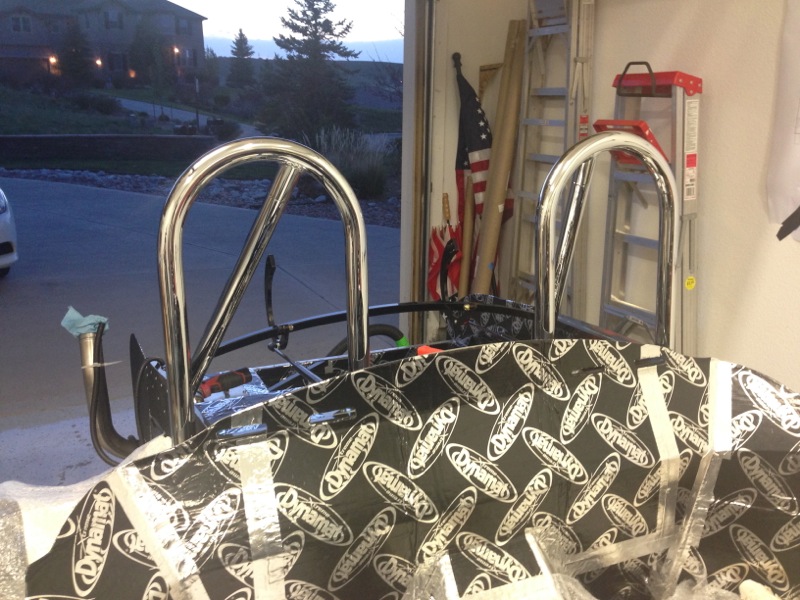
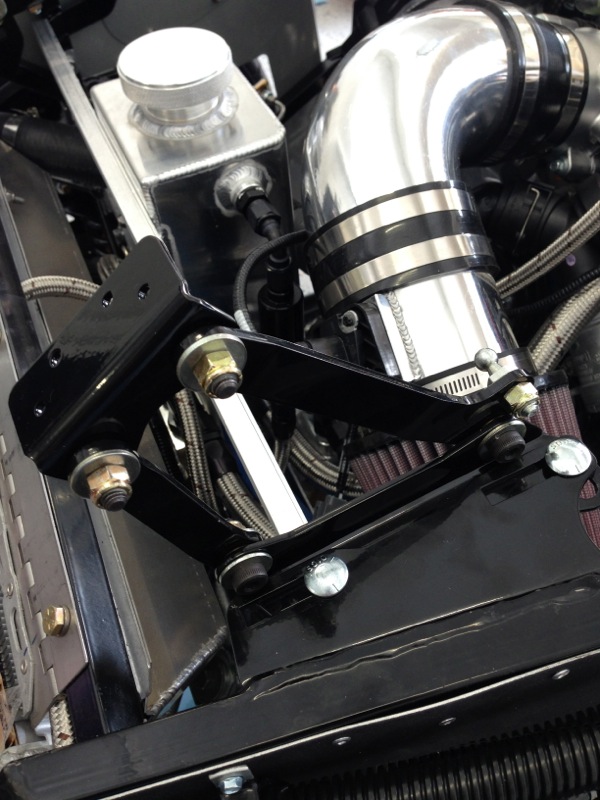
After finishing up the Dynamat the next piece was setting the rollbars and drilling the holes for the rollbar bolts. This is much easier to do now rather then after the body is on.
A few other things got taken care of also. Here the hood hinges have come back from powder coating and have been re-assembled and installed.
And the trunk hinges came back from powder coating as well. The gas struts that support the trunk lid aren’t stock. I fabbed those up after looking at what some other people had done. I think they will work out nicely and support the trunk when it’s open. Much nicer than a prop rod made from sawed off broom handle.
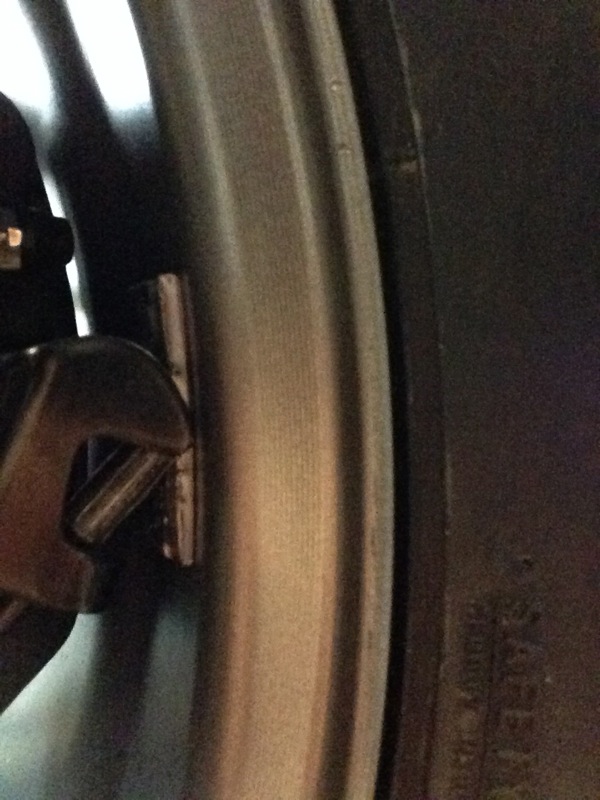
One problem that came up during the test drive was this odd knocking sound coming from the right rear tire when backing up. It turns out the balance weights on the inside of the rim were hitting the parking brake bracket. It was only happening on the right side since its the only wheel that had balance weights on the inside lip of the rim. I took the wheel back to Discount Tire and they took care of it right away. Even were nice enough to slide us in front of everyone right quick since it was a quick 2 minute job and that way we didn’t have to wait. Nice folks.
Finally for this post another case of getting slightly ahead of myself.
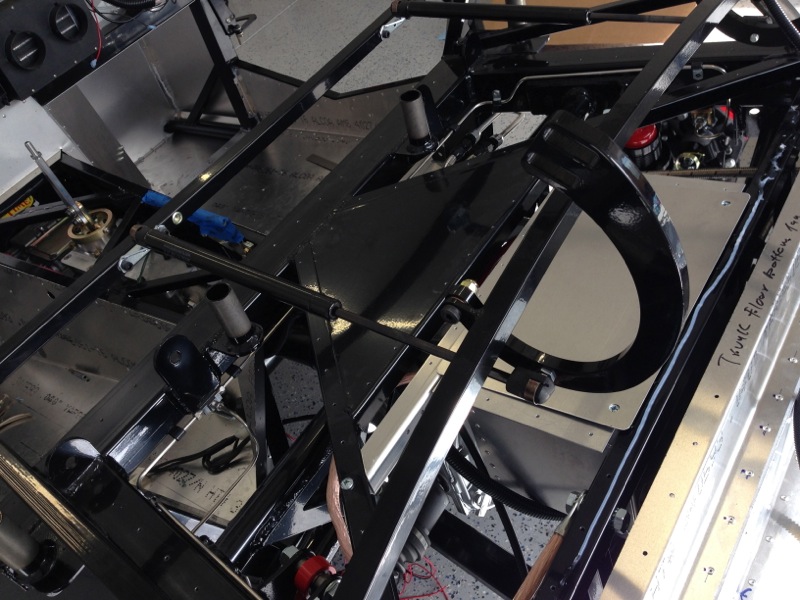
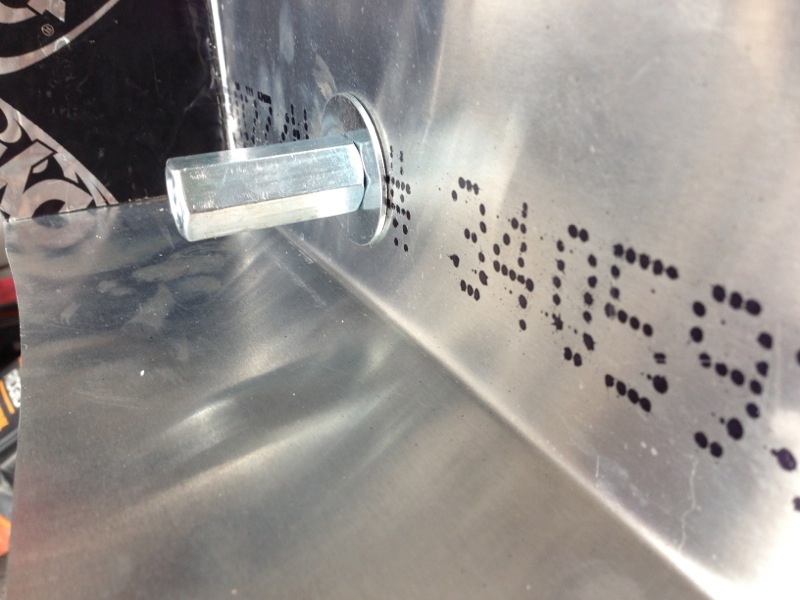
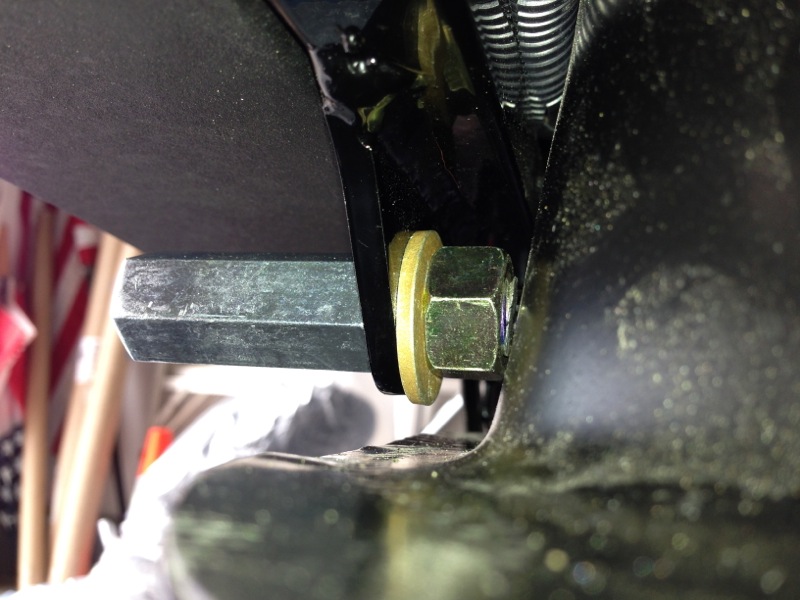
So the body is held onto the frame by 4 main bolts front and rear. The fronts are easy to get to while the rears can be a bit of a challenge. So much so that in the normal method you actually have to drop the gas tank to install the nuts for the bolts after the body is on. This, as you can imagine, can be a bit of a pain in the ass. So some smart fellows on the forums instead came up with the idea of inserting a bolt from the back into a threaded coupler and then using a shorter bolt or all thread through the body and into the coupler. This would have worked out nicely if I had remembered 2 things, 1) put the right side bolt in before the gas tank and 2) put the left side bolt in before the gas tank and the drop trunk. I managed to forget both. So after starring at the problem for a while and at first thinking I was going to have to drop the gas tank and remove some of the already installed panels I thought a little harder (play the I think I can I think I can music here) and came up with a solution that honestly surprised me that I was able to get it to work. I was able to just get a nut in behind the panel on the left side and actually able to get a piece of all thread started into it, with a dab of locktite and then screwing on the coupler I was able to get it to tighten up. I managed this by pulling on it while I was tightening it and eventually the nut grabbed with enough friction I was able to fully tighten it. The first pic below shows the result on the left side and the second pic shows the back side of the right side bottom coupler. You can see how tight it is. There’s another nut above that one that’s tucked behind the trunk panel that’s even tighter. In the end it worked out and I’m happy with the result. For anyone reading the blog that’s building one keep this one in mind when you get to this point.
That’s it for now.
Recent Comments