
Bracket 3 – I think we have a winner

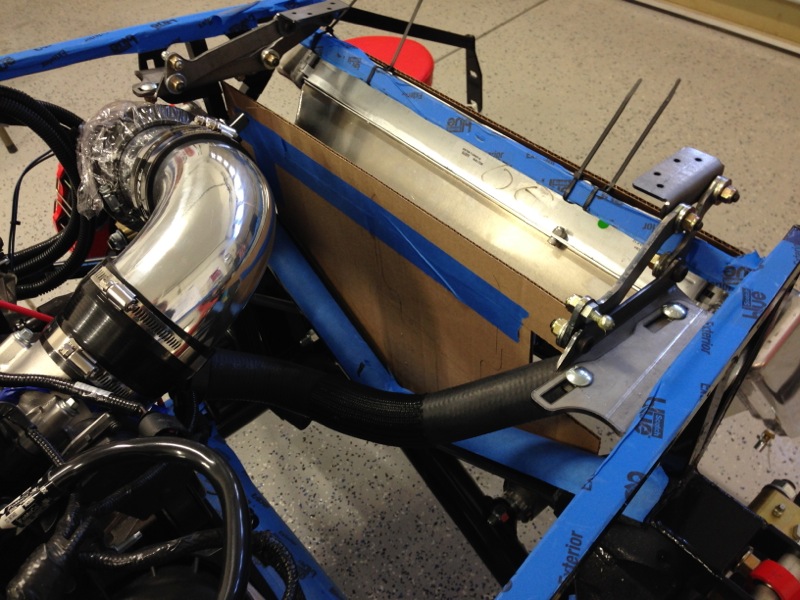
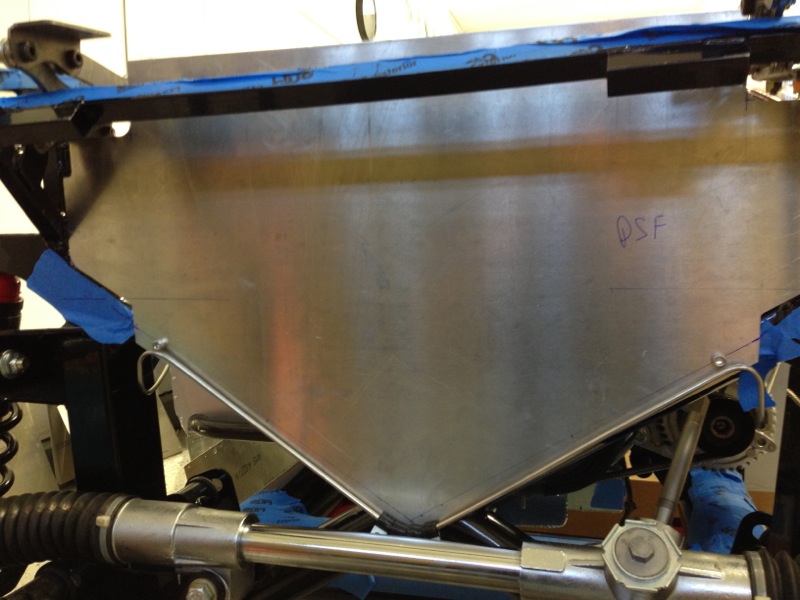
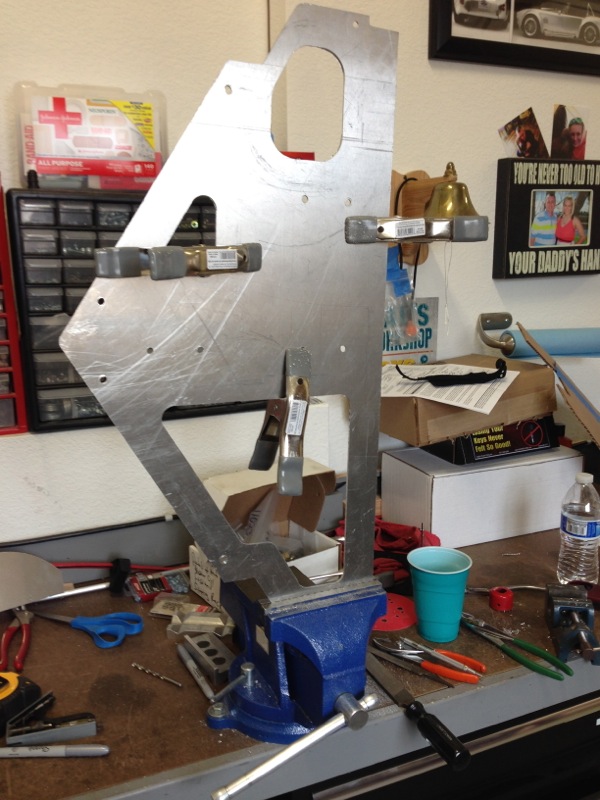
I made good progress this last weekend and think I’ve solved the fitting, mounting and fabricating of the new bracket, version 3 as I call it, to support the Oil Filter, Oil Thermostat and the Radiator Overflow Tank. Last time I showed you the new overflow tank and the template. Below is the test fit of the template in place, checking it for shape and clearances.
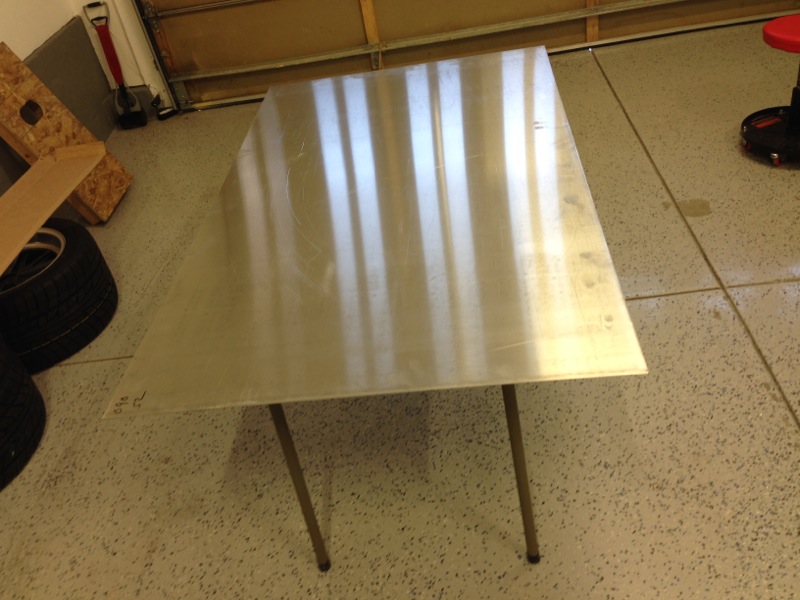
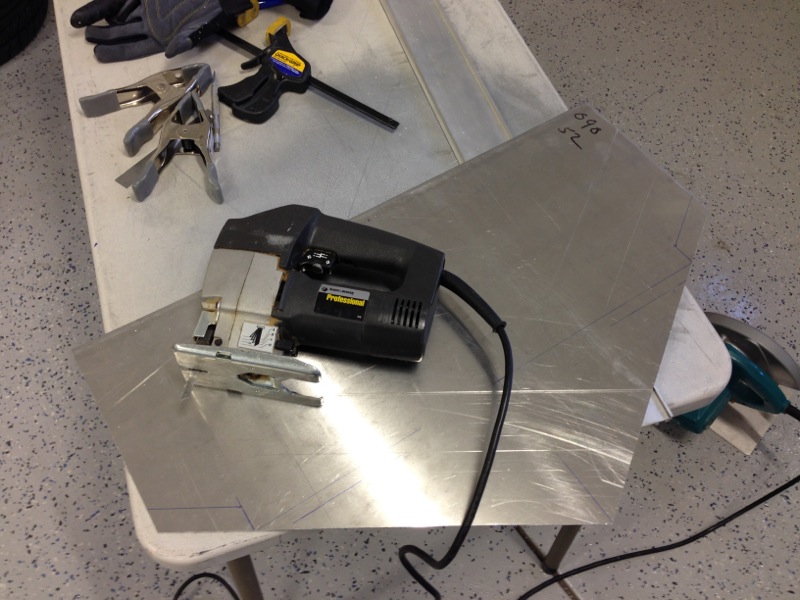
And here is the new sheet of aluminum that I will craft the new bracket from.
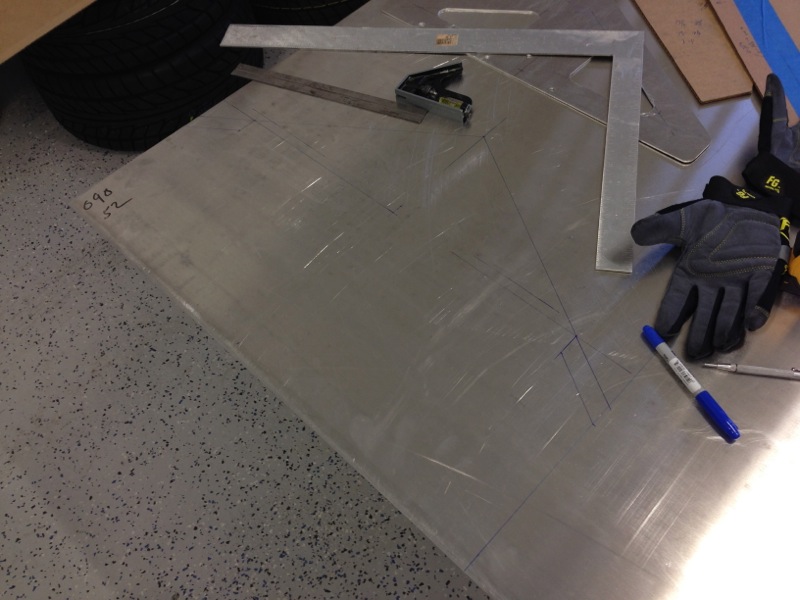
I’ve also had some questions as to how I’ve been crafting, cutting these brackets out of the sheet. I took some pics through the process to show everyone how I go from this sheet to the final bracket. I start out with a combination of the template and measurements. I then layout the bracket on the sheet using a blue Sharpie. I also used the previous bracket to make sure I had the angle on the bottom correct.
With the layout done the next step is to cut the major straight lines and get the basic shape out of the bigger sheet. I cut the sheet with a circular saw using a thin kerf carbide blade on it.
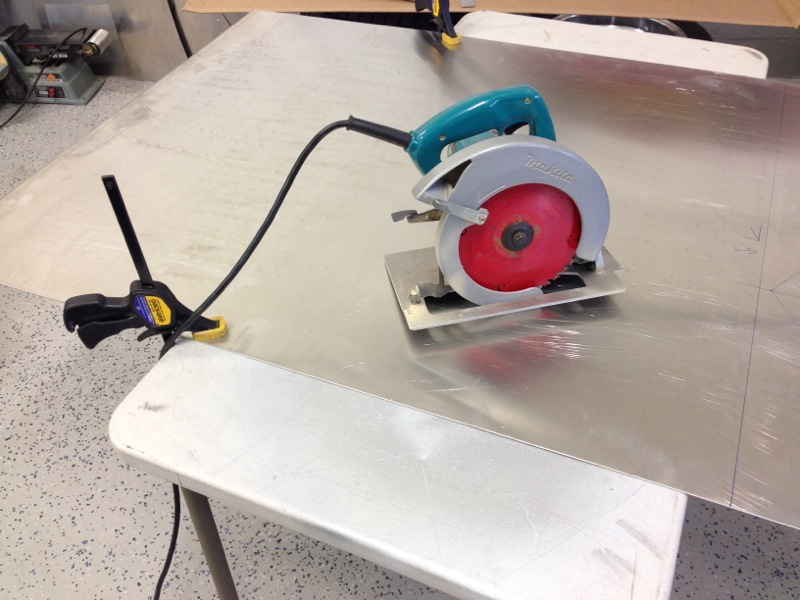
I don’t free hand the cuts I use a saw guide clamped to the table and the piece to get nice straight lines. While this works great, the one downside is this thing throws little tiny razor sharp aluminum daggers all over the place. They can be a bit painful.

So SAFETY first. It’s also a little bit loud.

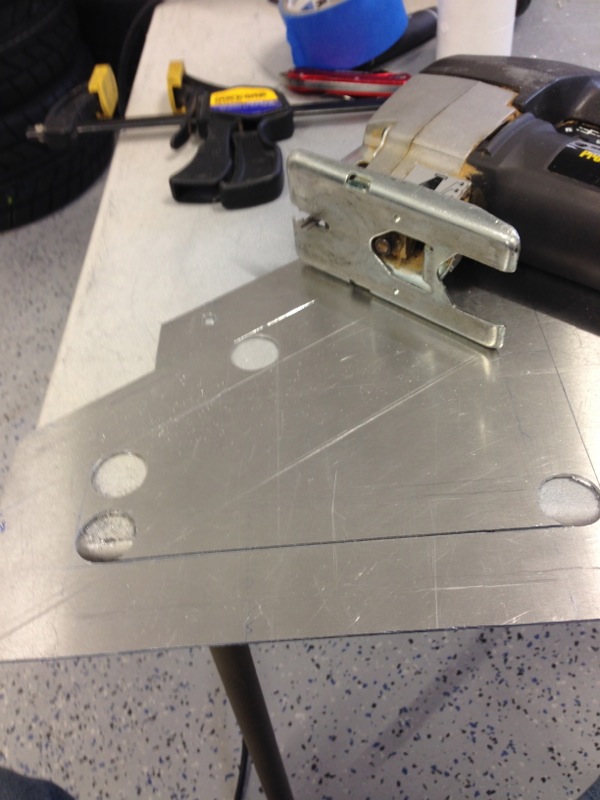
With the basic shape cut out the next step is to start cutting in some of the details on the outside edges with a jig saw using a 36 TPI (Teeth Per Inch) metal blade. The trick here is getting the right speed on the blade and moving through the metal. Too fast and it heats up and actually melts the aluminum. That coats the blade and you end up trying to melt your way through.
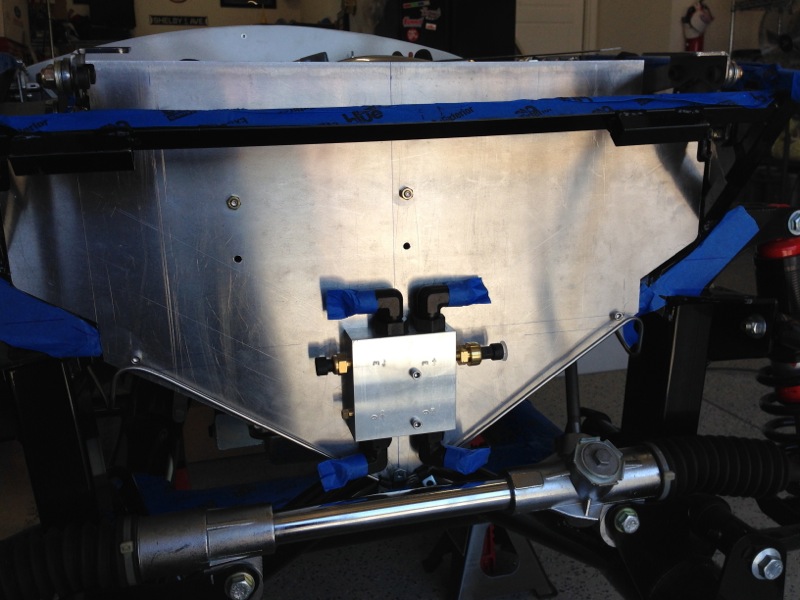
With the corners and other reliefs cut I did my first trial fit to make sure everything lined up. At this point I’ve also drilled two mounting holes and have inserted Rivnuts into the X member to support the bracket.
I then placed, aligned and mounted the overflow tank and thermostat.
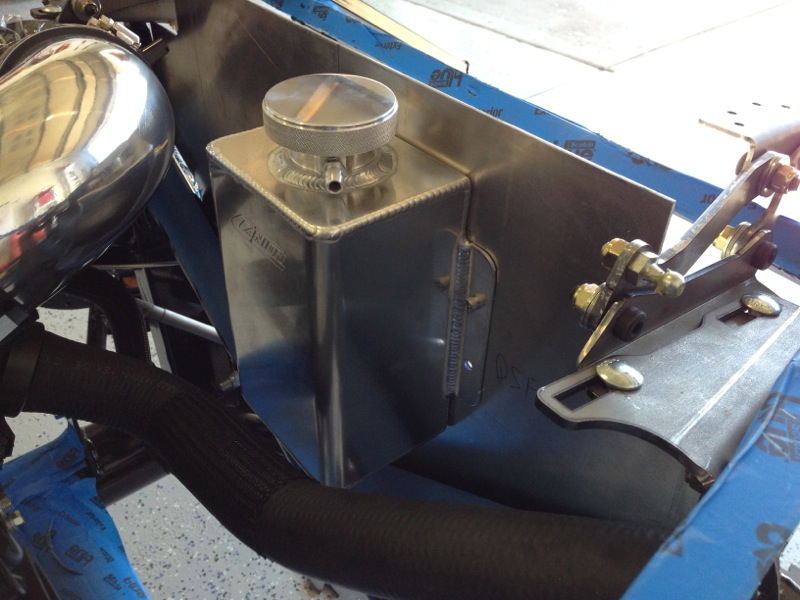
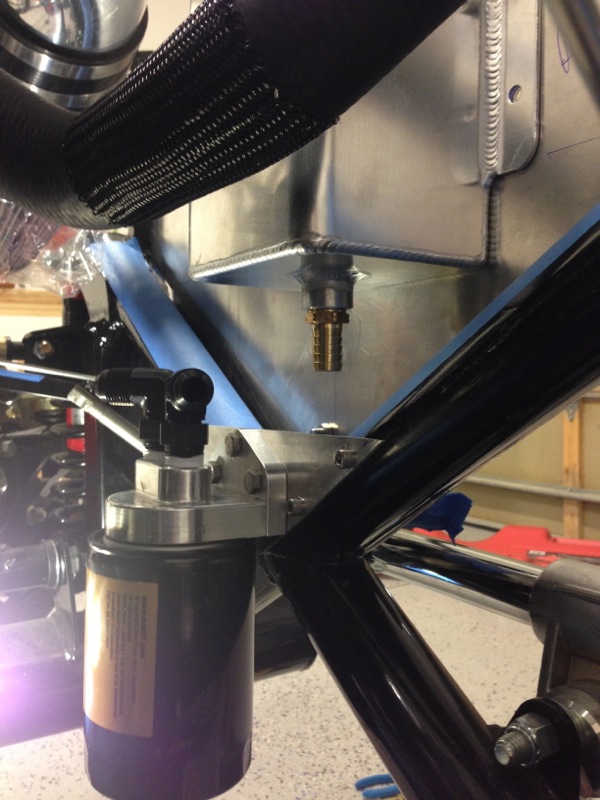
I also fabbed up a small triangular bracket to support the oil filter and mounted it on the other side of the X brace. As you can see in the pic below it now clears the bottom of the overflow tank and provides enough room for the hose that will be attached to the bottom of the tank.
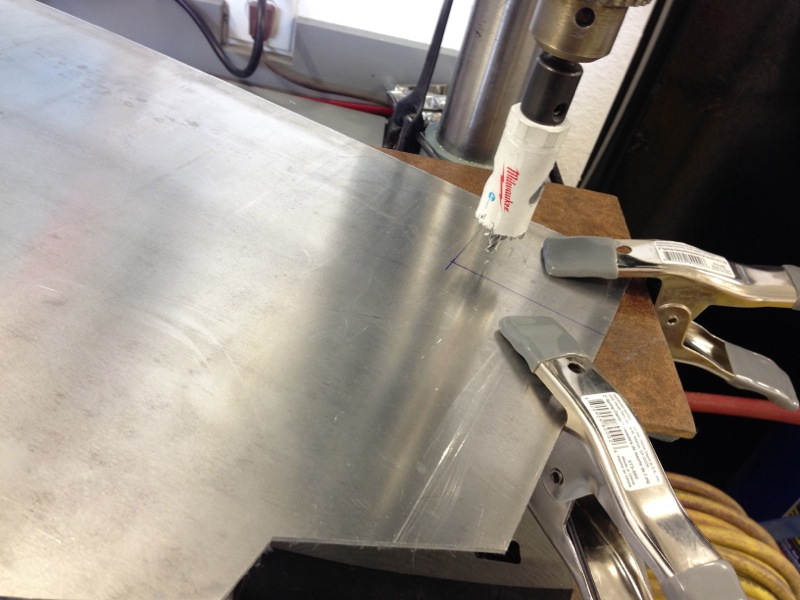
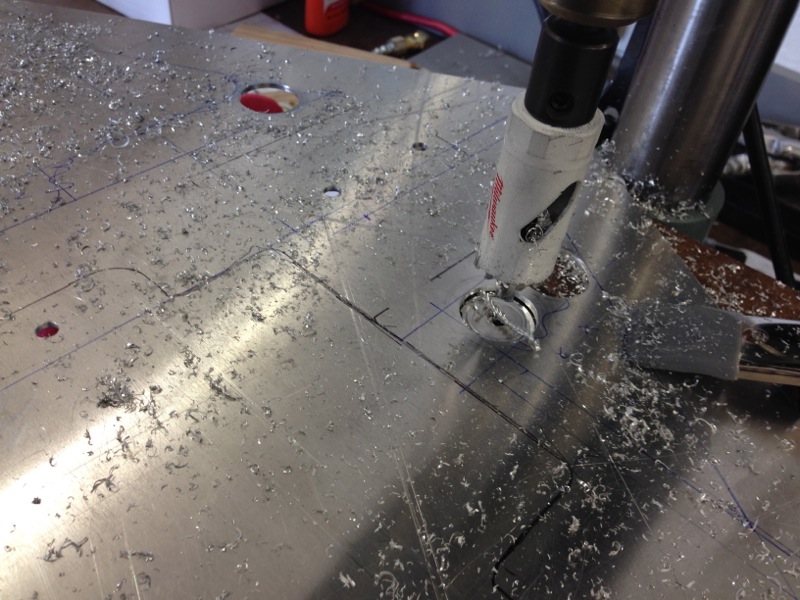
With everything fitting the next thing I did was layout some lightening holes in the bracket so it isn’t just a solid sheet and it allows for some airflow. With the holes marked out I then started drilling 1″ holes in the corners to form a nice radius for each hole. This process then produces a nice mess of aluminum shavings that get thrown all over the place by the drill press and the same rules apply regarding speed of the drill and feeding it in, otherwise you start melting instead of cutting.
See

Once all the holes are drilled I play a game of connect the dots with the jig saw. BTW I drill the holes just shy of where I want the corners, this gives me a little bit of extra metal that I then file down to get everything to line up and look even.
With all the cuts done I then move to the bench and start filing by hand to get everything lined up. I make a final pass with the Dremel to put a nice finished look on the edges. In case you’re wondering why there are clamps hanging all over the bracket in odd places not holding any, it keeps down the ringing of the metal when I’m filing. It’s almost as bad as dragging your fingernails down a blackboard/chalkboard, depending on where you grew up.
With that done the bracket goes back in the car for final fit.
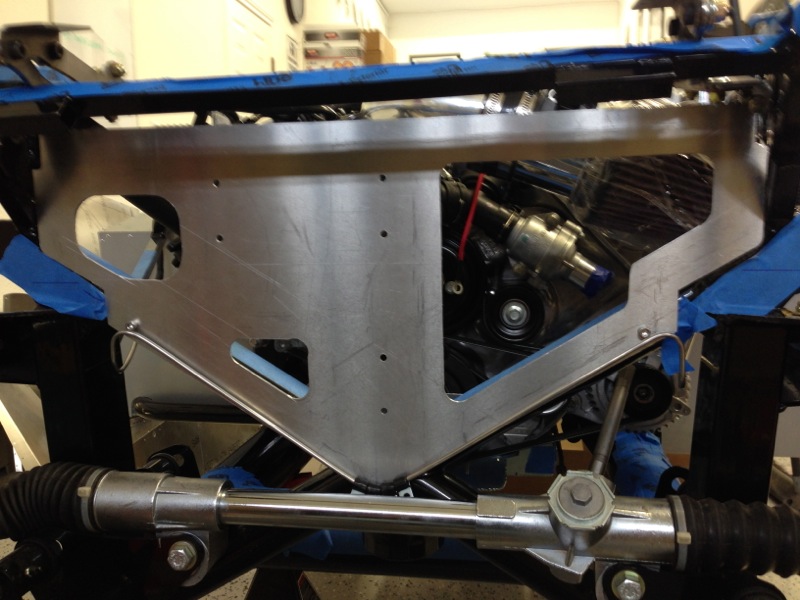
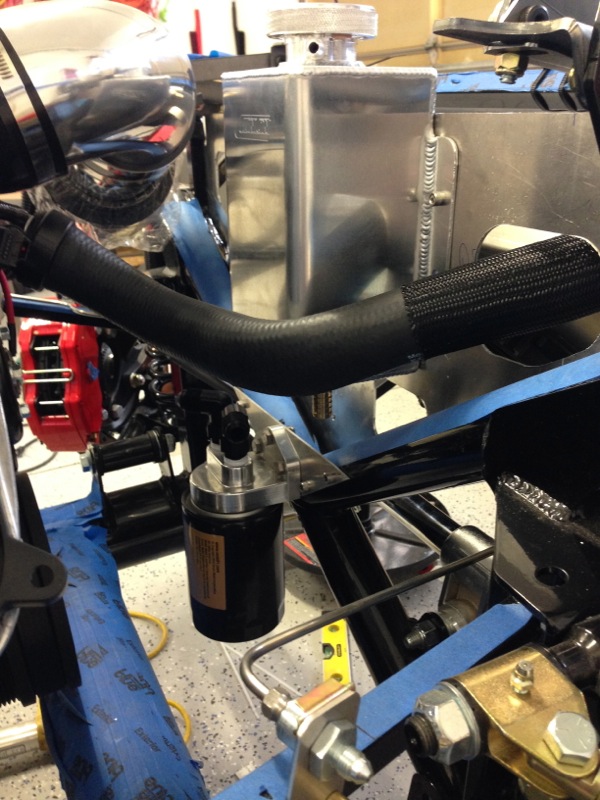
And all the pieces are attached. You can also see in this pic how the upper radiator hose goes through the bracket to the radiator.
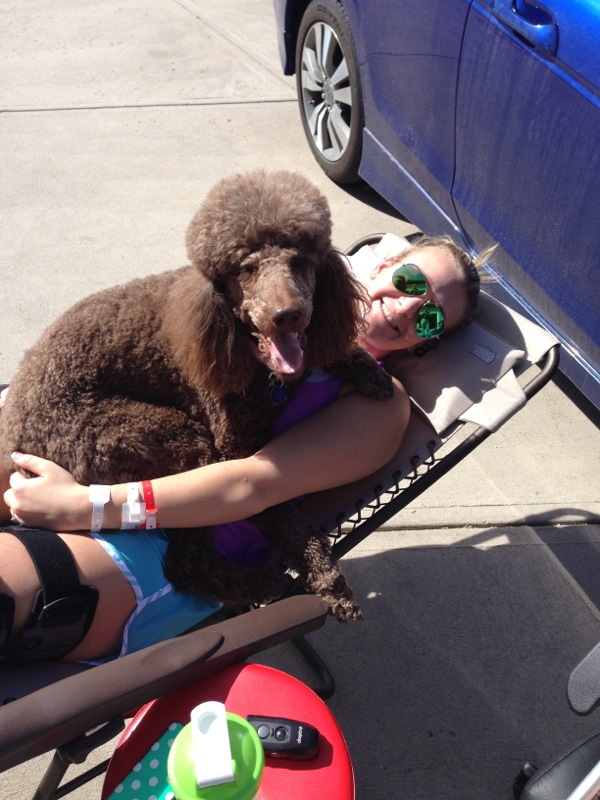
Oh yea almost forgot, this is how Destinée and Precious helped out this weekend. Destinée had surgery to fix her kneecap problem so she wasn’t able to help out much. Instead she kept me company and worked on her tan. Precious was there “helping” also.
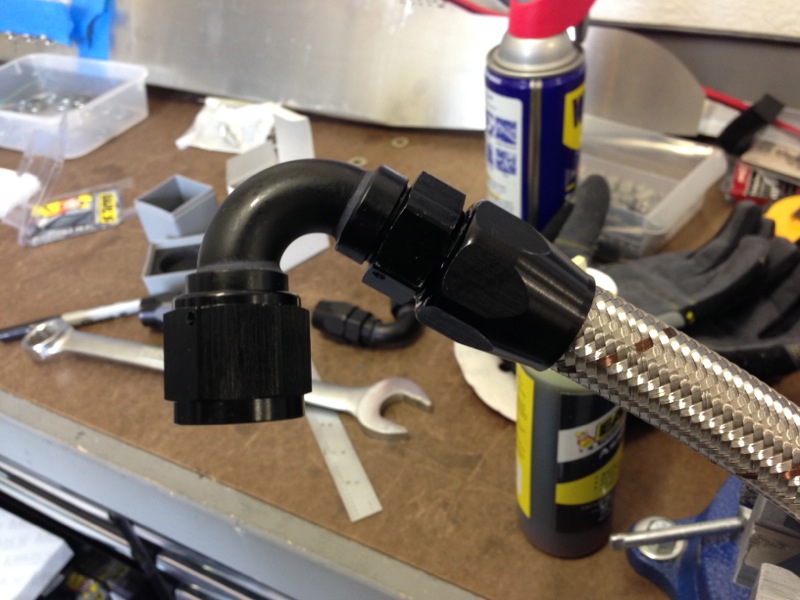
With that problem finally solved I moved onto starting to run the oil filter lines. These are braided hoses like I ran for the fuel lines only larger. Here’s a pic of the first one I assembled before I decided to call it a day and a wrap for the weekend. I’ll finish these up this coming weekend.
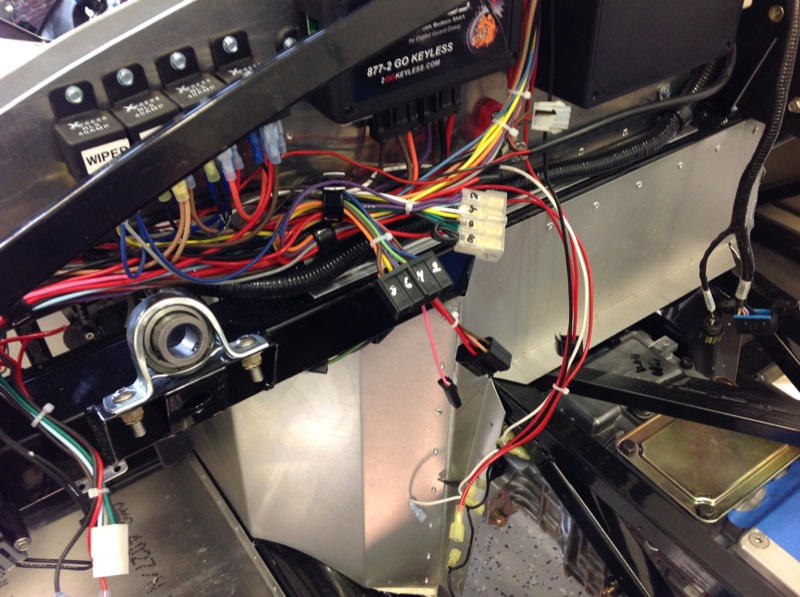
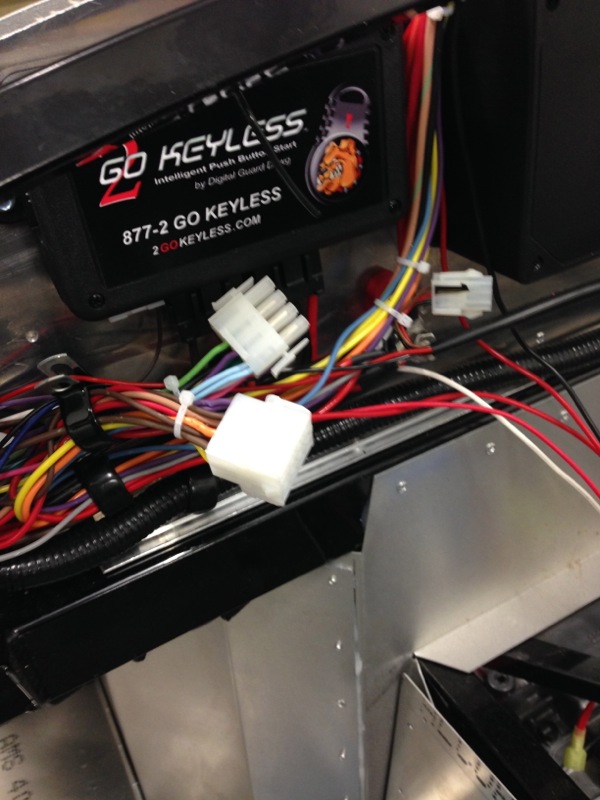
One smaller thing I knocked out this week was changing out the connectors on the dash harness on the car. You might remember last time I changed them on the back of the dash panel because I had made them just a little too short. In the first pic you can see the old connectors and the second shows the 2 new ones that match what’s on the dash now.
Well I’m getting closer to that first start, I missed my self imposed target of having first start by the end of March but I think I’m almost there. Stay tuned for that event as I will record it and post it via YouTube. That’s it for now, see ya next time.
Very cool Randy!
Great read this morning and cool progress.
Look good – I’m enjoying watching the progress so please keep the updates coming!