
2 Updates in one weekend?!

Wow what a treat 2 updates in the same weekend. One might wonder what’s going on. Well it is Memorial Day weekend so first off, thanks to all those who served and made the ultimate sacrifice, thanks to all those who served before me, served with me and those who are currently serving.
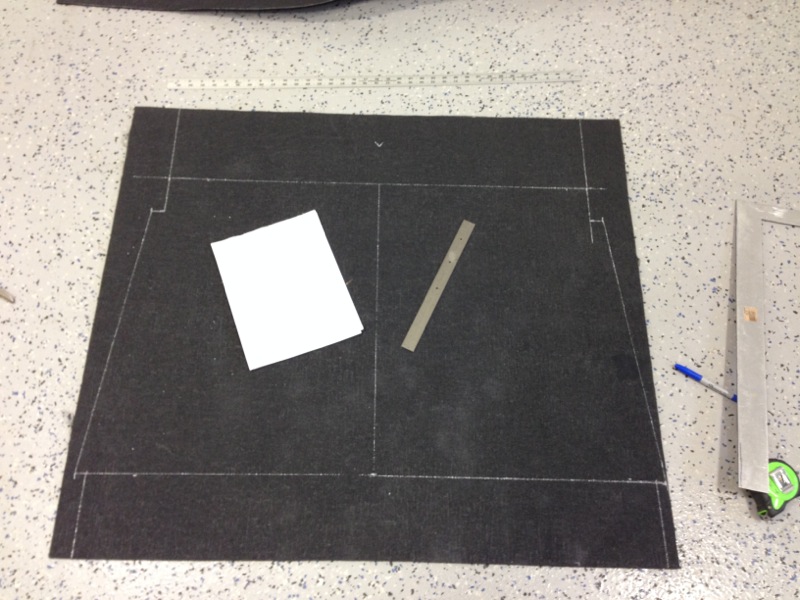
And with the 3 day weekend there was a lot of progress on continuing to knock out all the little things leading up to a big thing. When we last left off I had just finished fitting the roll bars and the rear body mount bolts. With those out the way it was onto cutting the carpet for the trunk. The kit doesn’t come with carpet for the trunk so I bought some carpet and had to custom fit each piece. This was easier done now then when the body is on as it’s far more accessible. Here’s the layout for the first piece.
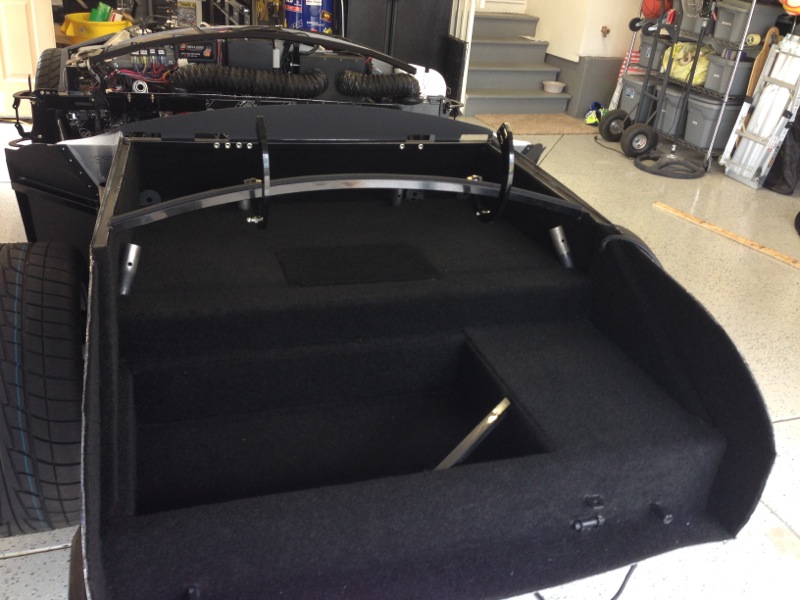
And here’s the final result. I wish it had been that quick but it pretty much took me all of Saturday to finish this off.
With the trunk done the next area to focus on was installing most of the cockpit carpet. The footbox pieces are easier to install with the body off. Here you can see the beginning of the carpet in the driver side foot box. The tape is to keep the spray glue off of anything I don’t want glue on.

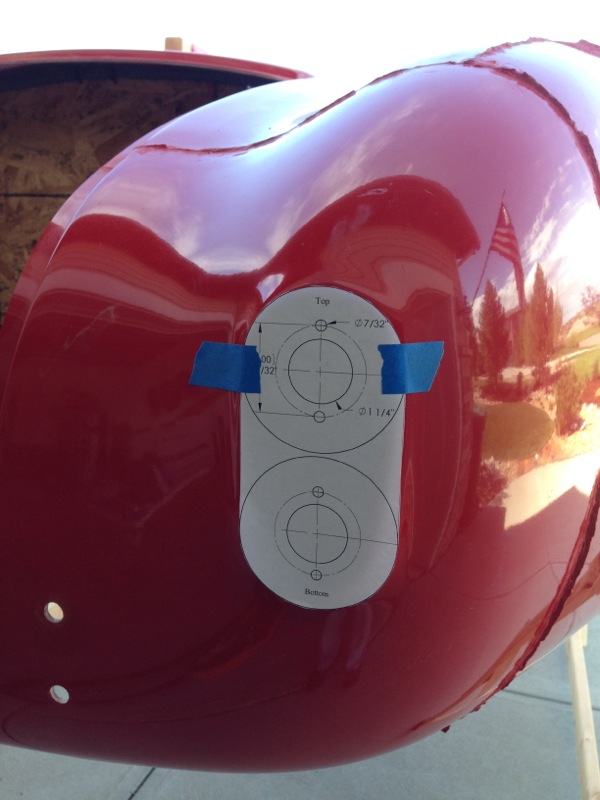
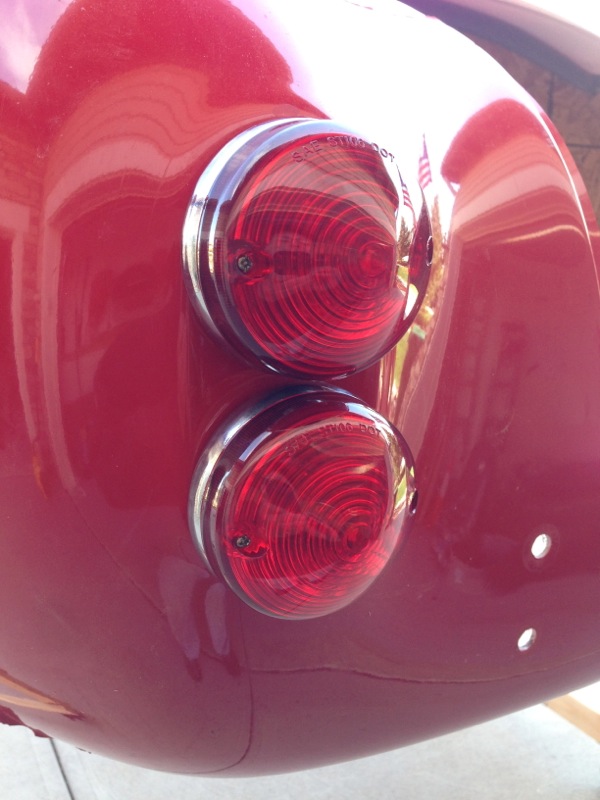
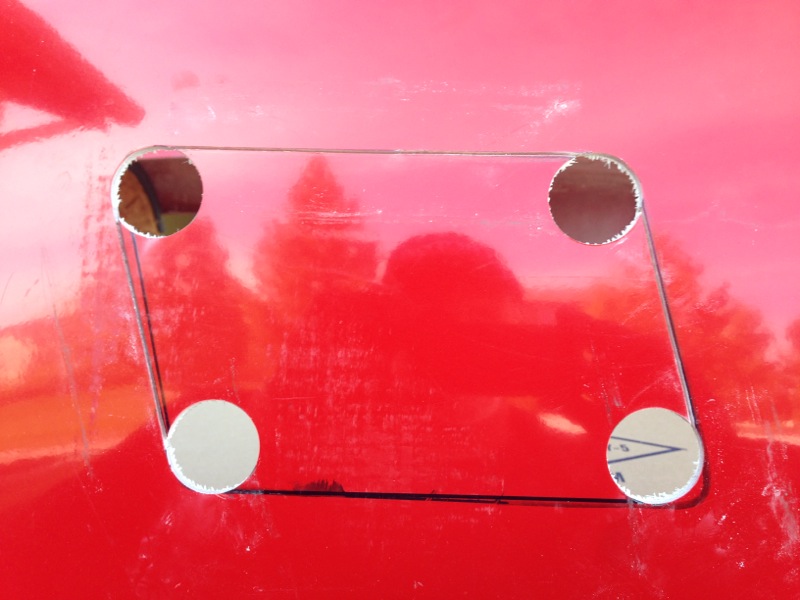
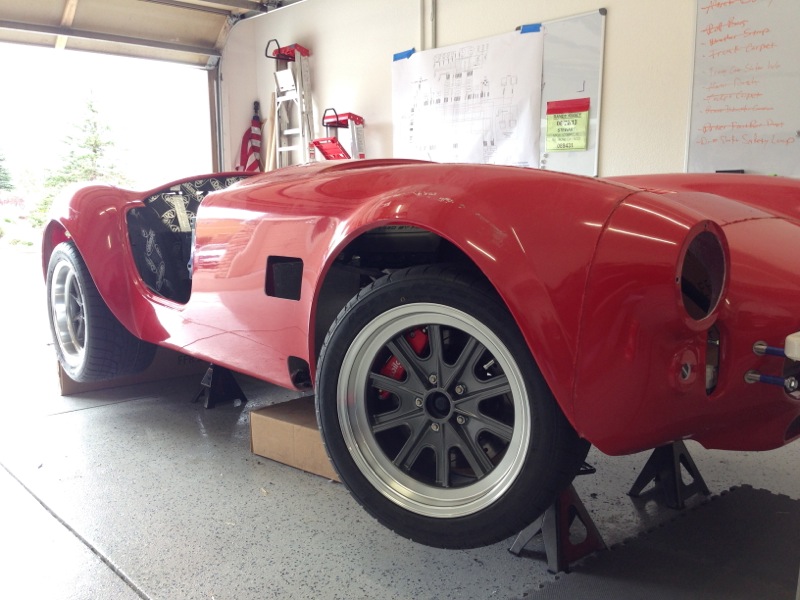
With the main footbox carpet pieces installed I turned my focus on starting to prep the body. The are some cut outs that I had to cut to mount things like the turn signals, brake lights, headlights, side vents, headers and gas filler. The manual provides templates that help locate all the holes that need to be drilled and cut. Some of them are marked on the body but I found those to be less than accurate. Below is the template for the rear driving lights, brake lights and turn signals. And then the result.
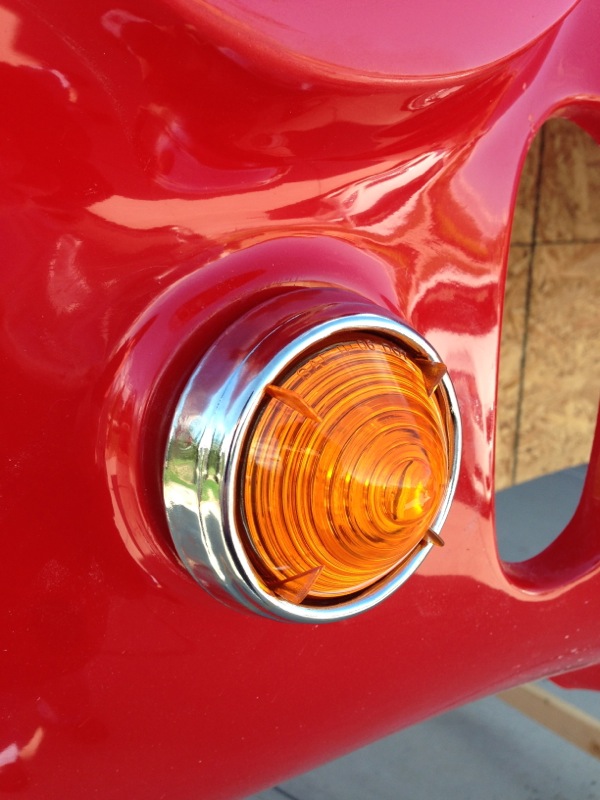
This is the front parking light and turn signal underneath the headlight.
These are the corner holes for the side vents. You can see the black lines are the original markings on the car for the cutouts and they don’t quite line up with where the template had me cut the hole. I went with the template and the result was perfect.
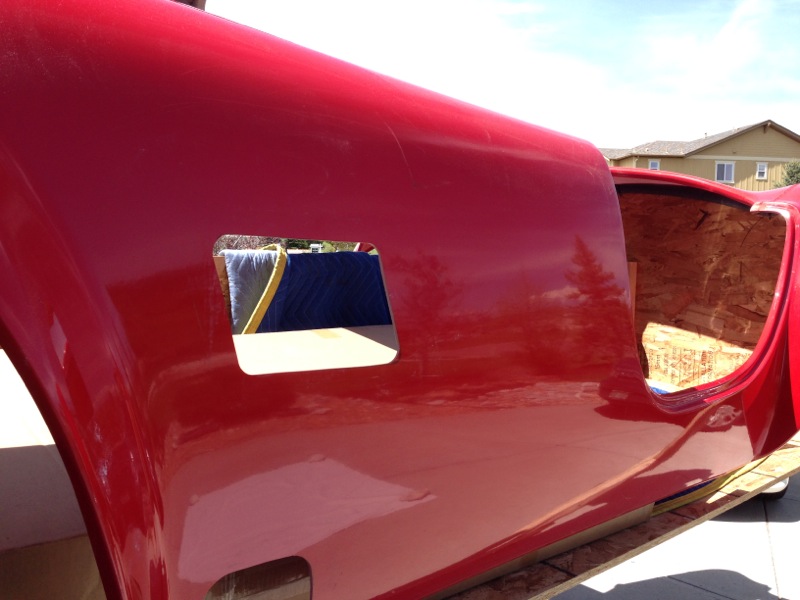
The finished hole. It will get an aluminum grill vent installed behind it once the body work and paint is done.
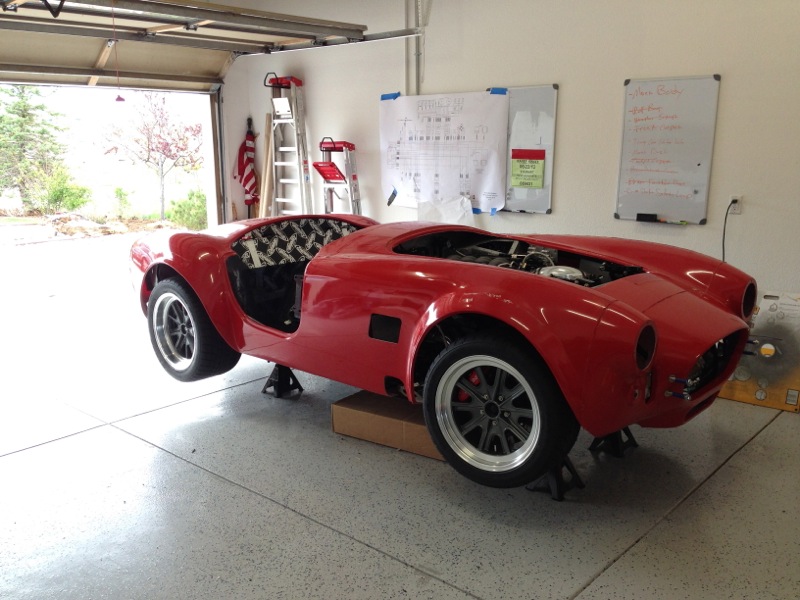
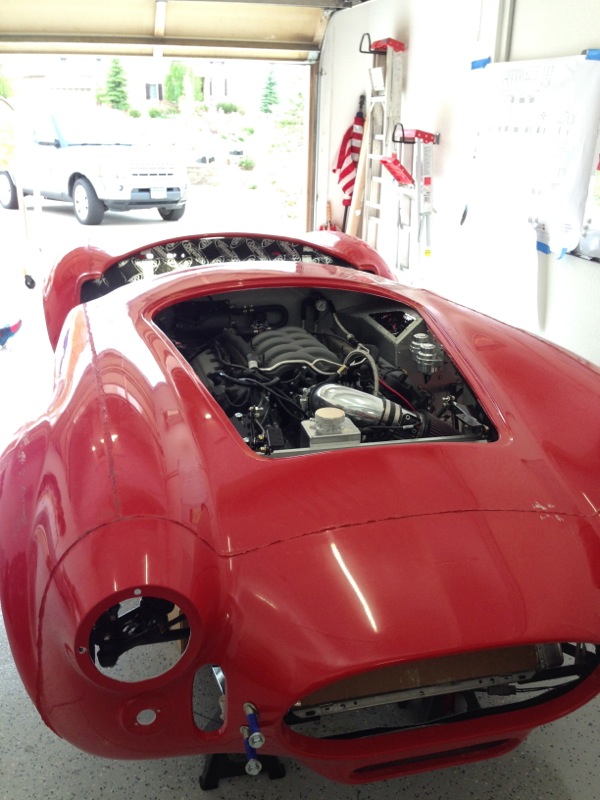
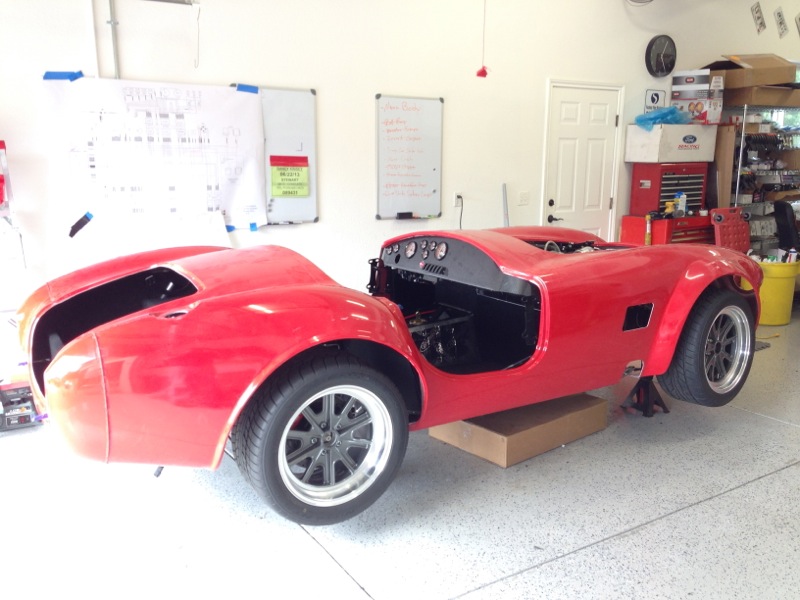
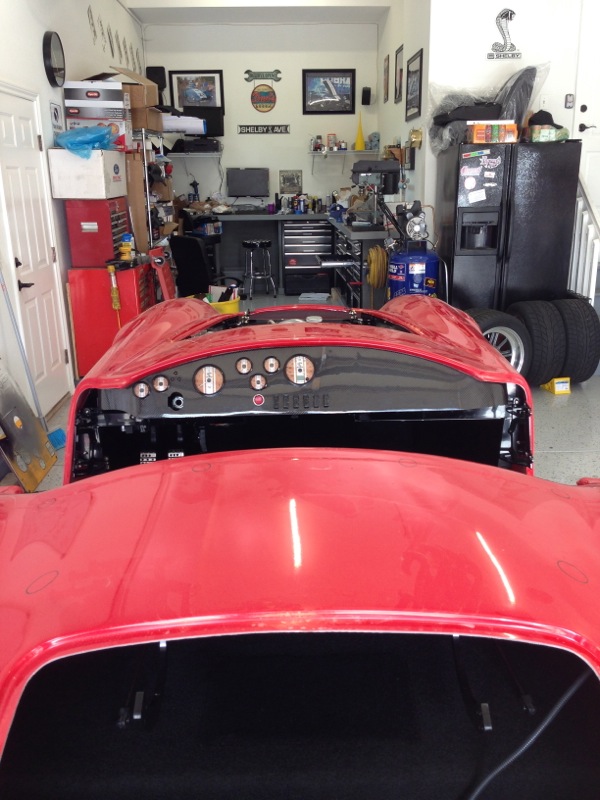
Hmmm I wonder why the body is off the buck and sitting in the driveway. Well I had to drill the holes for the gas filler which is in the top of the right rear fender and I couldn’t get to it while it was on the buck and…….
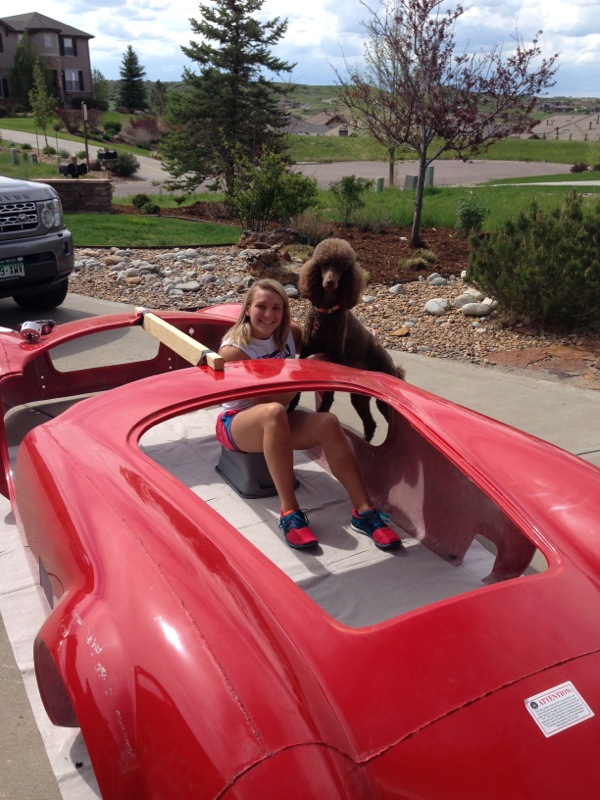
it’s hard to mount to the chassis when it’s still on the buck! And that’s a wrap for this weekend. I’m taking a break. I hope everyone else had a great Memorial Day weekend as well.
Cool! A few weeks and it’ll be done! Looking great!
Looks great!
Thanks for your service too Randy, much appreciated. Be sure to see “D-Day” at the IMAX (Colorado Science Center), it’s very well done!
Semper Fi!
Randy,
We are grateful for your service and those who gave the ultimate sacrifice for our freedom!
Wow, great weekend of progress, can’t wait to see it with all the final trimmings and paint.
Mike